Start by cutting six pieces of 3/4-inch plywood to 36 by 8 inches. For safety and health, we recommend formaldehyde-free plywood, which avoids the toxins often present in standard varieties.
Cut out the center pieces for the shelves and build a square frame measuring 34-1/4 by 6-1/4 inches. Sandwich the frame between two plywood pieces, positioned 7/8 inches from each edge, and secure with 1-1/4-inch snaps.
Apply peel-and-stick edge banding to all exposed edges of the shelves for a polished, professional finish.
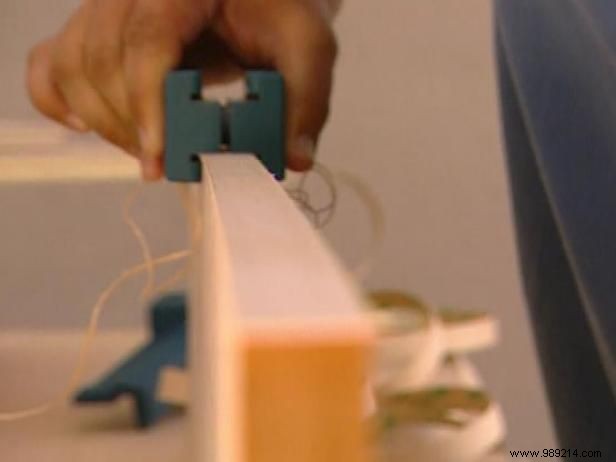
Press the banding firmly with a roller. Then, use a trimmer to carefully remove excess material and trim the ends cleanly.
For the first tier uprights, cut plywood to 3 by 14-1/2 inches, then add framing to achieve an overall size of 4 by 15-1/2 inches.
For the second level, cut plywood to 5 by 20-1/2 inches and frame it to 6 by 16-1/2 inches overall. Finish by painting the assemblies in your chosen color.
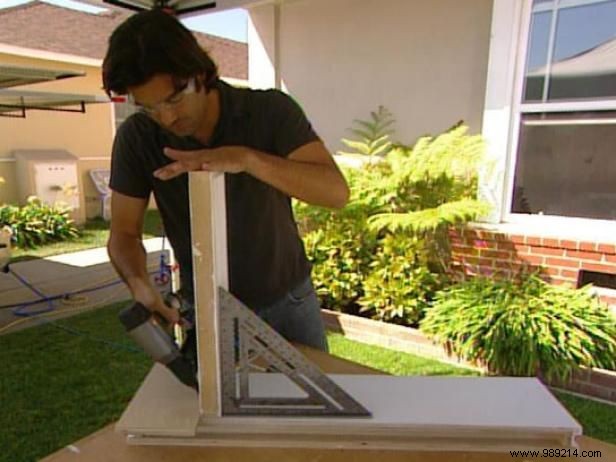
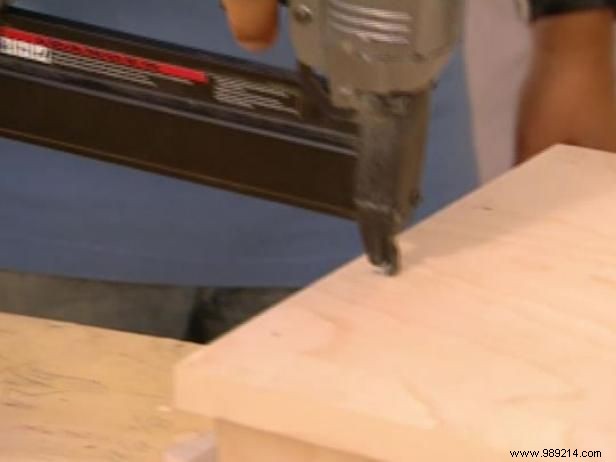
Use a framing square to ensure alignment. Begin with the bottom shelf. Position the 6-inch-wide vertical pieces 6 inches from each end of the horizontal shelf and secure with angled nails at the base.
Place the second horizontal shelf over the vertical pieces and nail securely. Next, position the two 4-inch-wide pieces 12 inches from each end and attach to the second horizontal. Top with the final horizontal shelf and secure firmly.
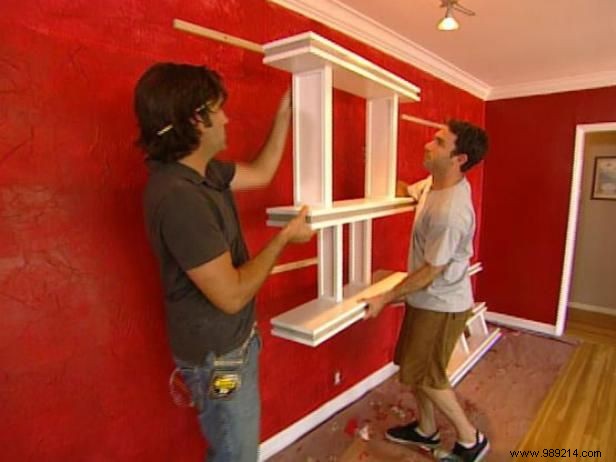
Craft ledgers to fit precisely into the notches on the top and bottom horizontal pieces. Measure the distance between them and install the ledgers on the wall at the same spacing. Use a laser level for perfect alignment.
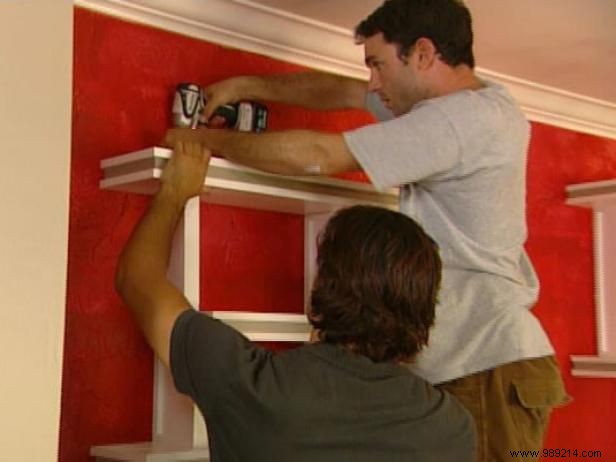
Screw the shelf into the ledger from both the top and bottom edges for maximum stability.