Ipe, also known as Brazilian hickory, is a remarkably dense hardwood with stunning natural red and brown tones, making it perfect for elegant interior finishes. Like cedar, its inherent density offers superior moisture resistance, so no sealing is required—even for outdoor or humid spaces.
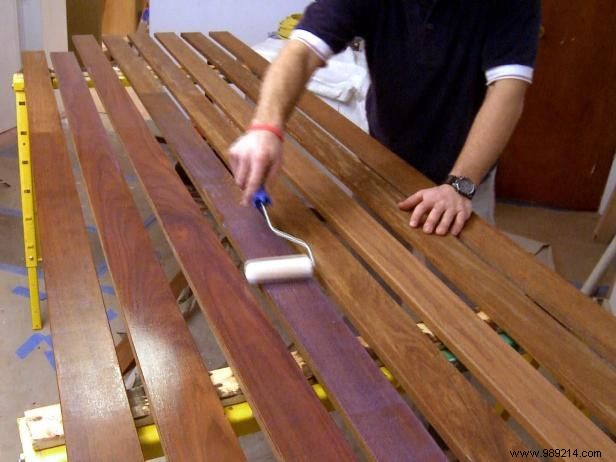
This optional polyurethane step adds a beautiful sheen that highlights the wood's rich colors. Lay the planks on sawhorses and wipe them clean with a dry cloth to remove dust. Apply thin, even coats using a high-density foam roller, then allow 24 to 48 hours of drying time before cutting or installing.
Before attaching the wainscoting, inspect your wall for structural integrity. Ipe's density and weight demand a solid substrate. If the existing surface feels weak, cut out the section and replace it with 1/2-inch fiberboard (also called strand board). Secure the fiberboard firmly to the wall studs using 2-inch drywall or wood screws for reliable support.
Wainscoting heights typically range from 30 to 60 inches, depending on your room's design. Mark the desired height at intervals along the wall, then use a level to ensure alignment. Account for any uneven floors when planning cuts.
Transfer measurements to the Ipe boards and cut precisely with a table saw or miter saw.

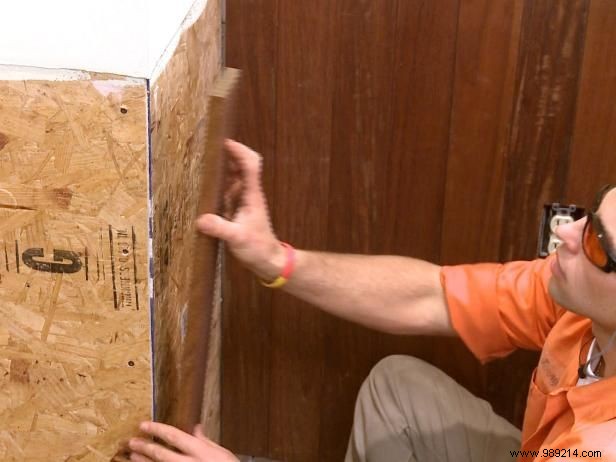
Apply a thick zigzag bead of construction adhesive to the back of each board for maximum coverage (Image 1). Press firmly against the wall, then pull away and let it air for 2 to 4 minutes before reapplying (Image 2). This crucial step allows the adhesive to form a stronger bond.
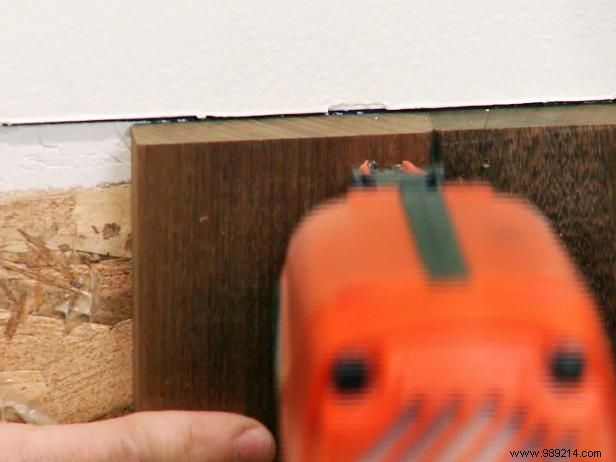
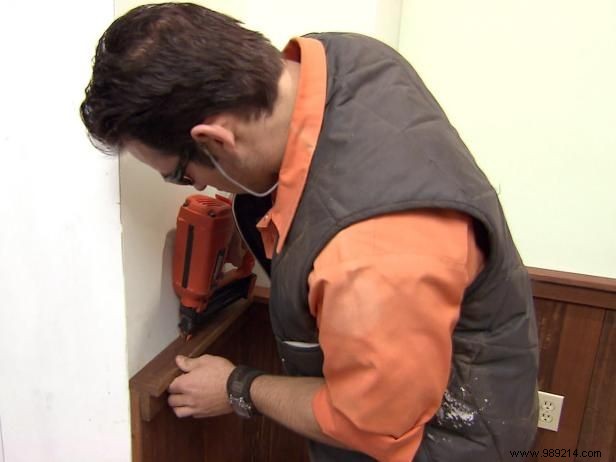
Secure temporarily with a single finishing nail at the top and bottom while the adhesive cures (Image 3). Position nails near edges to conceal under the baseboard and cap later. Work across the wall from one side or center outward to minimize corner cuts.
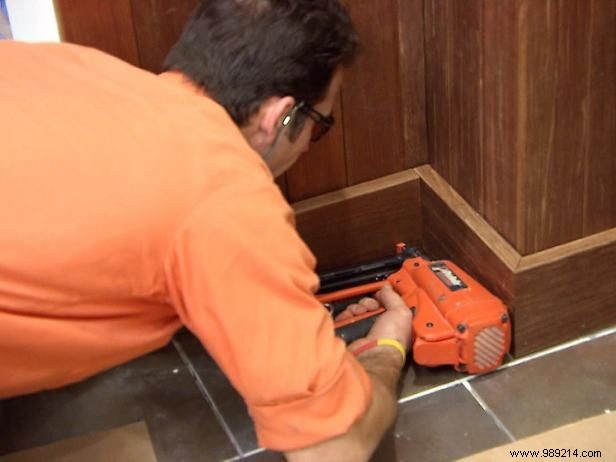
Use a table saw to rip boards up to 6 inches wide and install as baseboard along the bottom of the slats. Fasten securely to the wall with a nail gun.
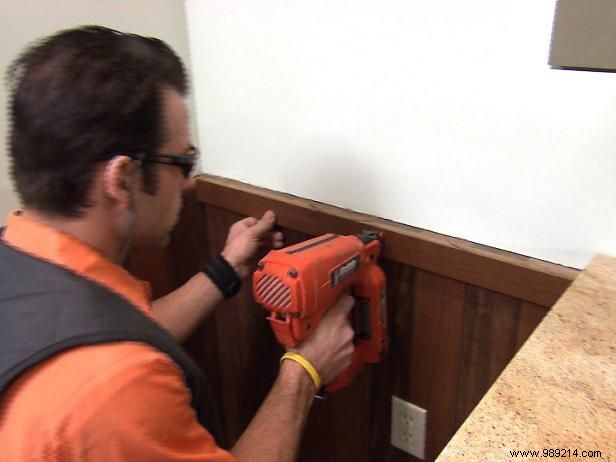
Finish the top with a two-part capping system. First, cut a 3-inch-wide Ipe strip as the apron and nail it to the front of the slats, ensuring its top edge aligns perfectly level with the vertical battens (Image 1).
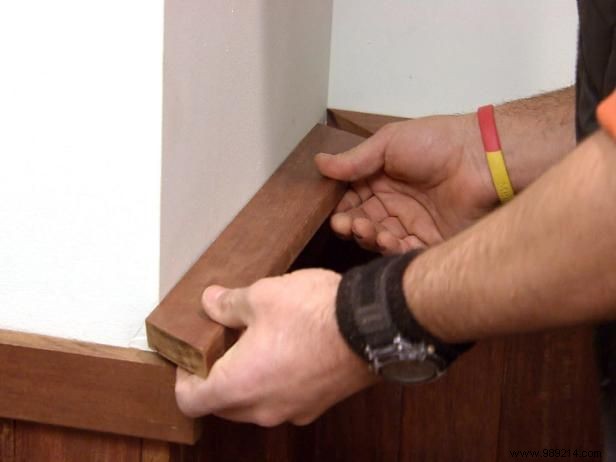
Next, rip another 3-inch strip for the cap and position it atop the battens and apron (Image 2). Secure with nails and/or wood glue for a seamless finish (Image 3). Your Ipe wainscoting is now complete!