By Chelsea Jackson
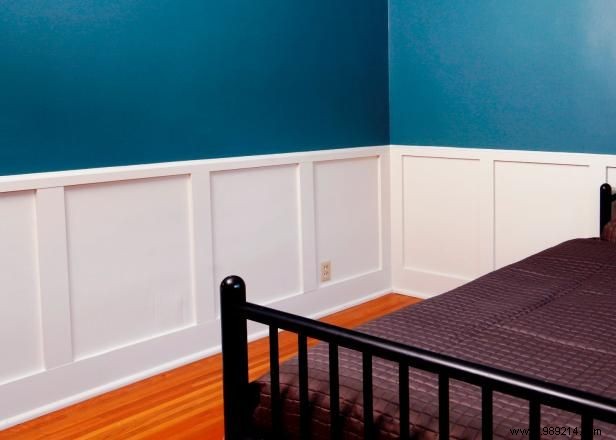
With over a decade of hands-on home improvement experience, I've transformed countless rooms using recessed panel wainscoting. This affordable upgrade delivers timeless elegance and can be completed in a weekend, including painting. Using standard hardwood plywood and dimensioned lumber minimizes custom cuts for straightforward assembly.

Opt for hardwood plywood and S4S (surfaced four sides) lumber from quality suppliers to simplify this project. Standard 1x4 and 1x6 boards turn it into efficient assembly rather than complex fitting.
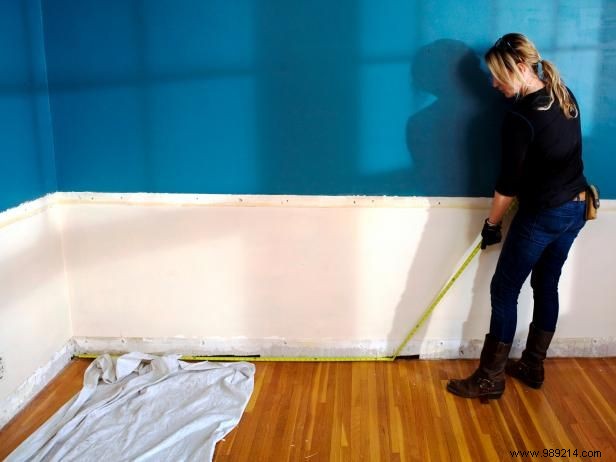
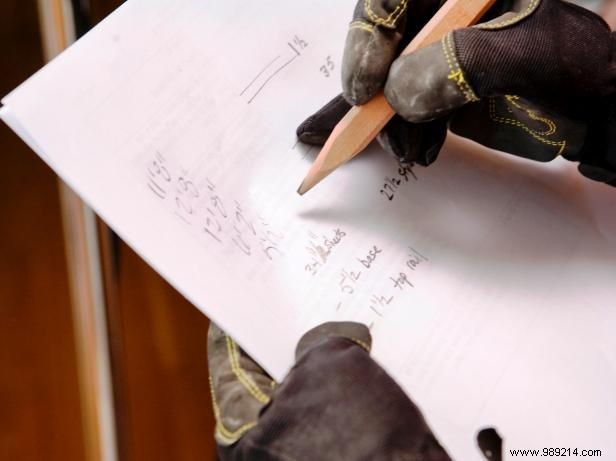
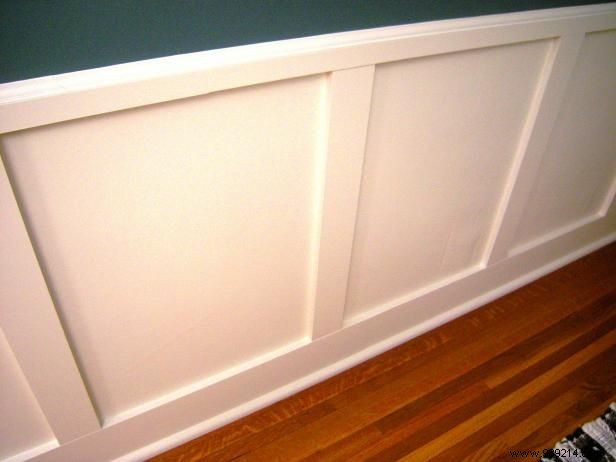
Measure each wall length (Image 2). Sketch a layout dividing walls into equal panel sections (Image 3)—your plan doubles as a cutting template. Room size dictates panel width, but leverage 4x8-foot (48" x 96") plywood sheets for efficiency.
In larger rooms, aim for 48" x 48" sections, including rails, using one sheet for two panels. For smaller spaces, scale to 32" or 24" widths with 48" height (Image 4). Prioritize full sheets; tweak end panels slightly if needed.
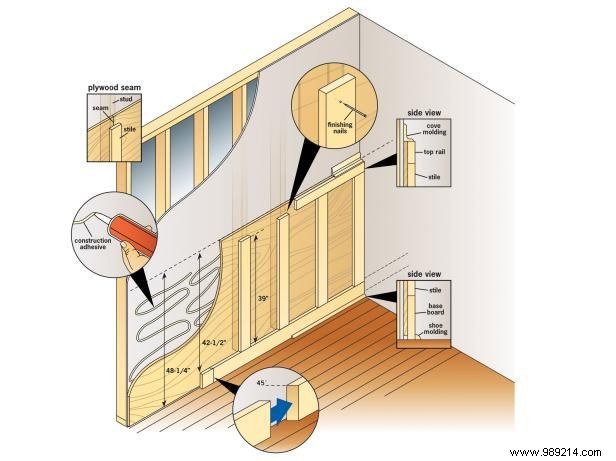
Use an electronic stud finder while measuring to mark positions. Vertical stiles nail into studs for secure anchoring, though top and bottom rails provide ample support across multiple studs. Avoid aligning stiles over outlets.
Prime panels before installation if painting.

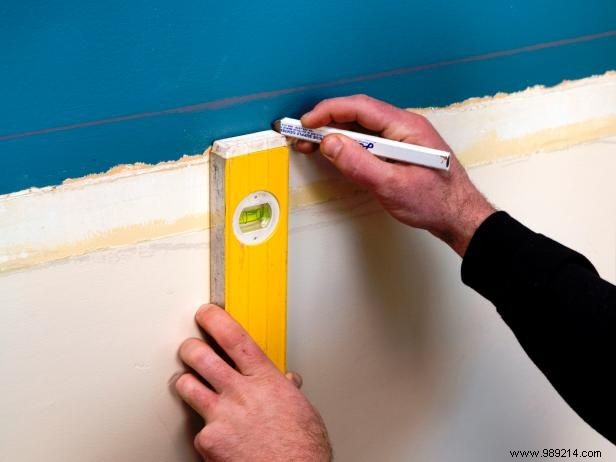
Begin in the corner of the longest wall. Measure from floor to wainscot height (ours: 35 inches), mark with a level or laser level along the wall—1/4-inch floor gap accounts for unevenness.
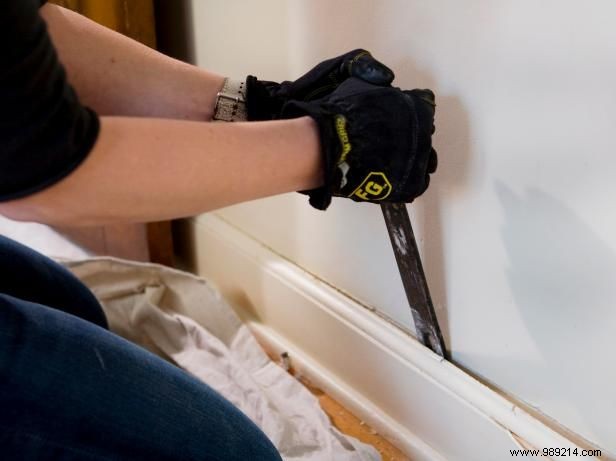
Remove baseboards and outlet covers, leaving outlets intact (Image 1). Apply construction adhesive below the line from top to bottom.
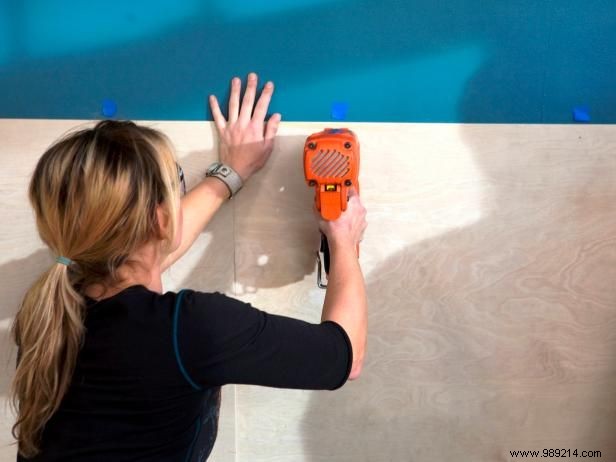
Position first plywood sheet flush to the line, secure to studs with 1-1/2" finish nails (Images 2-3). Butt subsequent sheets; prioritize level top edge over tight joints, as stiles will cover them.
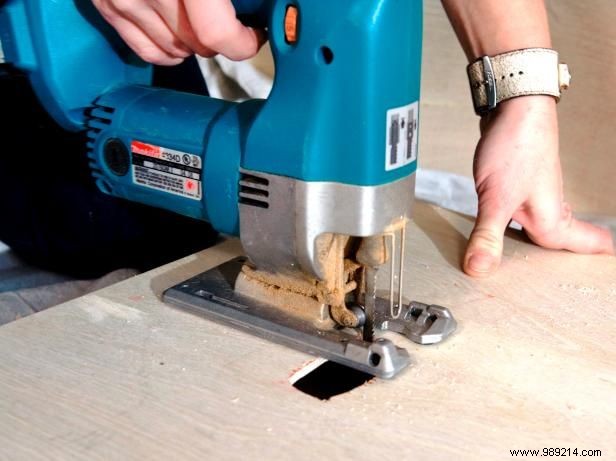
Fit the final corner piece with a circular saw. For outlets, measure precisely, cut with utility knife or jigsaw (Image 4). Nail all panels to studs with 1-1/4" finish nails once level.
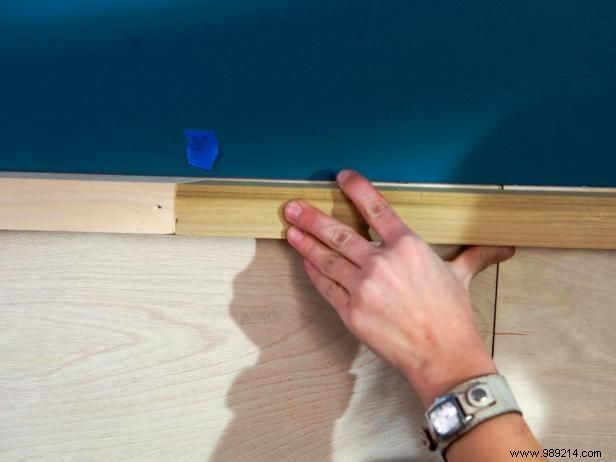
Place 1x6 top rail atop plywood edge. Secure through plywood, wall, and studs using 2-1/2" finish nails. For long walls, miter 45-degree ends, glue, overlap, and nail. Butt corners simply.

Cut 1x4 stiles to length (ours: 27-1/2") with miter saw for square ends.
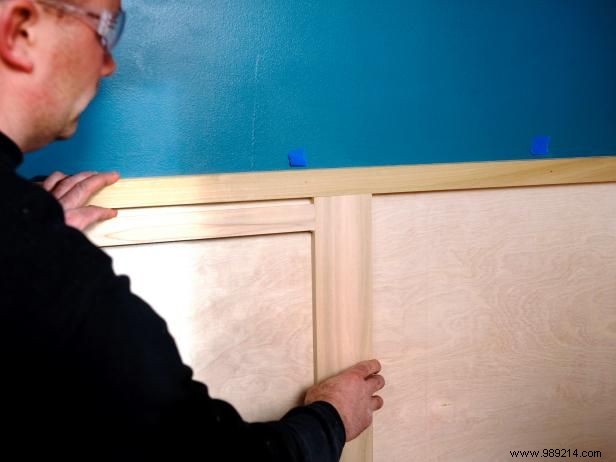
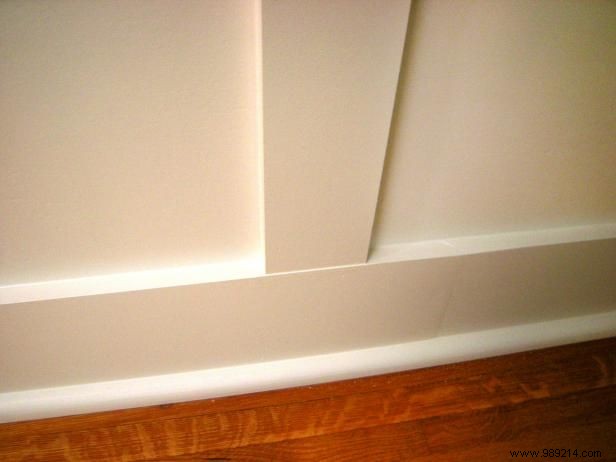
Mark layout aligning with wall studs where possible. Start at corner, mitering for clean joints (Image 1). Plumb each with level, nail with 2-1/2" finish nails. Use spacers for consistent gaps (Image 2). Toe-nail non-stud stiles to top rail with 1-1/4" nails.

Miter baseboard ends 45 degrees for seamless corners. Glue where meeting stiles (Image 1). Pry up to fit, nail through plywood/wall to studs with 2-1/2" finish nails—sink heads slightly.
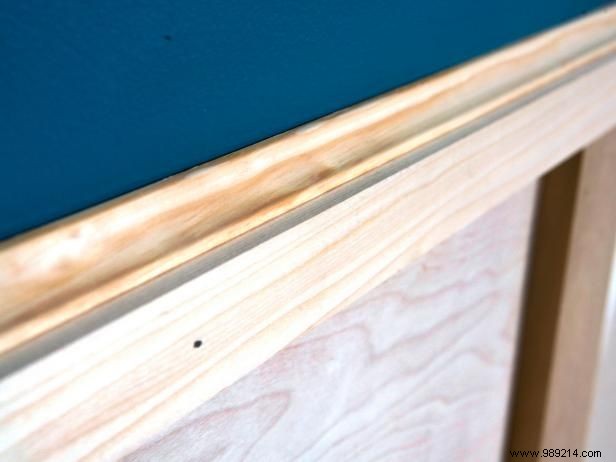
Miter cove trim for top rail (Image 2). Nail with 1-1/4" finish nails. Add inner cove for detail. Quarter-round shoe molding conceals floor gaps.
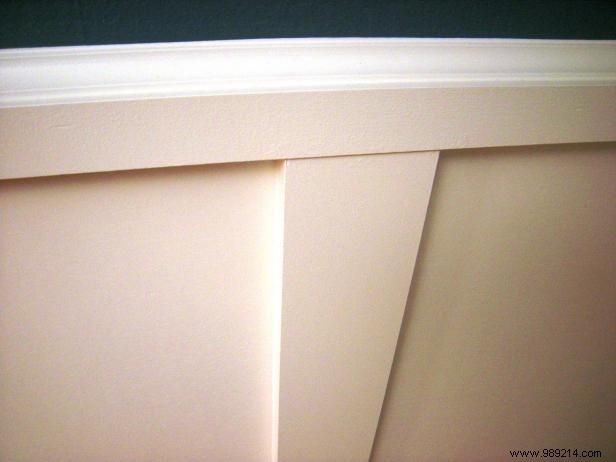
Fill nail holes with wood filler, dry, sand lightly (#220 grit), wipe with tack cloth.
For stain: Apply evenly, let penetrate 15 minutes, wipe excess. Repeat after drying.
Overnight dry time, then light polyurethane coat. Sand, tack, second coat.