As an experienced woodworker, I've found that meticulous planning ensures a flawless wine rack. This design features vertical "trees"—each with multiple horizontal supports for bottles. Sketch your layout based on bottle count, sizes, and available wall space. Each tree uses two long vertical boards with ladder-like horizontal rungs on both sides.
Measure your bottles precisely. Here, compartments are 4" square and 11-1/2" deep for a secure fit.
Using a table saw, rip 1x6 boards lengthwise in half. Round the edges with a router for a professional finish. Cut to exact lengths and set aside.

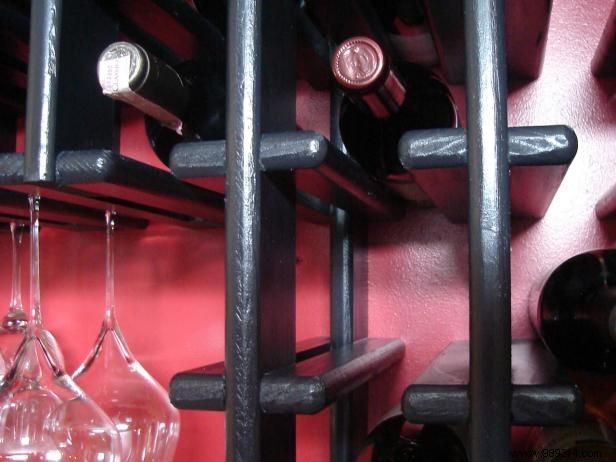
These short pieces cradle the bottles between verticals. Rip 1x6s in half on the table saw, then halve again. Cut to length and rabbet one end on a router table (Image 1).
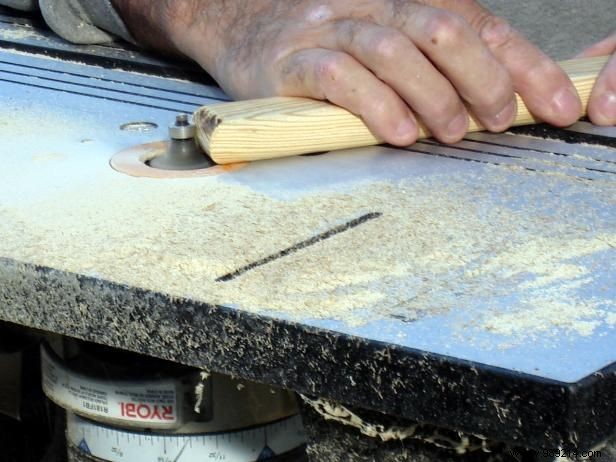
For efficiency with repetitive cuts, create a template from your first piece and attach it to the miter saw (Image 2). This speeds up production dramatically over individual measurements.
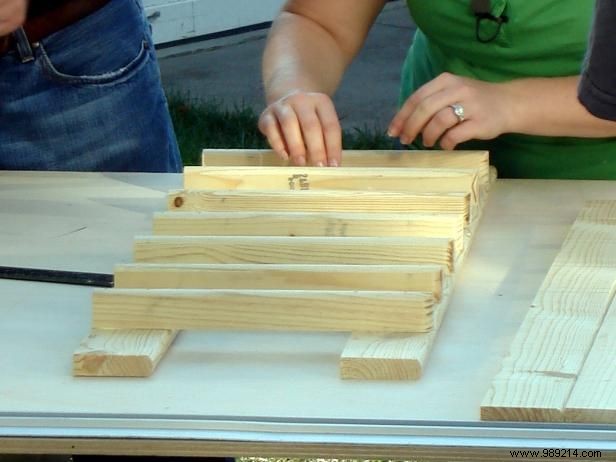
Align vertical pieces evenly at the bottom. Mark straight lines across for horizontal placements. Secure with wood glue and nails for sturdy construction.
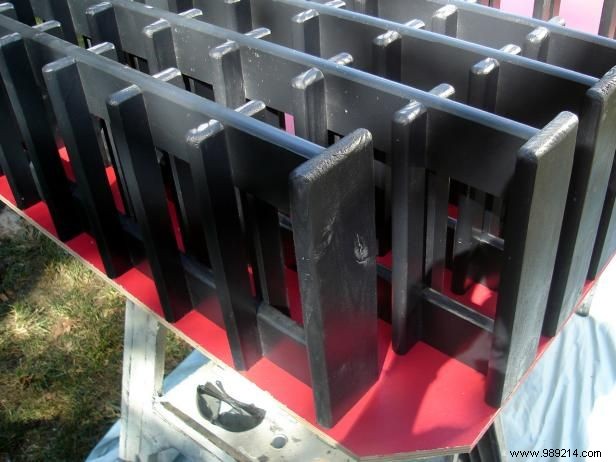
Prime and paint to your preference. With complex shapes, a paint sprayer is ideal—as I did here with tinted primer for superior coverage and fewer coats.
Cut plywood to size for wall mounting. Sand smooth, round edges with a router, then prime and paint.
Dry-fit trees on the backing board and adjust spacing. Cut spacers for consistency. Secure the first tree from below with screws, aligning to edges. Add remaining trees using spacers for even gaps.
Nail trim around the backing board for a polished look. Position the assembly level on the wall, securing screws into studs through the backing for rock-solid support.