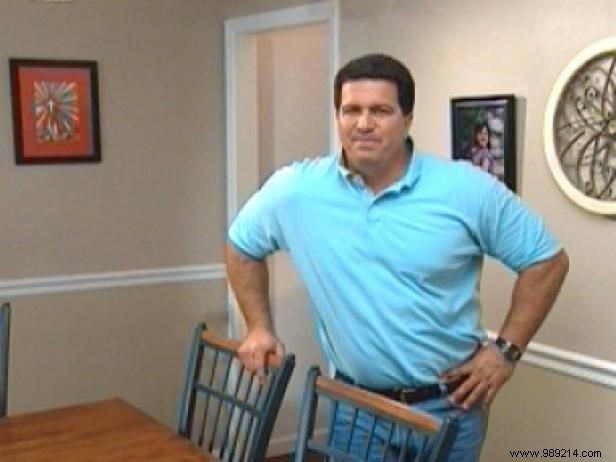
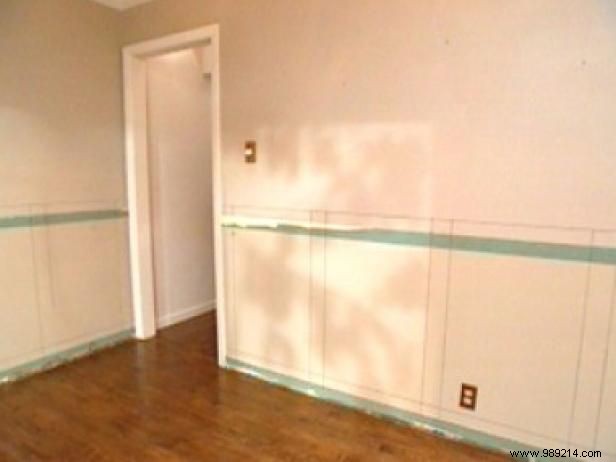
Though this dining room (Image 1) appears standard, it features four moldings with varying start and stop points. For this project, we'll leave the door skin intact as it aligns perfectly with the crown molding at the wall tops.
Begin by clearing all furniture to create ample workspace.
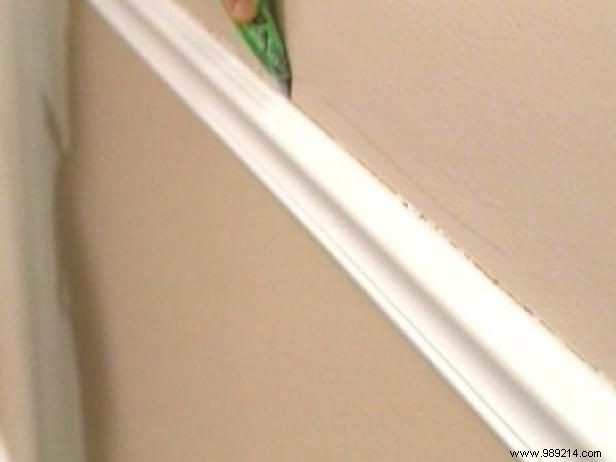
Score the top and bottom edges of the chair rail with a utility knife (Image 2). Mark mitered corners and ends meeting the door skins for smoother removal.
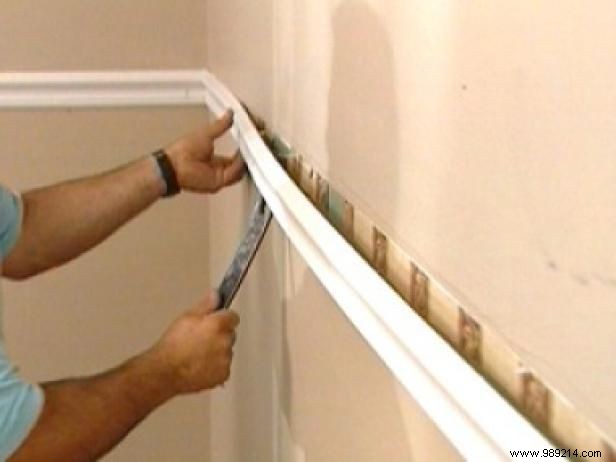
Insert a flat pry bar behind the chair rail and gently pry it from the wall (Image 3). Proceed around the room to remove the chair rail and base molding.
Finally, scrape away any old wallpaper remnants beneath the chair rail.
Always work below the chair-rail line. This ensures any wall imperfections are concealed by the new wood siding.

Horizontal rails run corner to corner—straightforward. The challenge lies in panel spacing, vertical studs, and accommodating outlets, which should align with panels, not frames.
Measure 5-1/2 inches from the floor and use a level to draw the new base molding line (Image 1).
Assess a dining chair's height to set the ideal chair rail position. Measure the wall at one spot and level-mark the second horizontal line (Image 2).
With lines in place, measure wall lengths for panel sizing. Divide the shortest wall by four for even panel widths. Level-mark vertical lines to ensure they're plumb.
Note: Studs conceal panel seams, making precise placement essential to the design.
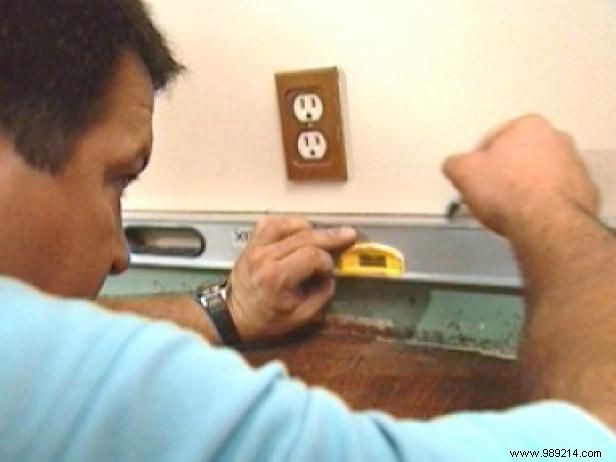
Once marked (Image 3), verify outlet positions and finalize the layout.