Looking for a fresh twist on the traditional bridal bouquet? Dangling ribbons add graceful movement and vibrant color, creating a personalized, photo-worthy accent for your wedding day.
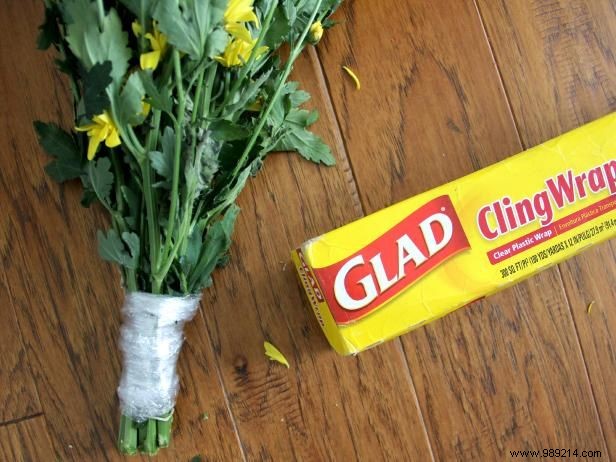
Wrap the flower stems with plastic wrap, starting from the bottom and working upward to the point where the tape will cover.
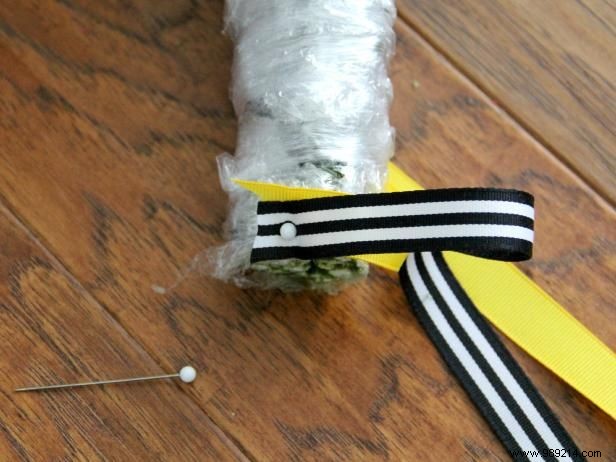
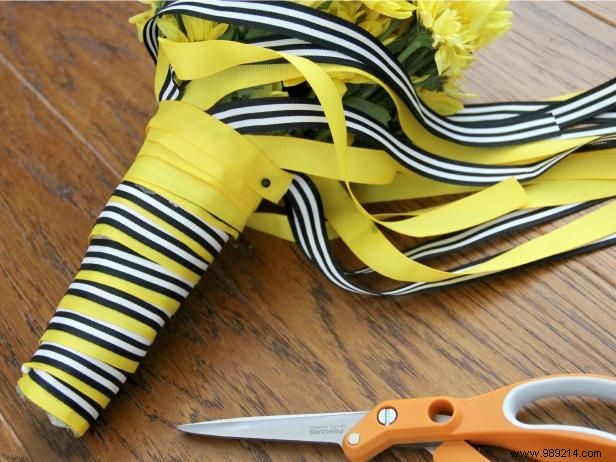
Beginning at the bottom of the stems, insert a pin into the ribbon to anchor it securely. Wrap the tape steadily and firmly around the stems to hold everything in place.
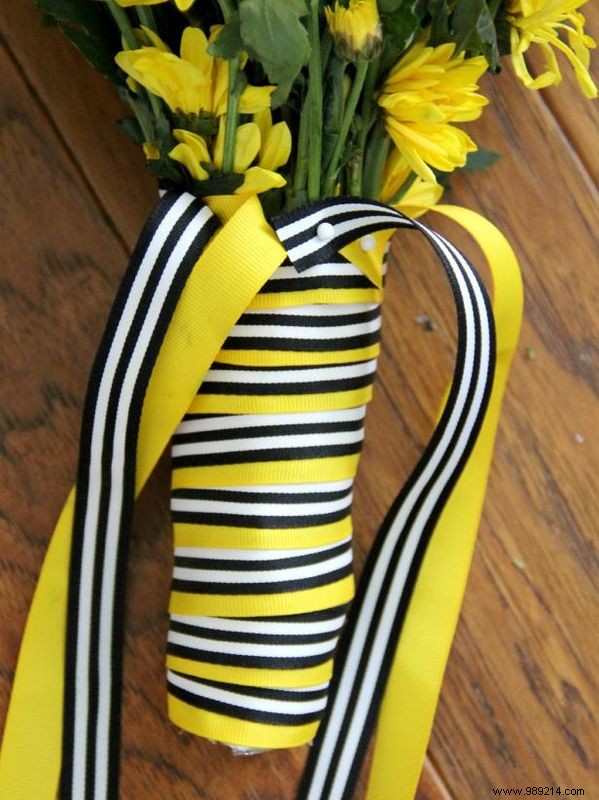
At the top of the plastic wrap, secure the ribbon with another floral pin.
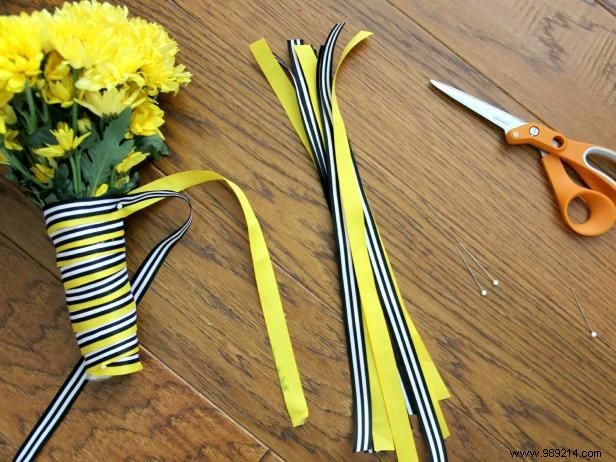
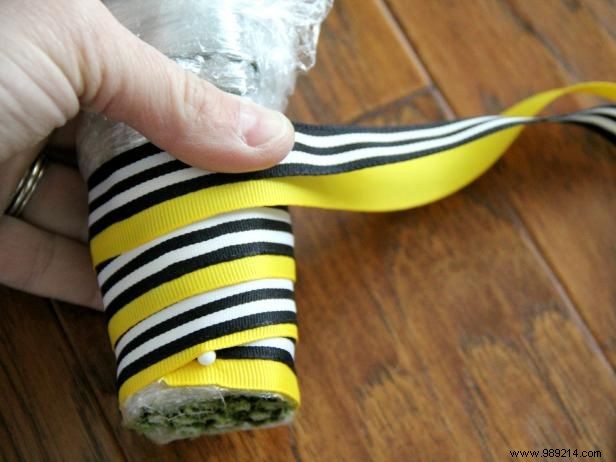
Cut 10 to 20 pieces of 12-inch ribbon strips.
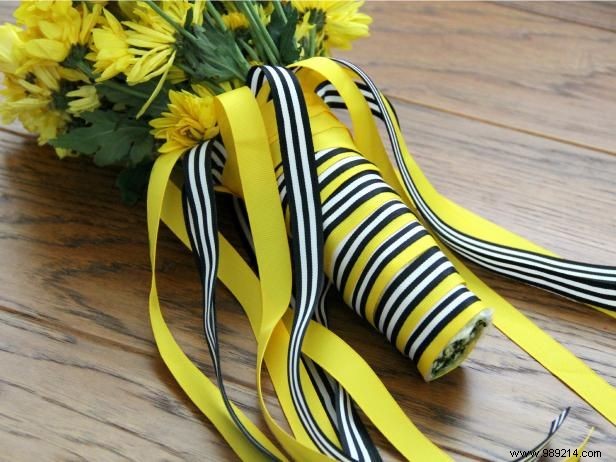
Pin the bottom edge of each strip around the top of the flower stems where the tape ends, overlapping the previous strip until all are attached.
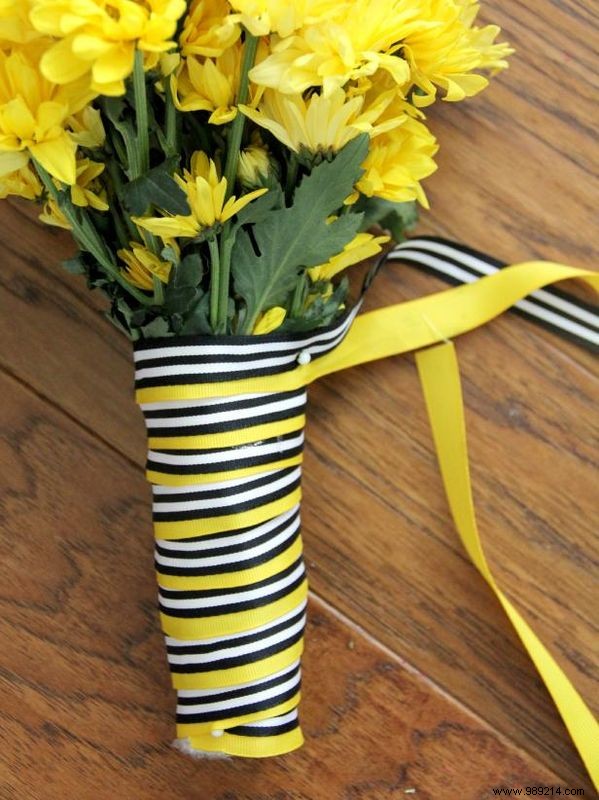
Cut one final two-foot ribbon piece. Wrap it around the top to conceal all ends and pins, securing with a final floral pin.