As a seasoned crafter with years of experience creating custom wedding decor, I've perfected this simple yet stunning DIY for giant fabric-covered table numbers. Personalize them with your unique style to elevate your wedding reception.
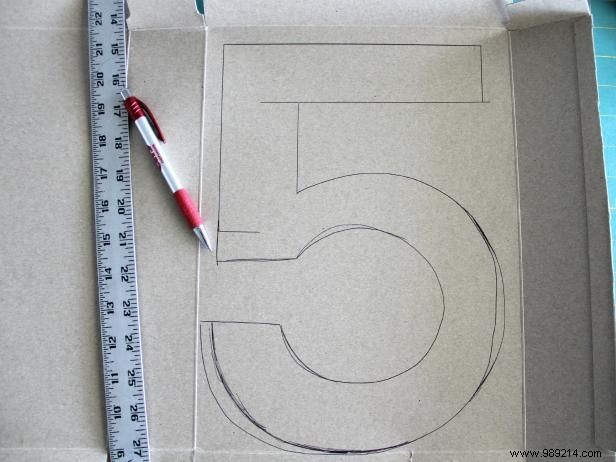
Draw an outline of the number on the inside of a cardboard cereal box. Use a ruler for straight lines and a protractor for smooth curves.
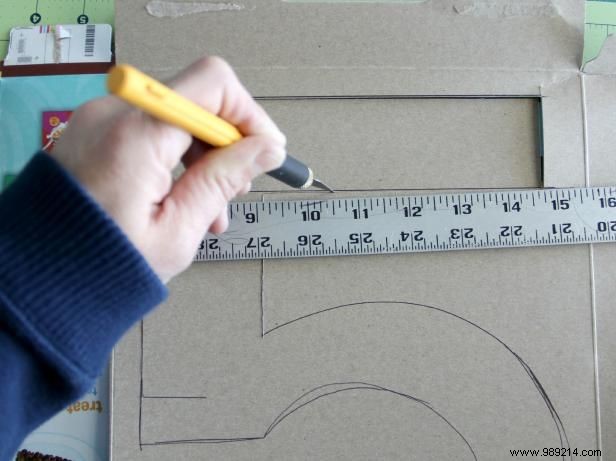
Fold the box in half and cut out two mirror-image shapes.
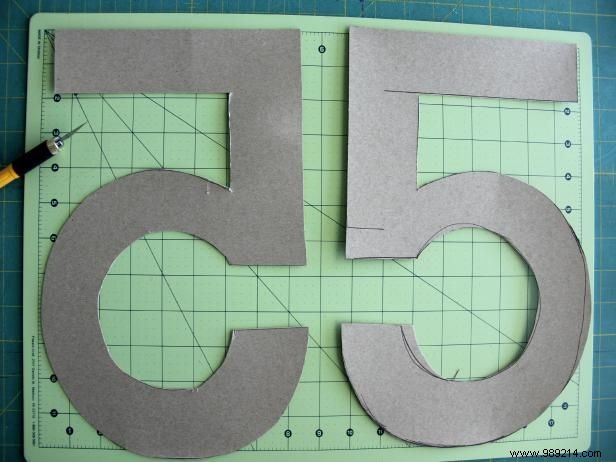
You now have two identical number shapes.
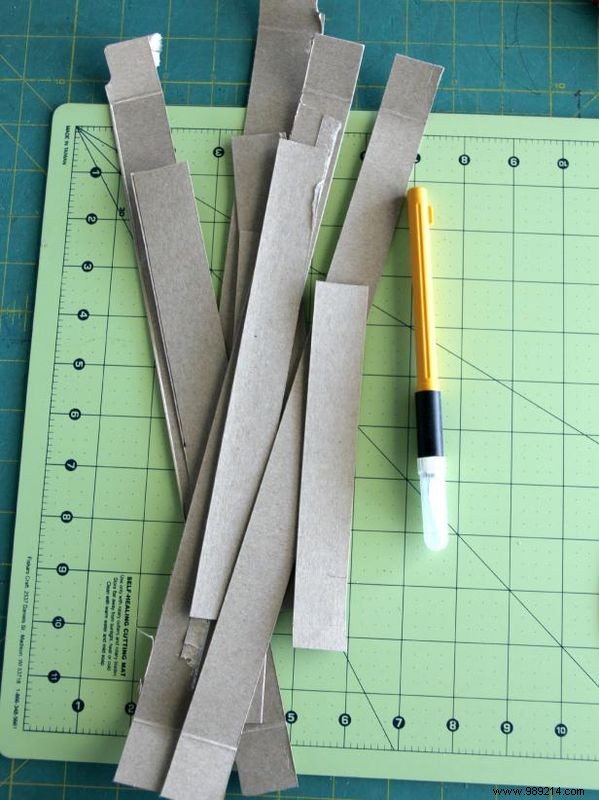
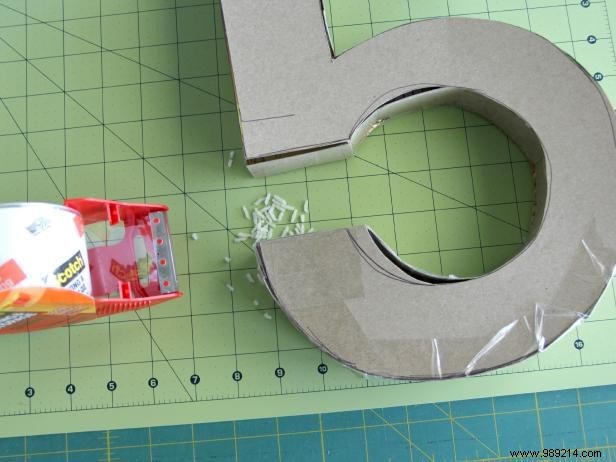
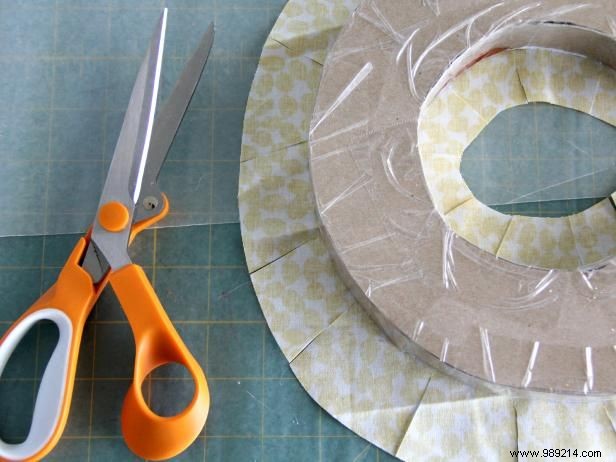
From the remaining cardboard, cut several 1-inch-wide strips.
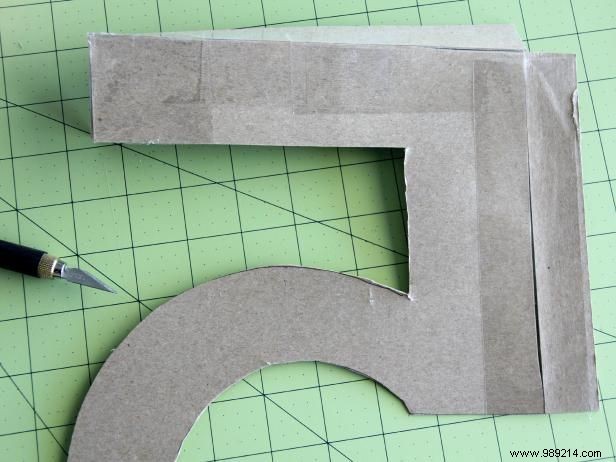
Align the strips along the side edges of the number and trim to fit.
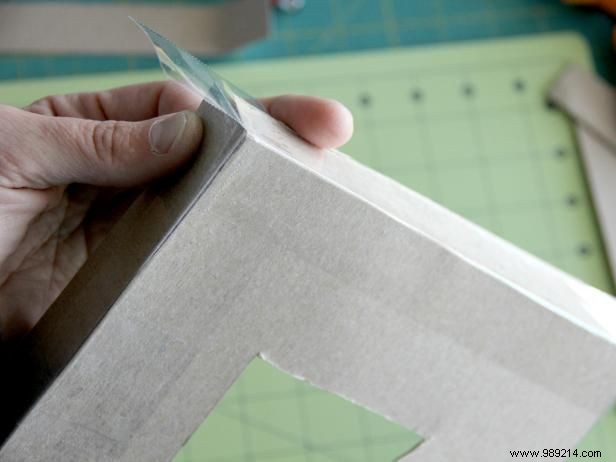
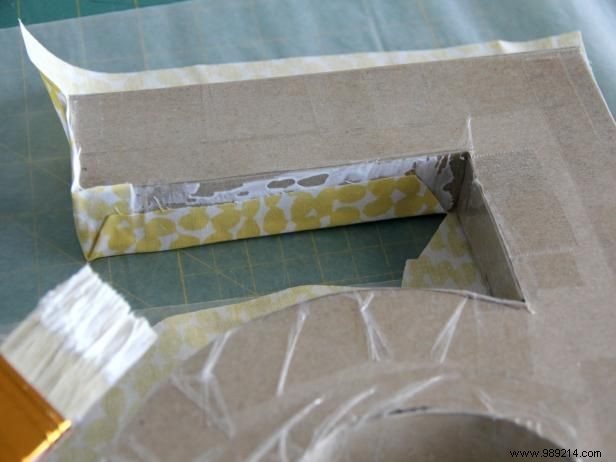
Bend each strip at a 90-degree angle and glue to the front edges of the number.
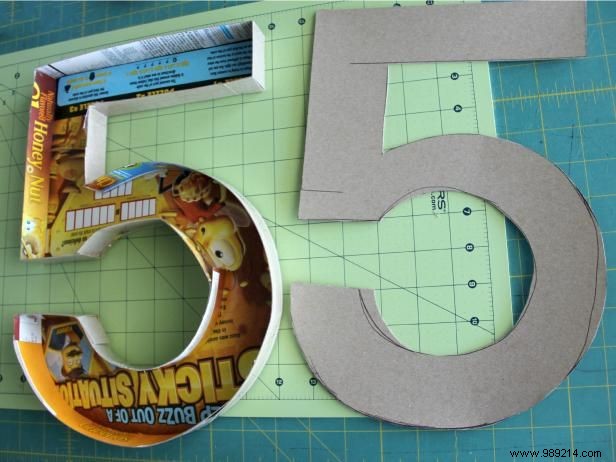
You should have a 3D number with sides and a flat mirror piece.
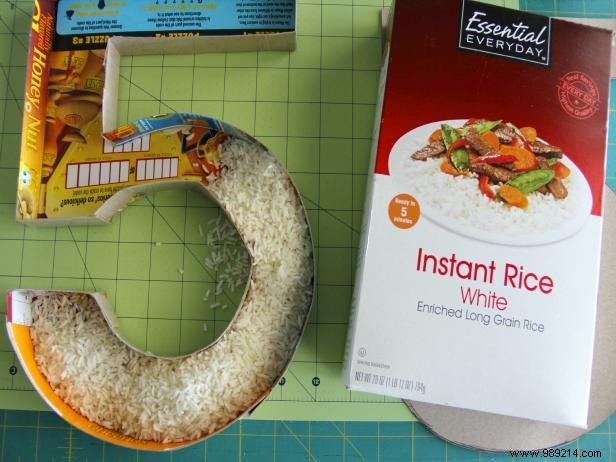
Partially fill the sided number with rice for stability, preventing it from tipping over.
Place the flat number on top and glue around the edges.
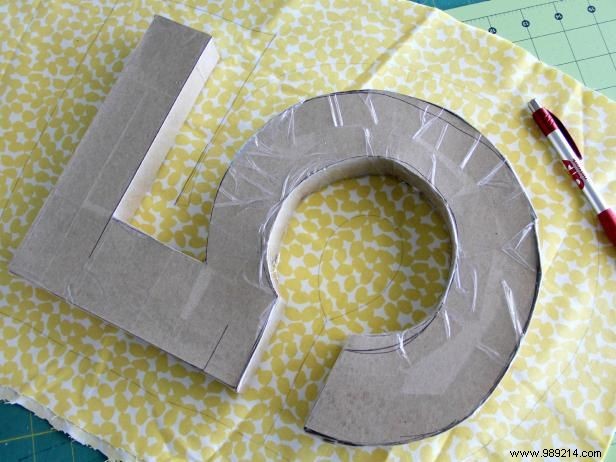
Fold fabric in half, place the number on it, and trace with a 1-inch border.
Cut out two mirror-image fabric pieces.
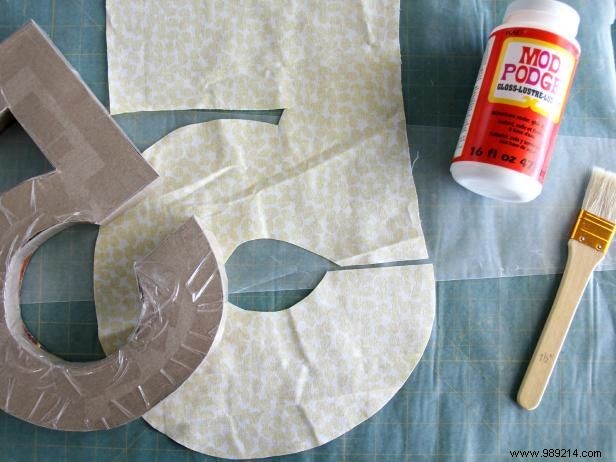
Brush Mod Podge on the back of the cardboard and center it on the fabric's wrong side.
Notch the 1-inch fabric edges around curves for a smooth fit.
Apply Mod Podge to the sides and fold the fabric over.
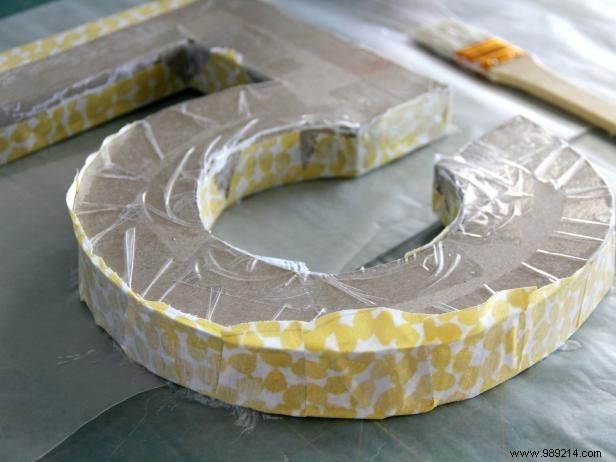
Continue around the entire number.
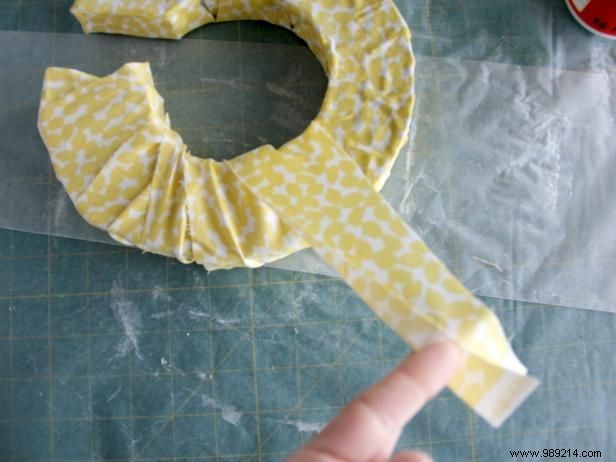
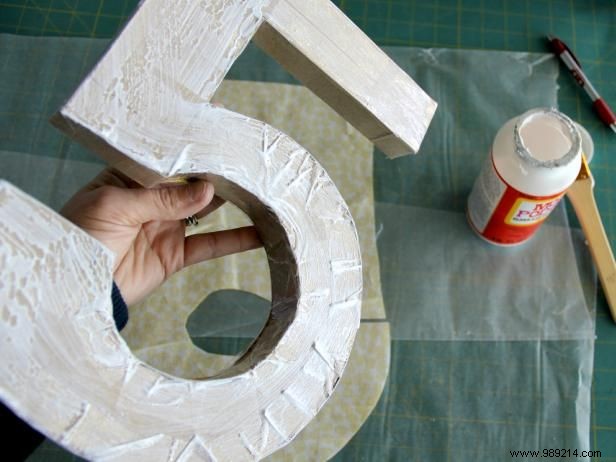
Repeat on the other side. Cut 2-inch fabric strips, glue one end, wrap around sides, and secure ends with Mod Podge until satisfied.
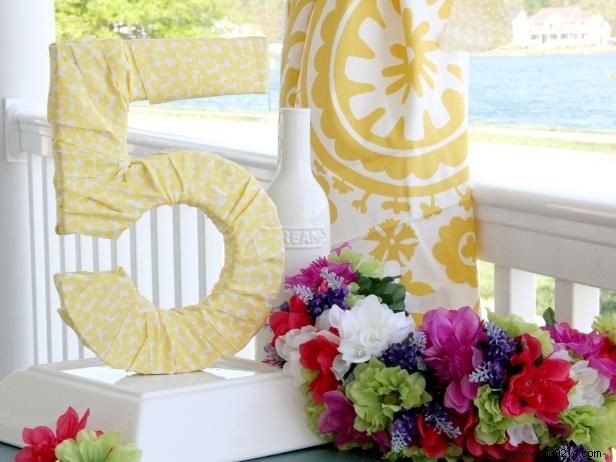
This elegant fabric-covered number is a perfect wedding table centerpiece. Embellish with flowers, rhinestones, pearls, or glam accents for a personalized touch.