As a bridal accessory specialist with years of experience creating custom veils, I can tell you that nothing elevates your wedding look like a handmade veil. Whether you're planning a modern or traditional ceremony, crafting your own adds a deeply personal touch that store-bought options can't match.
These standard measurements are based on popular veil lengths, positioned atop your head. For precision, measure from your desired head placement to the veil's end point on your body, then add 1 inch.
Veil lengths:
Shoulder: 22"
Elbow: 25"
Waist: 30"
Mid-hip: 33"
Hip: 36"
Fingertips: 45"
Waltz: 54"
Ankle: 70"
Chapel: 90"
Cathedral: 108"
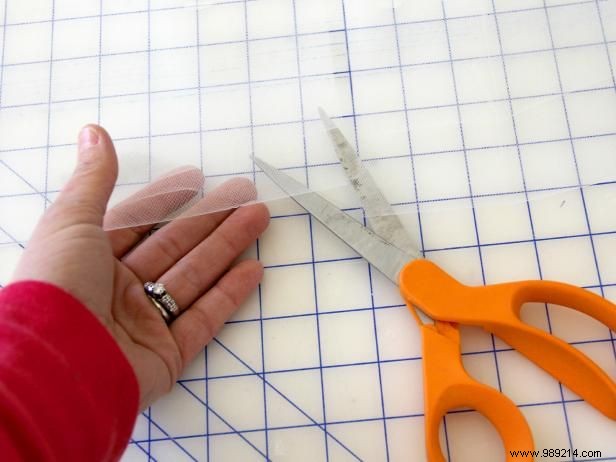
Cut tulle to your chosen length by 3 yards wide. Always cut in a single layer—never folded—to avoid jagged edges. This creates a classic single-tier veil. For a double-tier style, cut two separate pieces to the desired lengths.

Along the top edge, sew a row of gathering stitches—a loose, long basting stitch with unknotted ends for easy pulling.
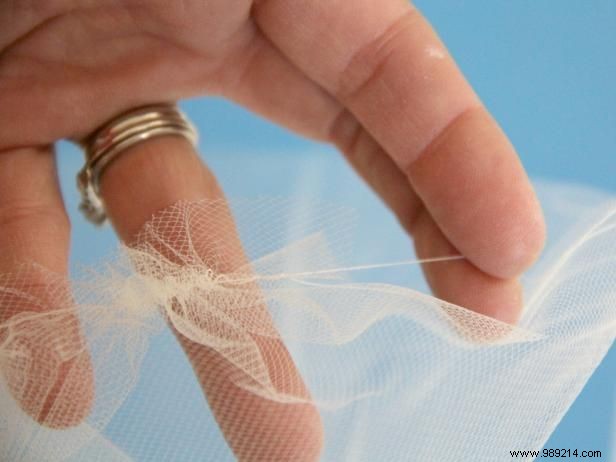
Gather the top edge by gently pulling the bobbin threads from both sides until evenly bunched.
Continue gathering until the top matches the width of your comb for a secure fit.
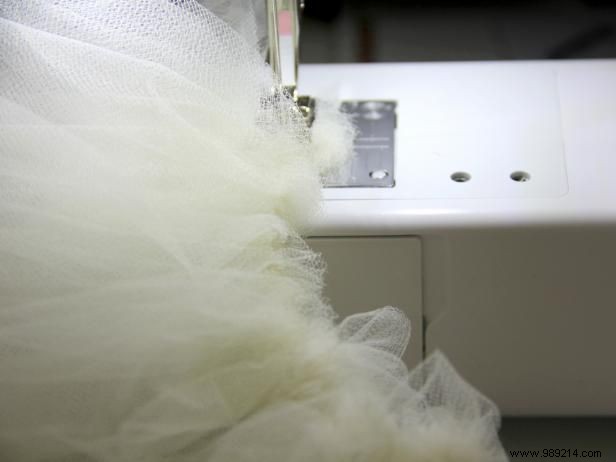
Stitch over the gathered top with a standard stitch, feeding the fabric tightly through the machine. This locks the gathers in place securely.
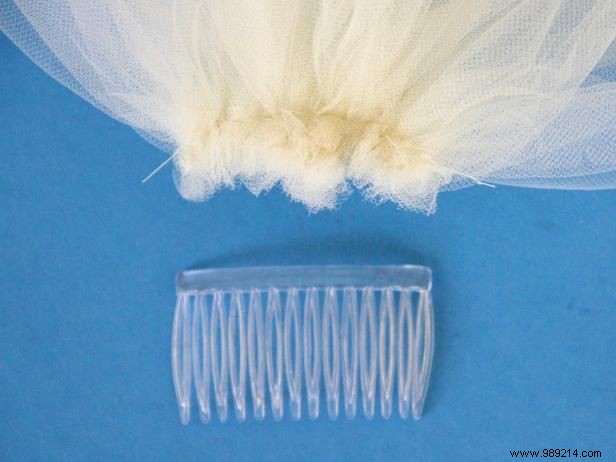
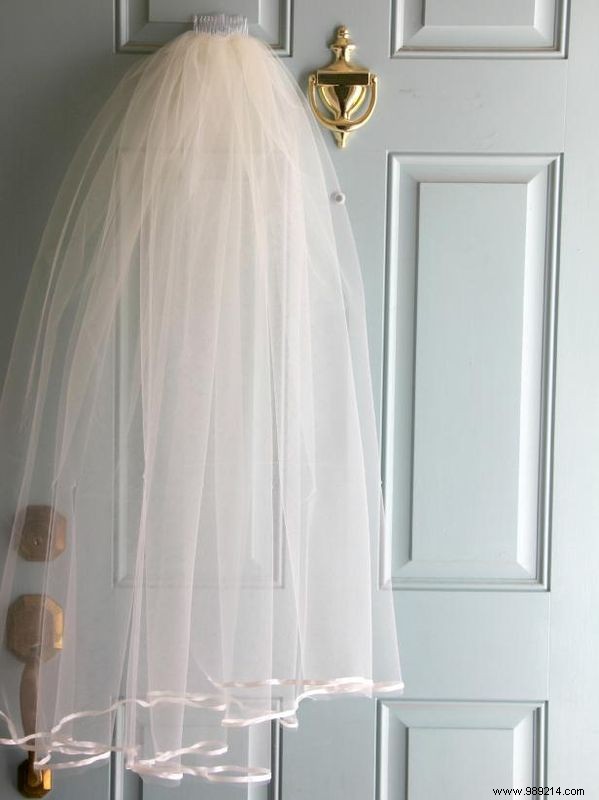
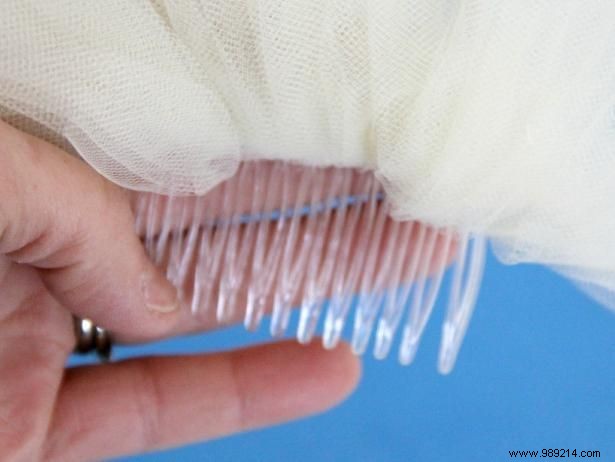
Your veil should now look like this, with a neatly gathered top ready for attachment.
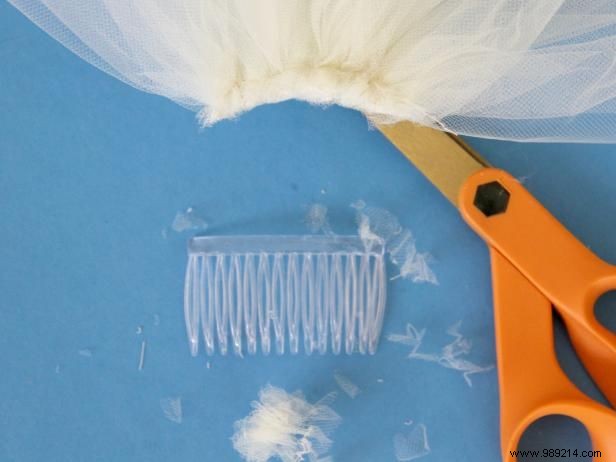
Trim excess tulle from the gathered ends to create straight, polished lines.
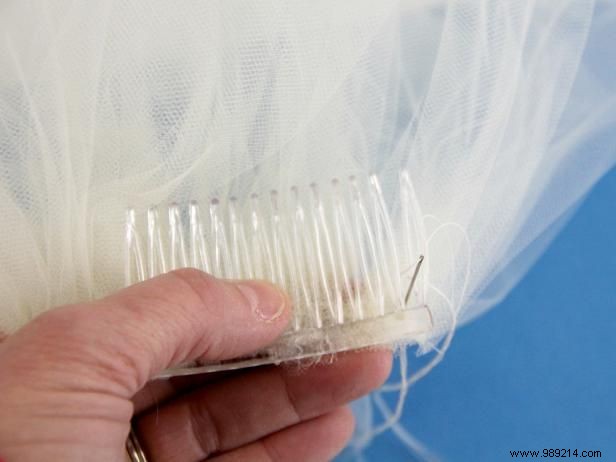
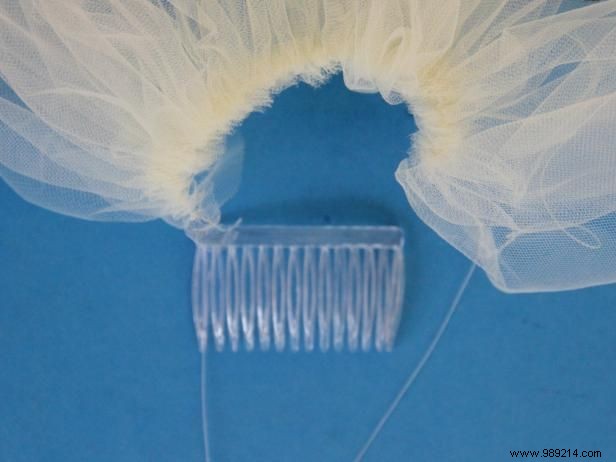
Position the comb upside down against the veil's wrong side. Align the gathered top with the comb's top teeth. Hand-sew the gathered edge around the comb using strong thread and needle.
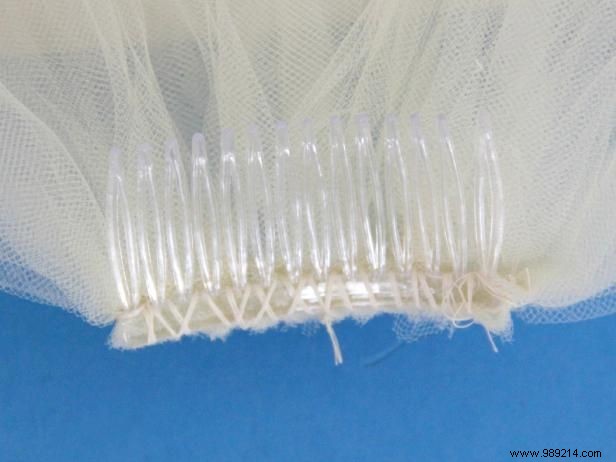
Wrap thread fully around the comb's top, ensuring a firm hold.
Turn the comb forward; the veil will naturally cover the stitches for a seamless look.
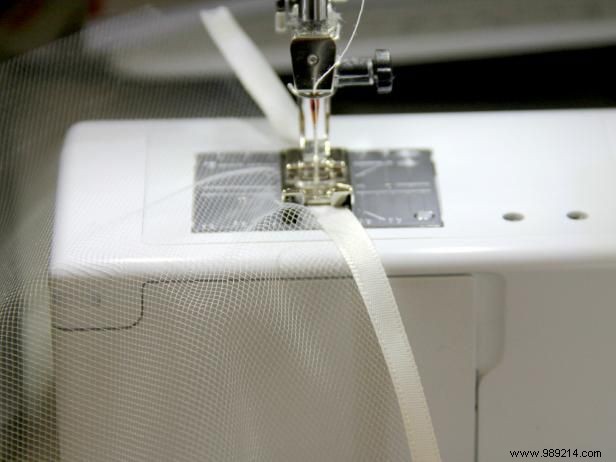
Sew a delicate silk ribbon along the bottom hem, right side up over the veil's right side. Stitch directly atop the tulle edge. Finish ribbon ends with fray check or by folding under 1/4 inch before sewing.
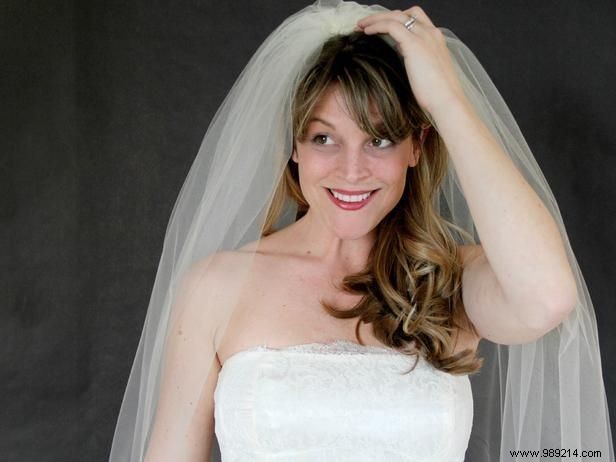
Secure the comb in your hair and step into your moment with pride—your custom veil is complete!