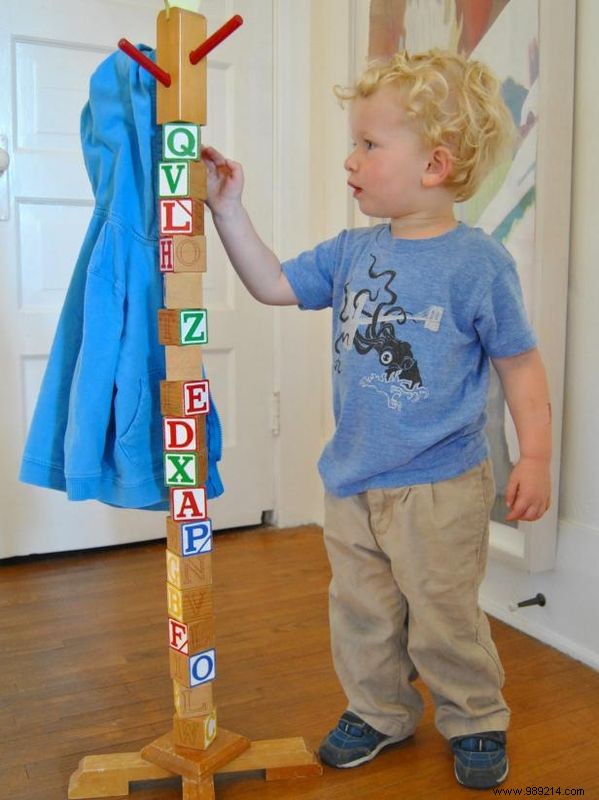
As a parent and DIY enthusiast with years of hands-on woodworking projects, I've found building blocks to be endlessly versatile. If you have extra sets lying around, repurpose them into this charming, sturdy coat rack tailored for kids' rooms. It's a practical way to teach organization while adding a playful touch.
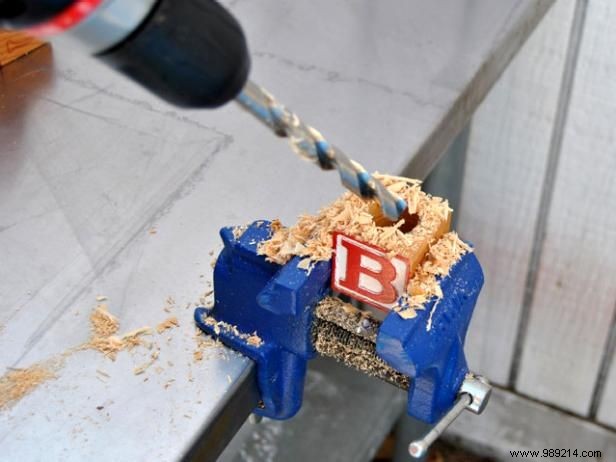
A drill press ensures a perfectly straight hole straight down through the block's center, which is crucial for alignment. That said, a cordless drill on a stable surface works reliably too, as we've tested in our workshop.
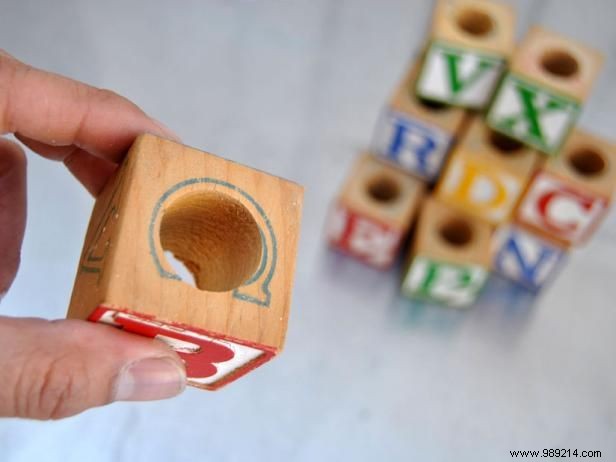
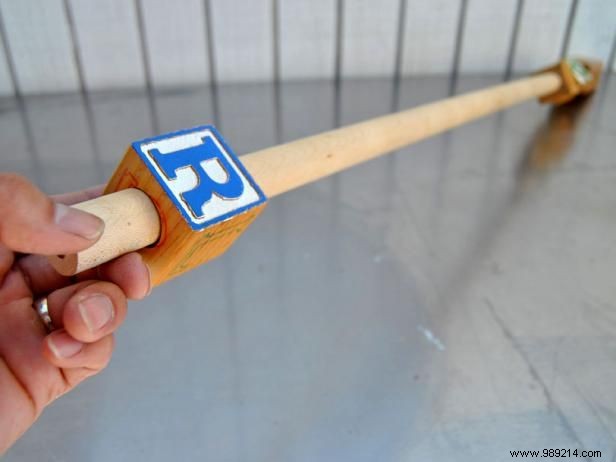
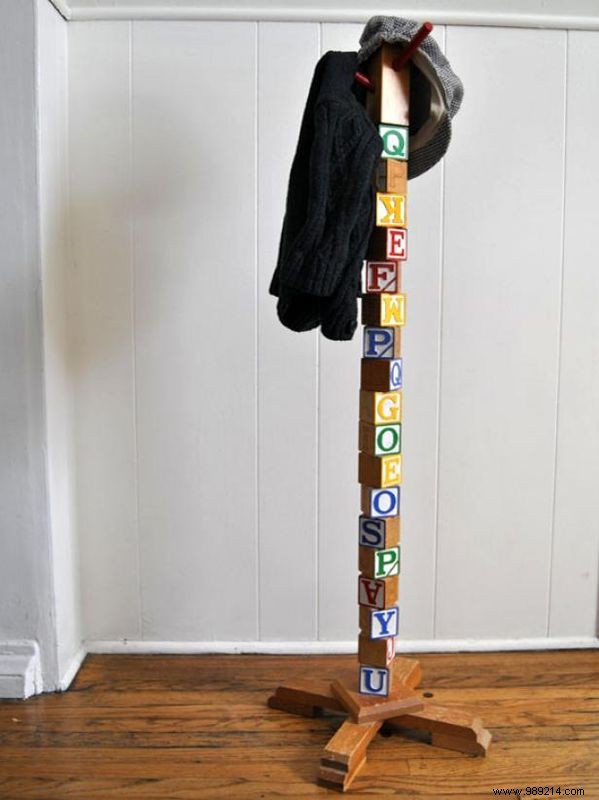
Prepare enough blocks for your desired height—we used 18 solid ones to create a substantial rack.
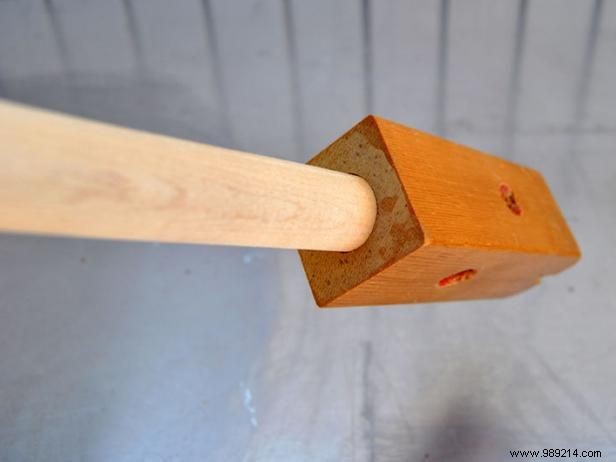
For the crown of the coat rack, select a rectangular block. Drill a centered hole in its bottom to fit the main dowel snugly. Switch to a smaller bit and drill four angled holes (about 45 degrees) on each side for the coat pegs.
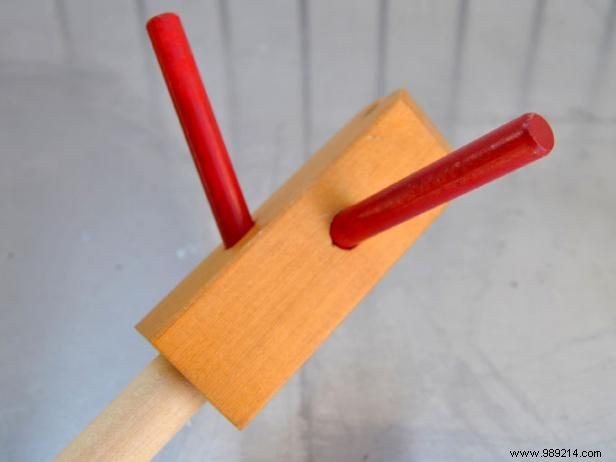
Cut a 7/16-inch dowel into four 5-inch lengths. Optionally, paint them for a pop of color and let dry. Apply wood glue to each end and tap them securely into the angled holes.
Slide the drilled blocks onto the main dowel, starting from the peg holder top. Our stack of 18 blocks measured 30 inches; measure for your base allowance, then trim the excess dowel cleanly.
Sand smooth, clean, or paint the base for a polished finish that matches your decor.
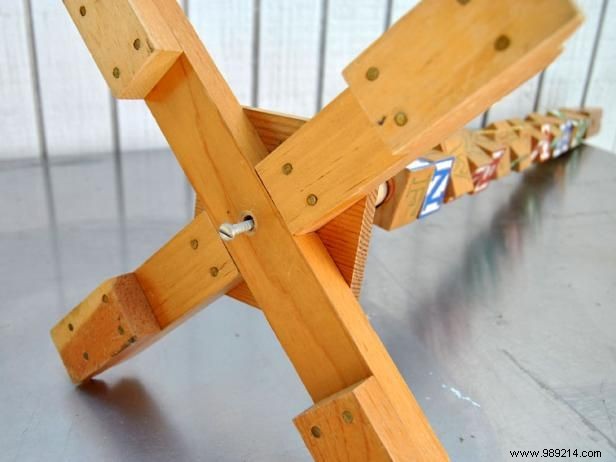
Drill a pilot hole in the dowel's bottom end for a wood screw. Add another through the base's center. Insert the dowel, drive the screw, and reinforce with wood glue for rock-solid stability.
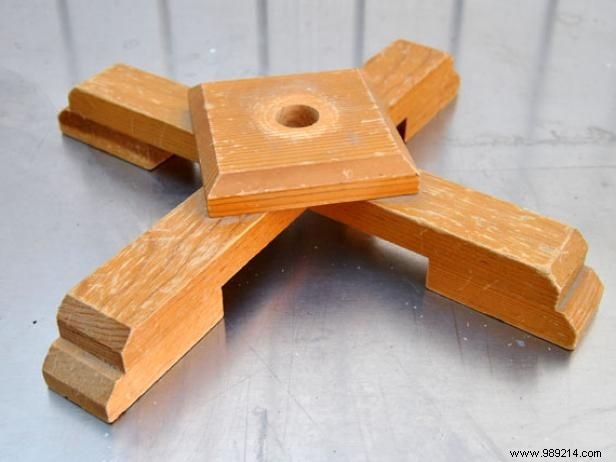
This project brilliantly upcycles old blocks and, in our case, an antique lamp base. Source a base from scrap furniture or craft one from pine for endless customization.