These lush hanging moss topiaries thrive in humid environments like bathrooms or above kitchen sinks. As an experienced crafter, I've found misting them with water whenever they look dry keeps them vibrant and healthy for months.
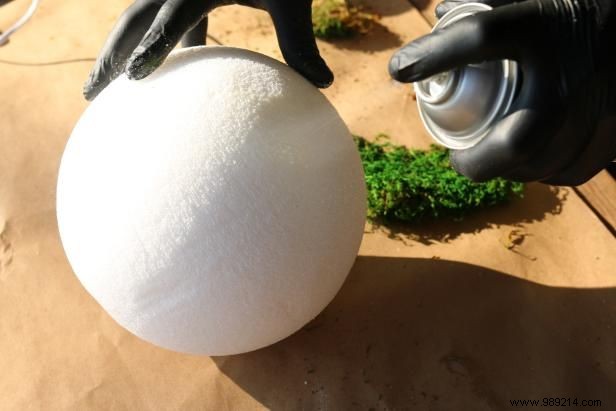
Protect your workspace by spreading kraft paper on a flat surface. For the moss to stick securely to the foam spheres, apply spray adhesive evenly. Hold the can 8 inches away and press the nozzle for optimal coverage.
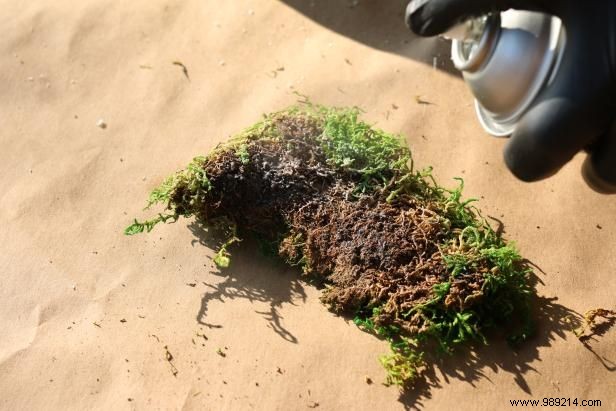
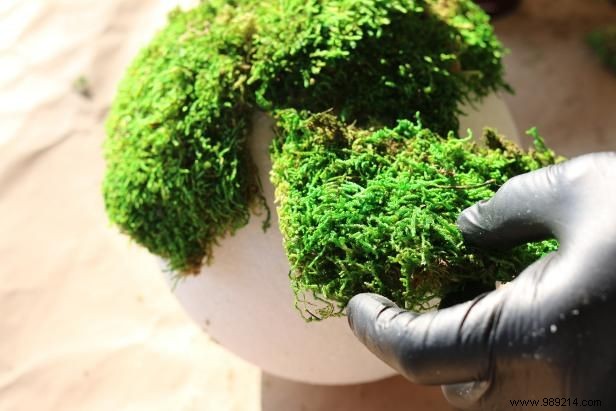
Flip moss sections upside down and lightly coat with spray adhesive. Cover the sphere completely, overlapping pieces slightly and working in sections for a seamless finish.
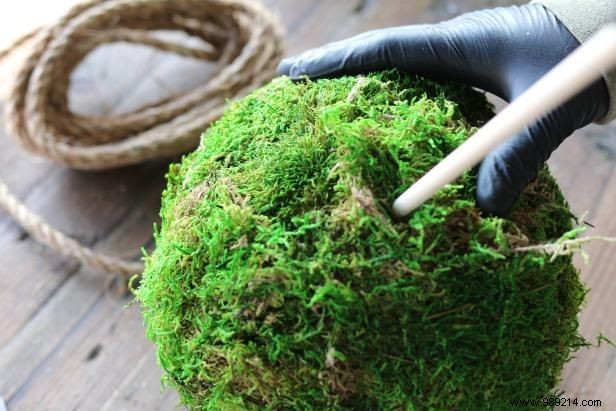

To hang the spheres, thread sisal rope through a central channel in the foam. Use a wooden dowel: position it at the top and push firmly until it pierces the bottom. Check for loose foam and smooth the surface if needed.
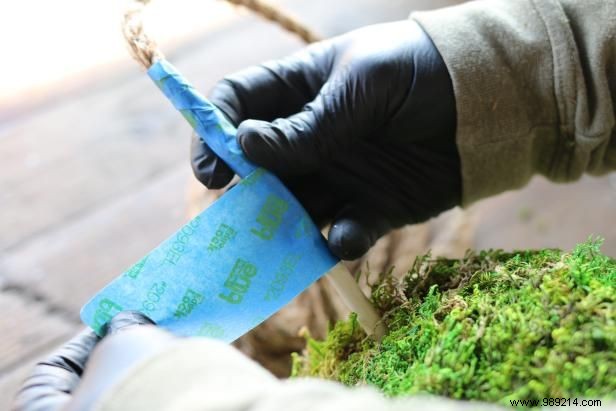
Cut sisal rope into varied lengths (differing by less than 10 inches) for a balanced clustered look. Tape one end to the dowel, then guide it through the channel until 4 inches protrude from the bottom—this prevents fraying.

Knot the rope end at the bottom of each sphere. Install eye hooks in ceilings or beams, then thread the top ends through for effortless, elegant suspension.