These charming Halloween-themed canvas tote bags, crafted by experienced DIY expert Debbie Wolfe, are built to last. Simple to make and incredibly sturdy, they're perfect for trick-or-treat candy or even October grocery runs.
Debbie Wolfe
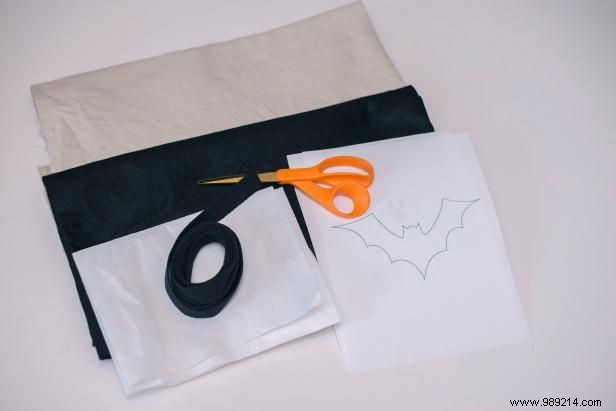
Choose any colored canvas or cotton duck fabric. Equip your sewing machine with a heavy-duty denim needle and thick cotton thread for best results.
For unbeatable value, opt for painter's canvas drop cloth from the paint aisle at your local home improvement store.
Debbie Wolfe
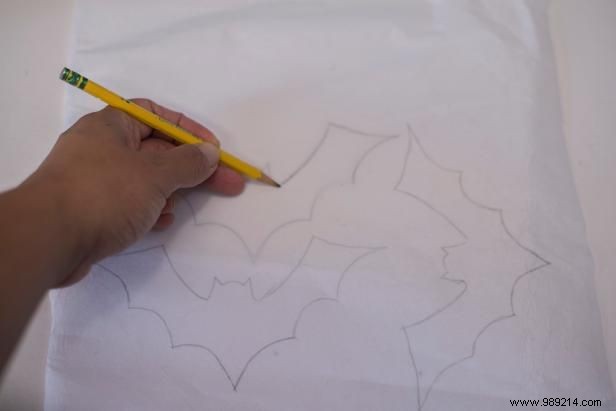
Trace the ghost or bat outline onto the paper side of the fusible web.
Skip the fusible web? Freezer paper or wax paper works great as a substitute.
Debbie Wolfe
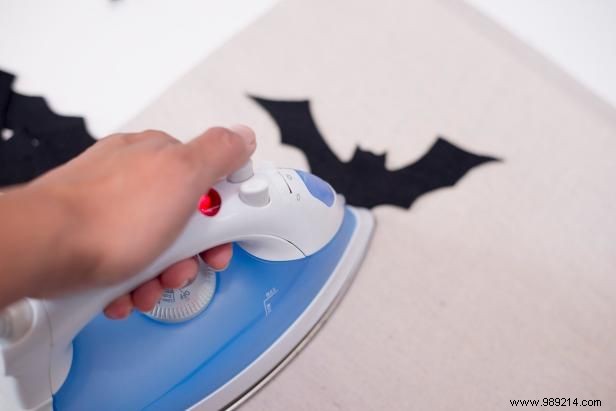
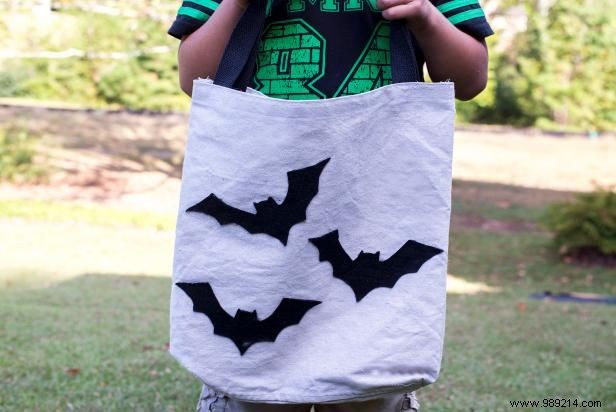
Place fusible web paper-side up on felt, then low-iron to adhere. Cool slightly, cut out shapes, peel off paper, and position sticky-side down on the right side of a 15x18-inch canvas piece. Low-iron to secure.
Without fusible web, iron freezer paper to felt on low heat for temporary hold. Cut out, remove paper, and apply hot glue to canvas.
Debbie Wolfe
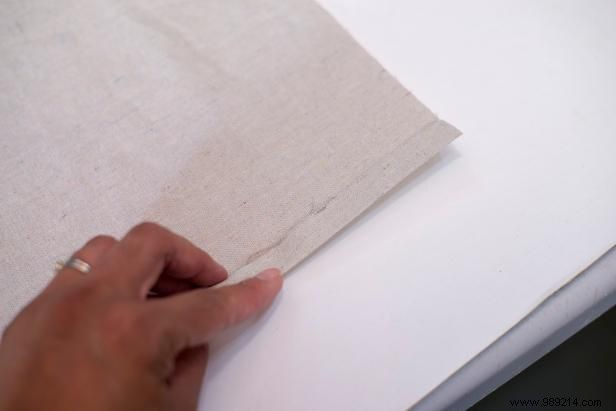
With wrong side up, fold and press the top edge of one bag piece down 1 inch.

Debbie Wolfe
Fold down another inch and press. Stitch along the top and bottom of the hem.
Debbie Wolfe
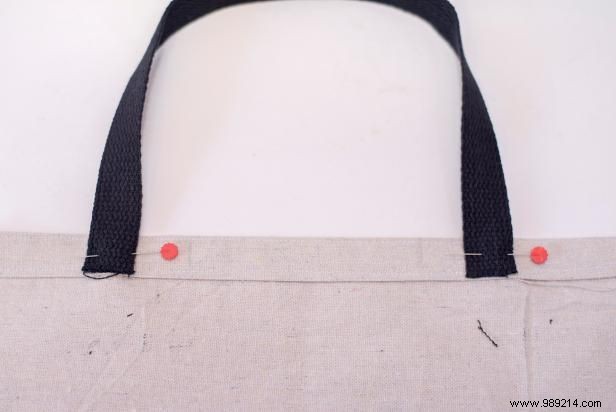
Unfold the hem and tuck one end of the webbing strap inside, raw edges in the fold. Position the strap's outer edge about 4 inches from the canvas side edge. Repeat on the opposite side, avoiding twists. Do the same on the second canvas piece.
Debbie Wolfe
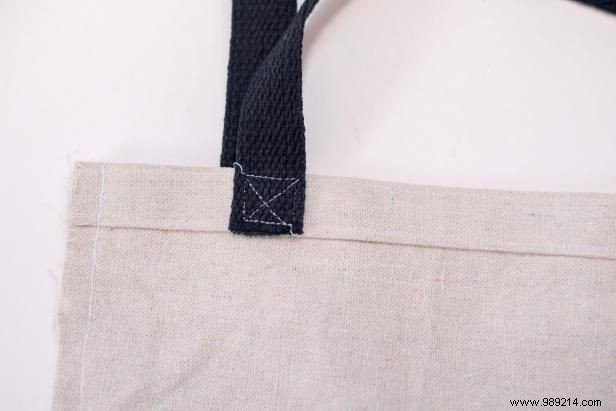
Stitch a box around the strap attachment, then an "X" in the box center for reinforcement. Repeat on all sides and both canvas pieces. Pin right sides together and sew sides and bottom with 1/2-inch seam allowance.
Debbie Wolfe
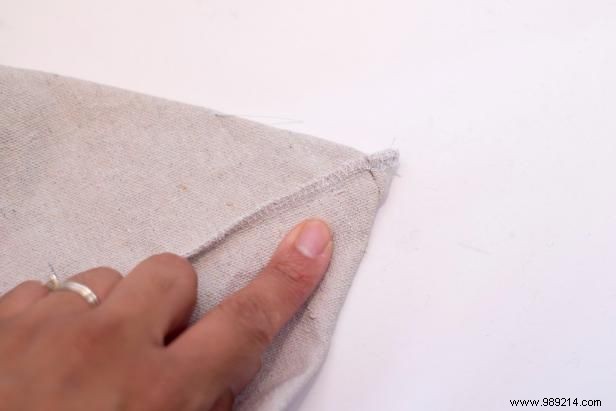
Match side and bottom seams at a corner, flatten, mark a line perpendicular to the seam, and stitch across. Repeat on opposite corner.
Debbie Wolfe
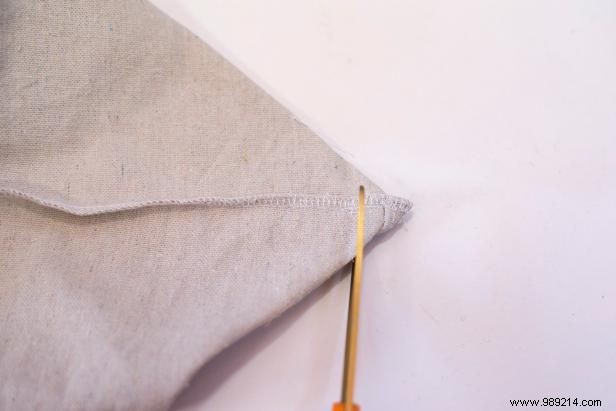
Trim excess fabric. Repeat on the other corner, turn right-side out, and your bag is ready!
Debbie Wolfe