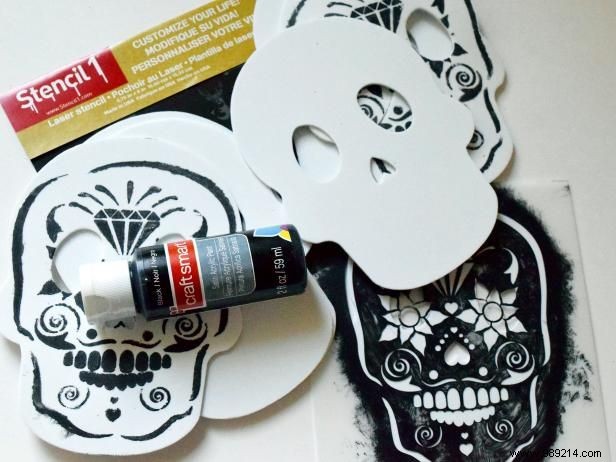
As a crafting enthusiast with years of experience in festive decorations, start by placing the template over the foam skulls. Use craft paint with a dry brush technique for crisp stencil results on the skulls. Allow the paint to dry completely before proceeding.
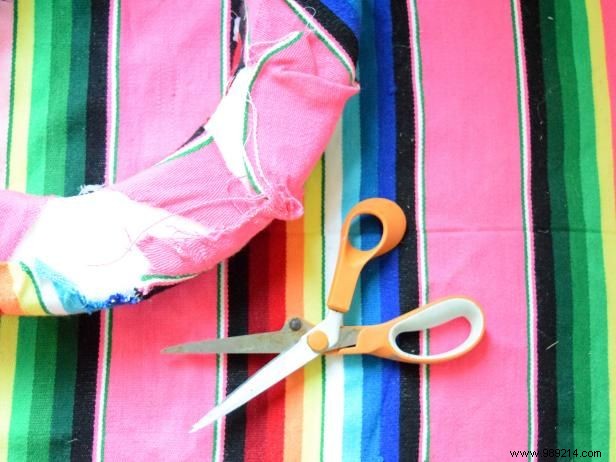
Lay the foam crown on the serape fabric and measure roughly to cut a piece that fits snugly around it.
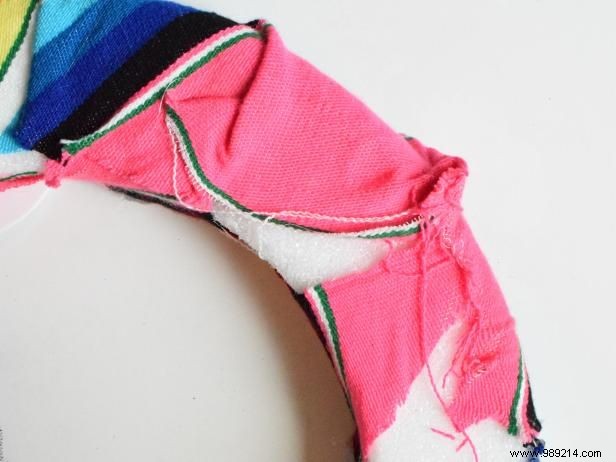
Cut the serape into triangles for easy wrapping around the inside of the garland. Don't worry about messy edges—they'll be hidden once hung.
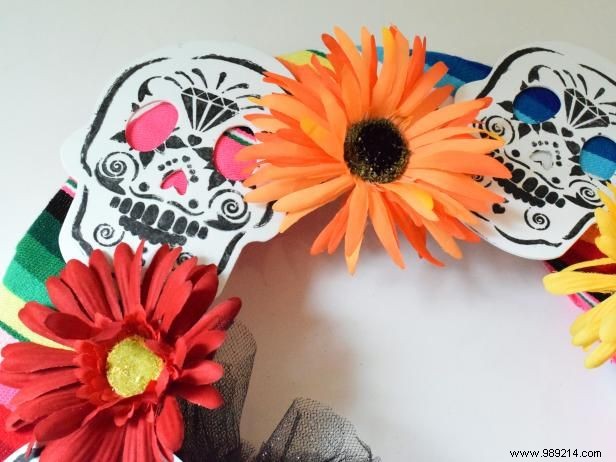
With a hot glue gun, embellish the crown with flowers, skulls, and clusters of tulle for authentic Día de los Muertos flair.

Secure ribbons, trims, and twine in assorted colors and lengths to the bottom of the garland using hot glue for a festive finish.