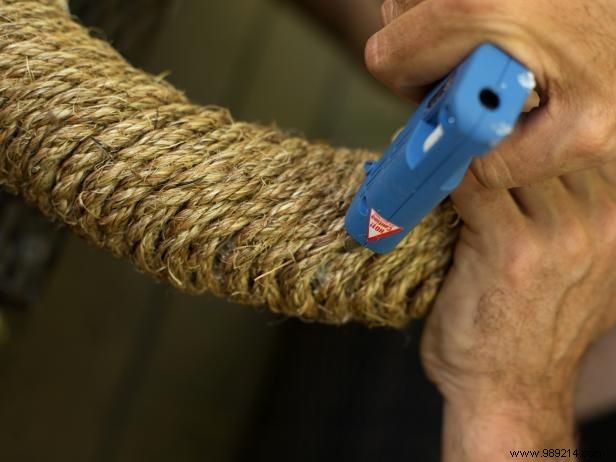
Unroll the sisal rope spool and wrap it evenly around the wreath form. Wrap two strands tightly together at a time, securing them to the form with hot glue. Repeat until fully covered, then trim excess with a utility knife.
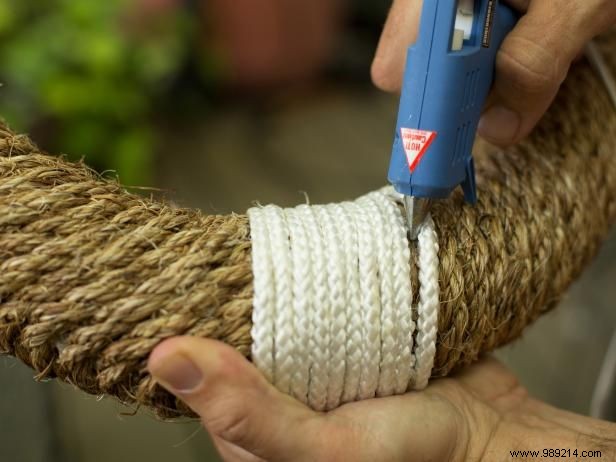
Unroll the white nylon rope and create four accent bands, one per quadrant. Wrap two strands at a time around the sisal-covered wreath to form 10-strand-wide bands. Secure with hot glue and trim with a utility knife.
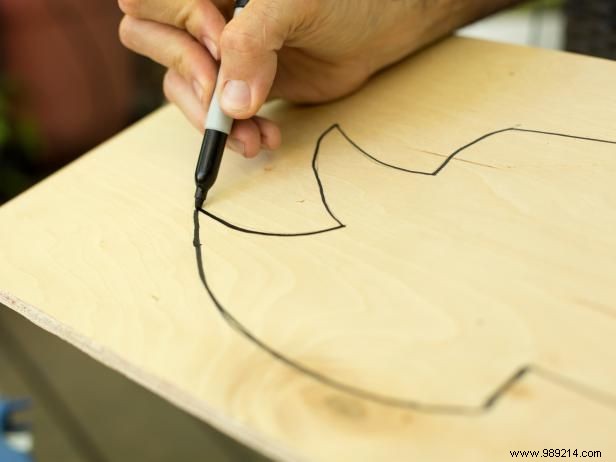
Use a marker or pencil to draw a banner shape on 1/4-inch plywood.
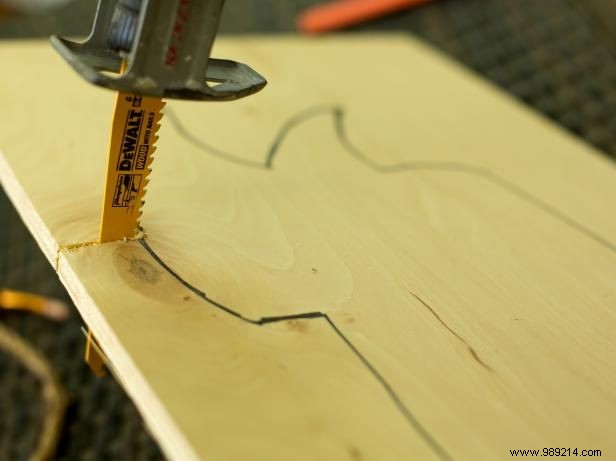
Cut the banner from 1/4-inch plywood using a jigsaw. Trace it onto a second piece of plywood and cut another identical banner.
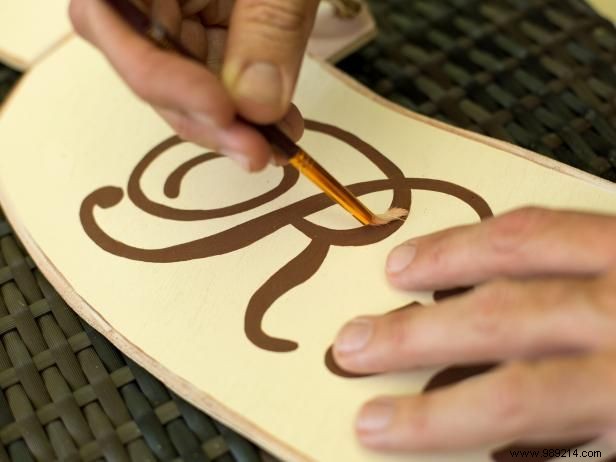
Apply two coats of background paint to both plywood banners using a mini roller, allowing full drying between coats. Then, use a small brush to paint the bride and groom silhouettes on each.
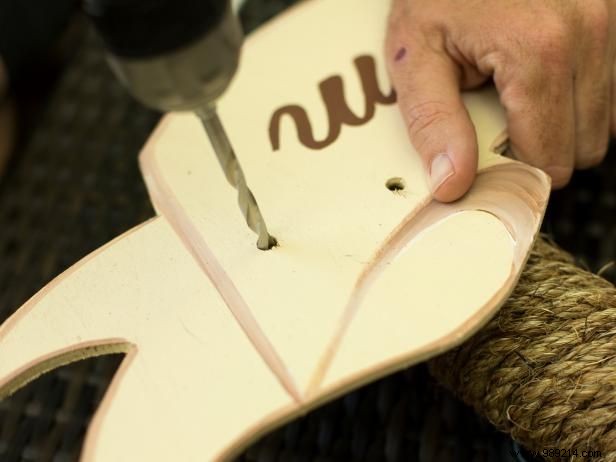
Drill two holes, 2-1/2 inches apart, in the top corners of each banner using a 1/2-inch drill bit.
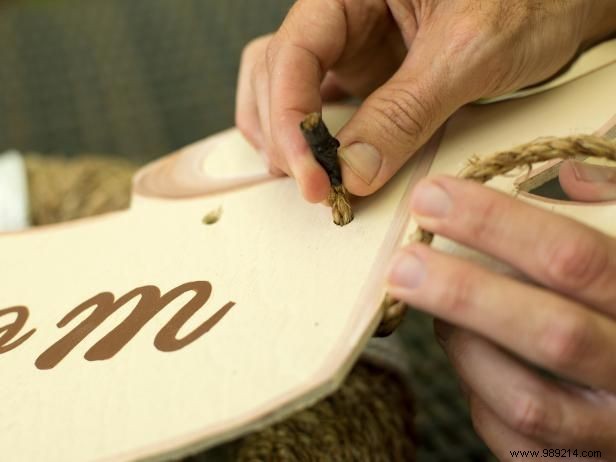
Wrap electrical tape securely around the sisal rope end. Thread it through one hole, around the back of the wreath, and out the adjacent hole.
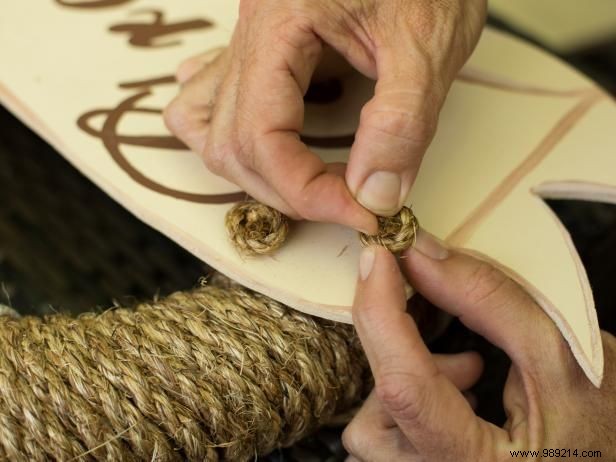
Tie knots in the front of each rope strand to hold the plywood banner firmly against the sisal-covered wreath.