Start by precisely measuring the door opening to determine the dimensions for your two rail-mounted panels. Mark these measurements on T-111 plywood and cut them accurately using a table saw for clean, professional edges.
With the main panels cut to size, measure each piece individually to size the trim. Cut birch plywood strips and trim them precisely with a table saw or chop saw for a seamless fit.
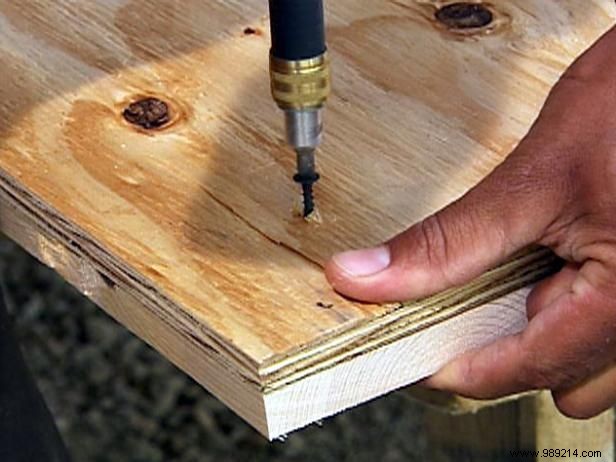
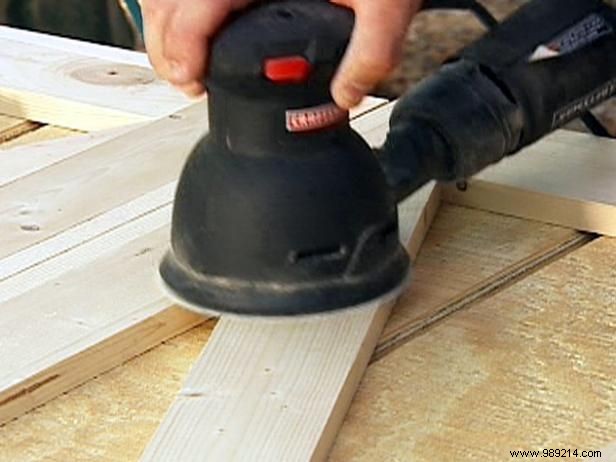
Secure the trim pieces to the T-111 panels using wood screws (Image 1). Add cutouts along the edges and on each door to achieve that authentic barn door style. Sand smooth, apply stain, and let dry fully before mounting to the track (Image 2).
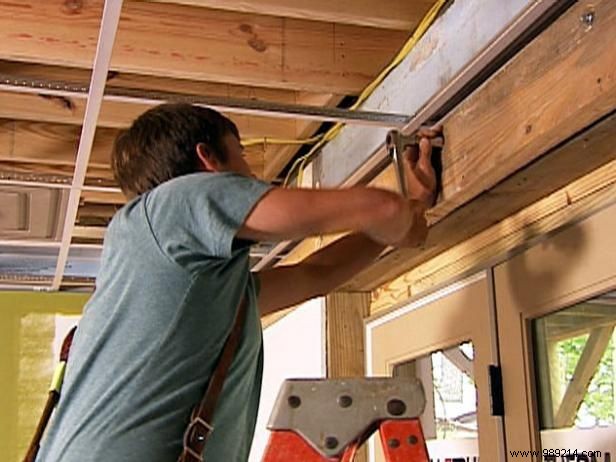
For precast concrete installations, use a hammer drill to bore into the studs. Insert expansion bolts after drilling, and for added strength, apply epoxy to the holes beforehand. Tighten securely, then mount the anchor bolt to the studs as your hanging point.
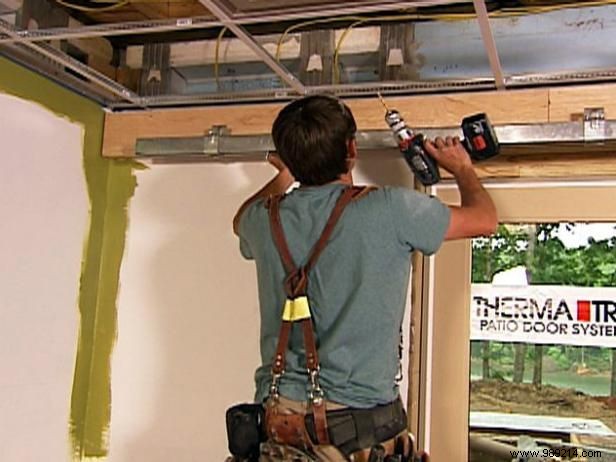
With the rail system firmly in place, slide the door rollers into the metal track. These barn door shutters hang from rollers, gliding smoothly. Close them over your entertainment center for near-total blackout, transforming your basement into an immersive home theater.