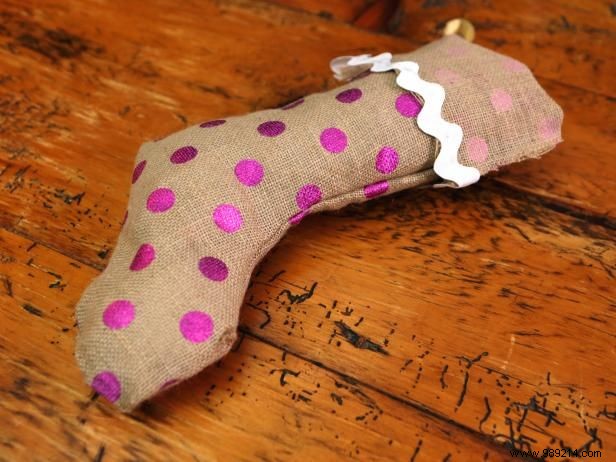
With years of crafting holiday decor, I've found natural fibers like burlap bond perfectly with glue, creating a sturdy stocking that withstands a haul of Santa's treats.
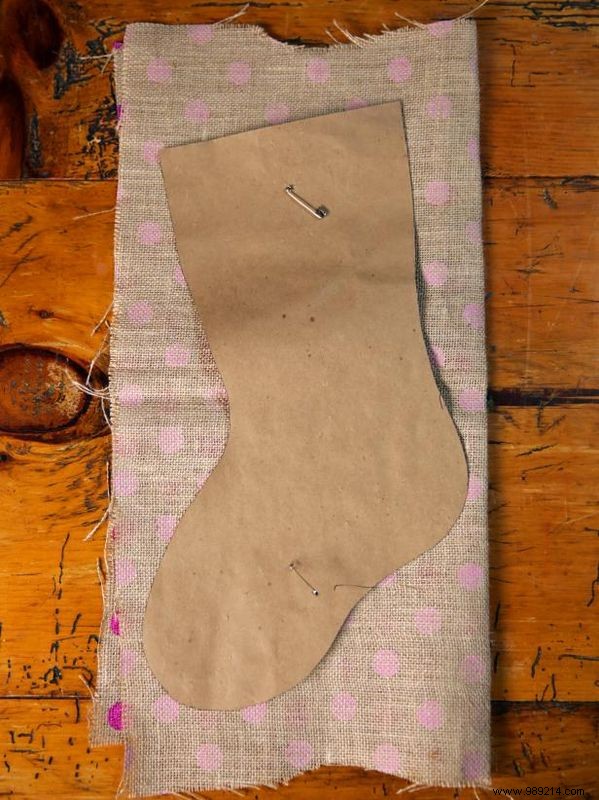
Create a custom pattern by drawing a stocking shape on brown craft paper or a paper bag, then cut it out. Fold burlap fabric in half with right sides together, position the pattern on top, and trace it with a fabric pen.
Remove the pattern, pin the layers together, and cut through both layers along the traced line.
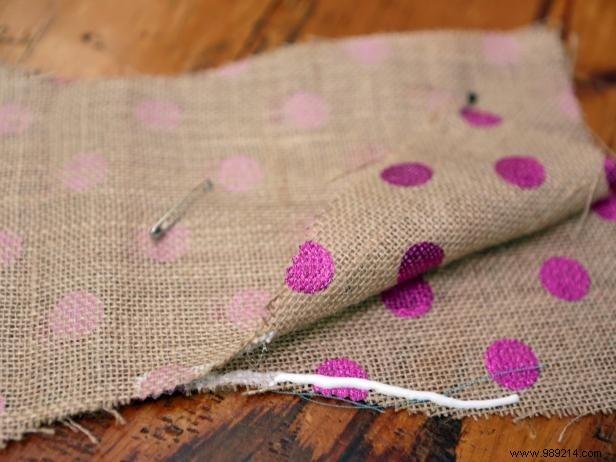
Lift the top layer, apply a thin bead of glue along the edges of the bottom layer. Align the top piece and press firmly around the perimeter, leaving the top opening unglued. Allow ample time for the glue to set fully.
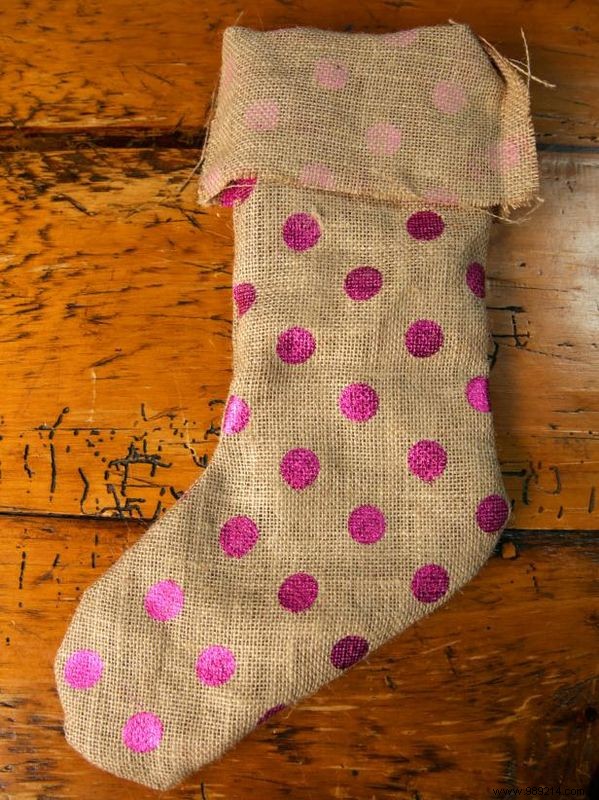
Once dry, turn the stocking right side out and fold down the cuff. Personalize it with your favorite embellishments.
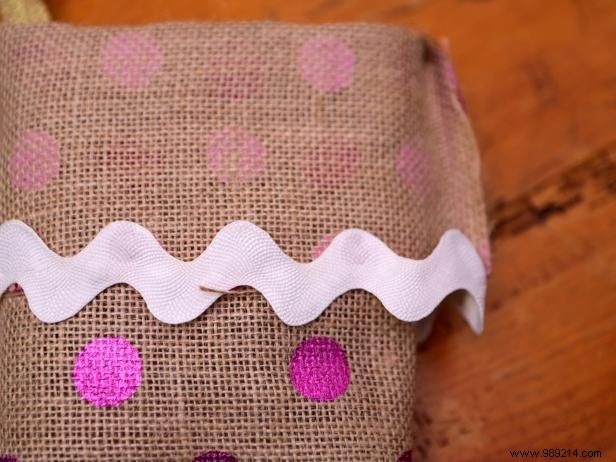
Enhance the cuff by gluing ribbon around its raw edge for a neat, professional finish.
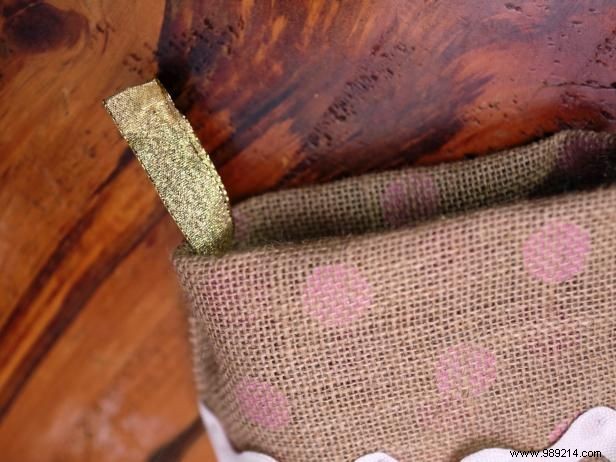
Cut a 2-inch piece of ribbon to form a loop. Glue the ends inside the stocking's top edge for easy hanging.
Let all glue dry completely, and your stocking is ready to hang by the chimney with care.