As experienced upholsterers, we've refined this process for flawless results. Start with a plywood base for your footboard (see our guides: How to Make a Two-Dimensional Upholstered Headboard and How to Upholster a Curved, Diamond-Quilted Headboard for foundational techniques).
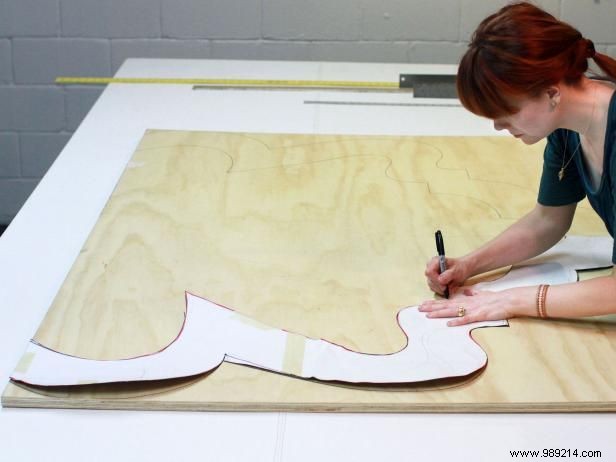
Begin with a full sheet of 3/4-inch thick plywood. Have your hardware store cut it two inches wider than your bed's width. Adjust the height by trimming the legs, saving scraps for future projects. For custom organic shapes, sketch freehand on large paper, then trace onto the plywood. For symmetrical designs, draw half the shape, trace it, flip the pattern, and complete the other side.
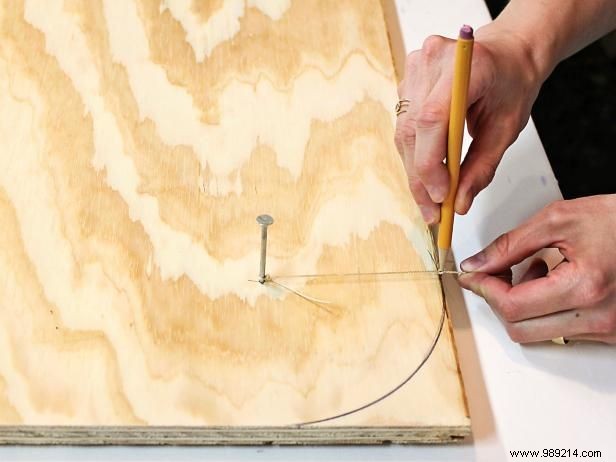
Decide on your curve's radius. Hammer a nail into the plywood at that distance from the edge. Tie a string of equal length to the nail, attach a pencil to the other end, and draw the curve with the string taut.
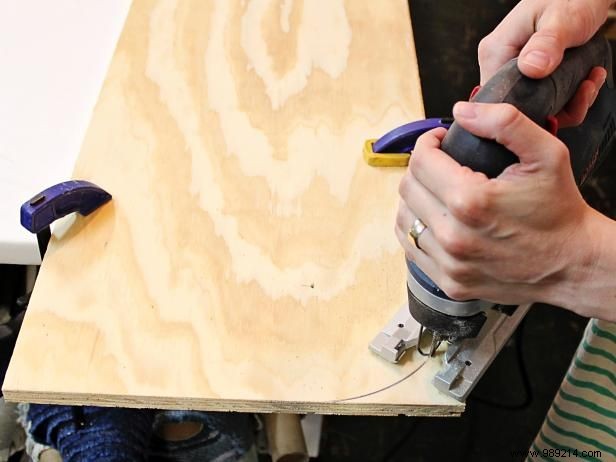
Use a hacksaw to follow your lines precisely. Always wear safety goggles to protect against splinters and flying debris.
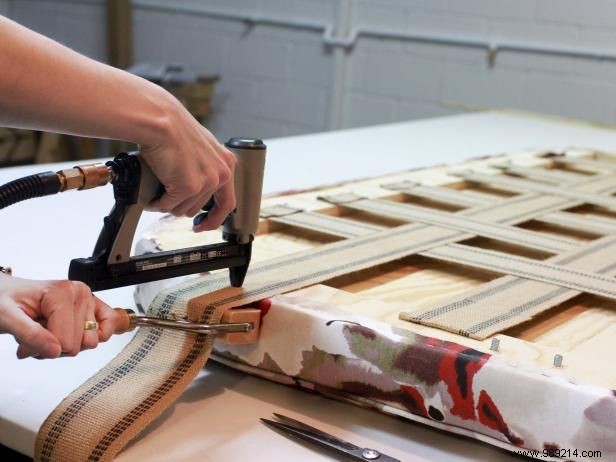
To conceal hardware, position studs between plywood layers with threaded ends protruding from the back. Upholster the front first (refer to How to Upholster a Curved Headboard with Diamond Tufting). Staple webbing to the frame, stretch taut using a webbing stretcher, staple at desired tension, and trim excess 2 inches beyond staples. Fold back and staple again. Continue vertically and horizontally, spacing straps 4 to 6 inches apart.
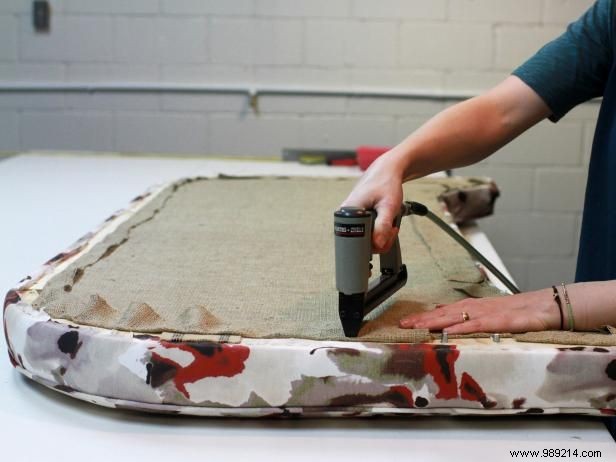
Stretch burlap tightly over the back for a firm foundation. Trim excess 2 inches beyond staples, fold back, and secure.
Optional but recommended for a polished look—follow taping from Making a Two-Dimensional Upholstered Headboard. Align welt cord with the edge using your fingers, staple through the flange to the frame. Start and end at the bottom center, leaving 1-inch overlaps. Trim excess so ends meet neatly.

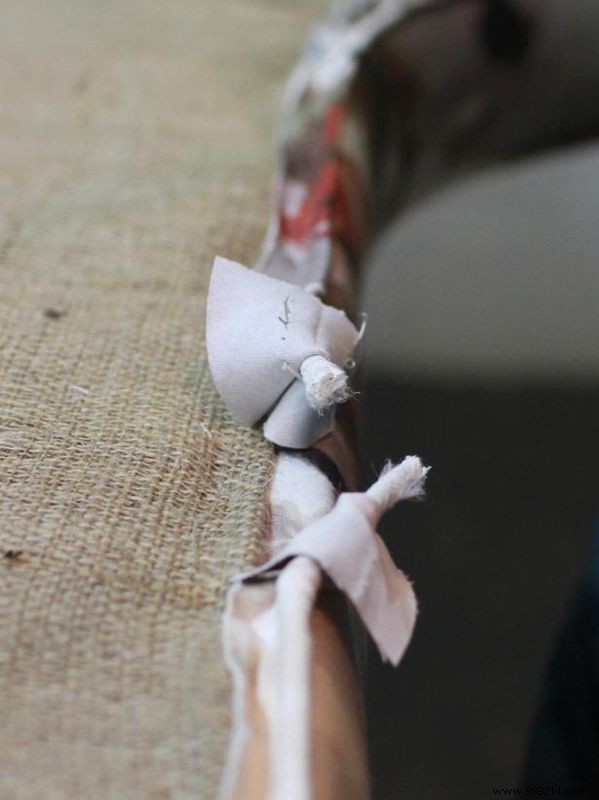
Secure the two welt cord ends together with a short piece of matching tape.
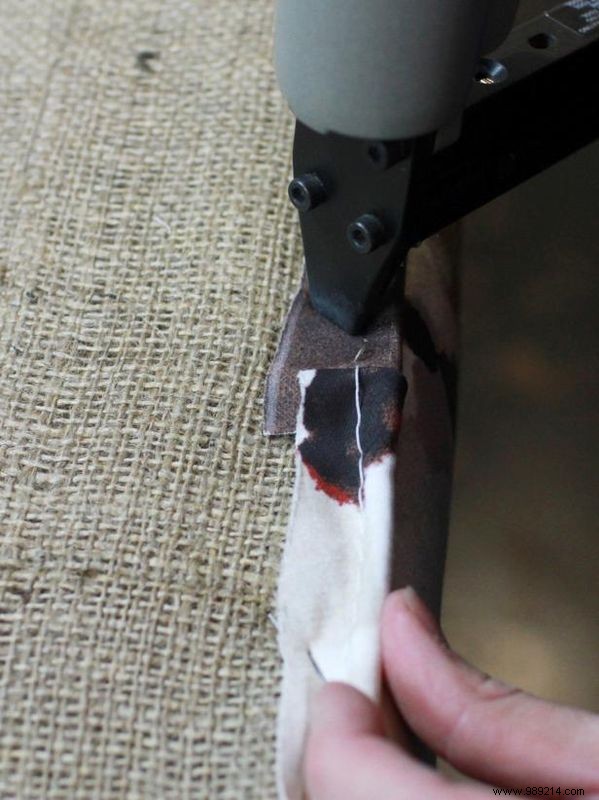
Lay one fabric end flat, fold the other under and around the welt, then staple securely to the frame.
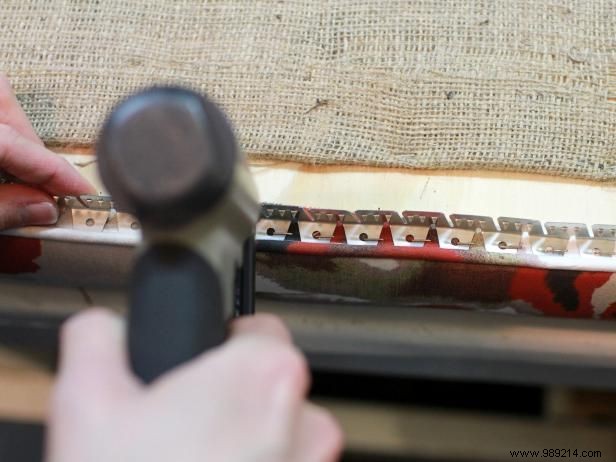
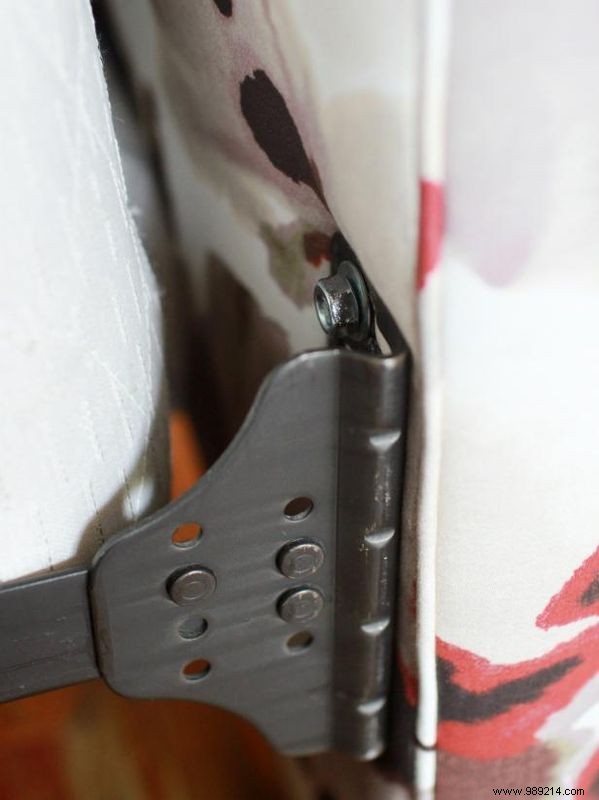
Push Pli-Grip feet into the welt cord, hooking pegs through holes. Position teeth outward. Miter corners by cutting and starting fresh pieces. Press teeth firmly closed once installed.
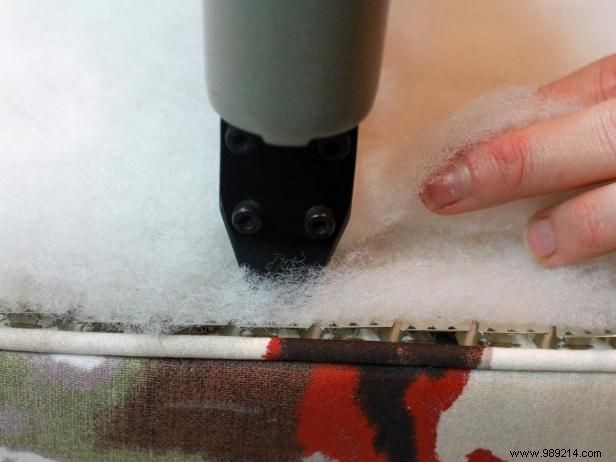
Layer Dacron over the back, split edges, and staple the bottom layer just behind the Pli-Grip. Trim flush with the outer edge.
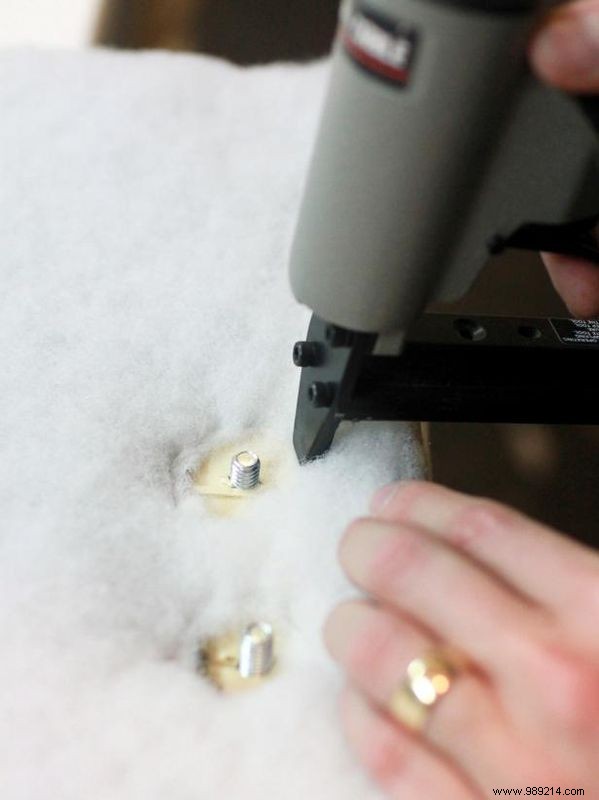
Cut and staple Dacron away from studs to prevent interference during assembly.
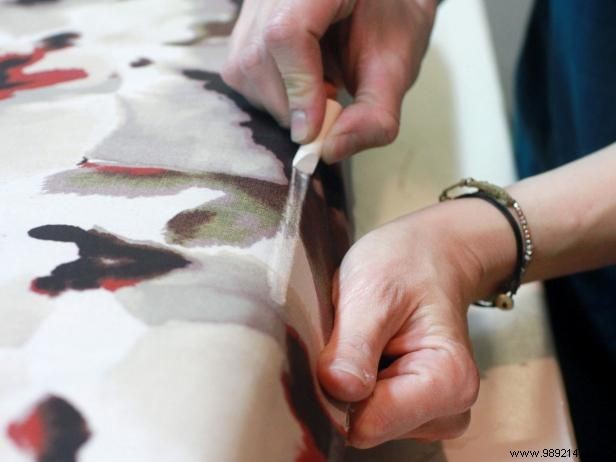
Select fabric to cover the back plus extra inches, minding pattern direction. Smooth it in place and chalk-mark the Pli-Grip's outer edge.
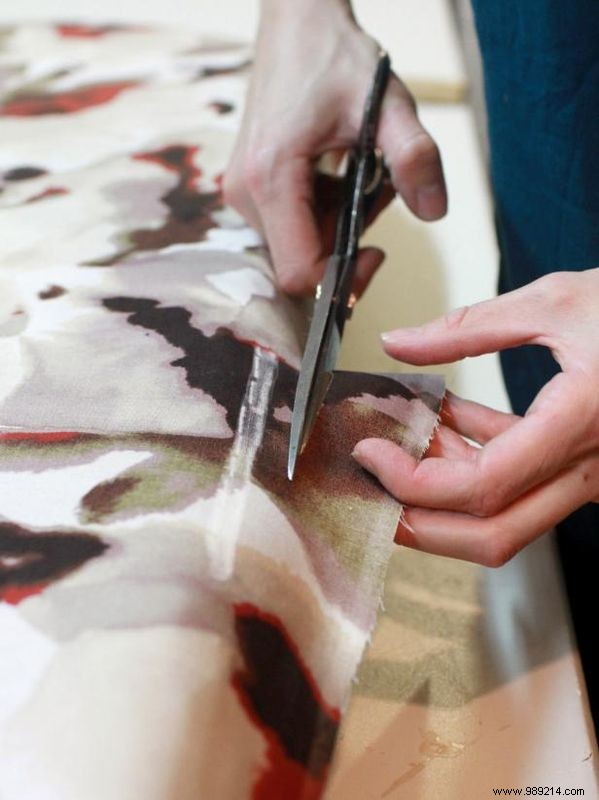
Cut fabric 1/2 inch past the chalk line on one side.
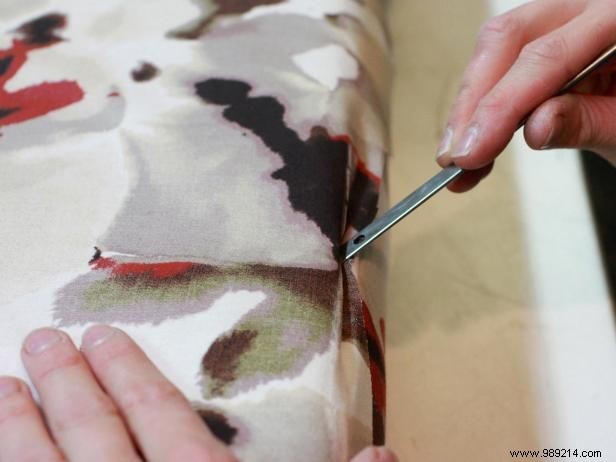
Use a slider tool's flat end to insert fabric into the teeth. Repeat on opposite side: smooth, trim, tuck. Continue around the entire perimeter.
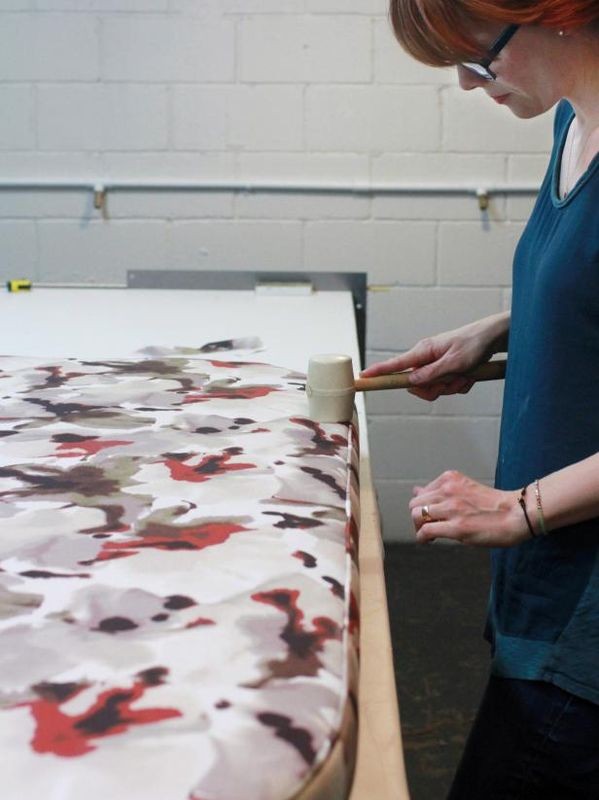
Firmly tap with a rubber mallet to fully engage.
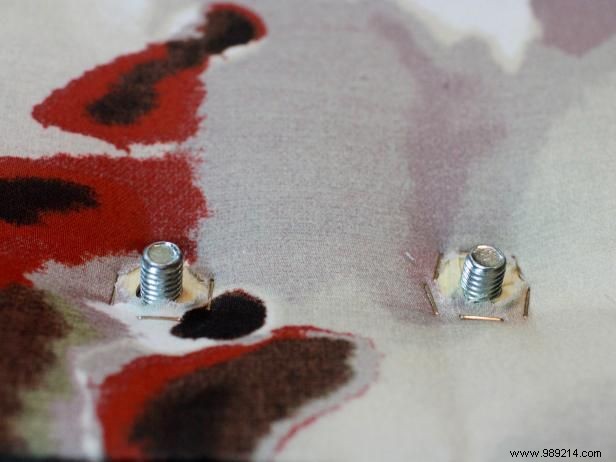
Cut and staple fabric around bolts like the Dacron. Attach furniture slides or felt pads to legs to safeguard floors.
Thread bolts through the frame, secure with washers and nuts.
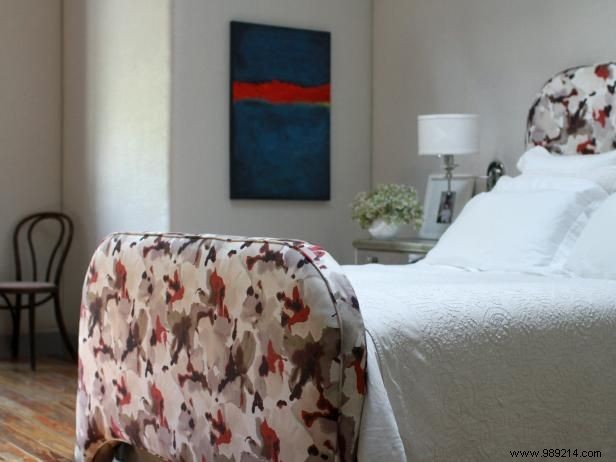
This custom piece harmonizes perfectly with your bed for a cohesive, luxurious look.