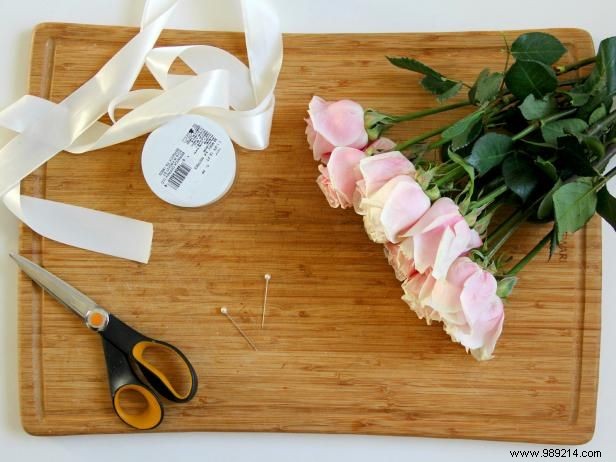
As experienced florists know, pick up fresh flowers from your florist on the wedding morning. In just five minutes, craft a magnificent hand-held wedding bouquet that looks professionally designed.
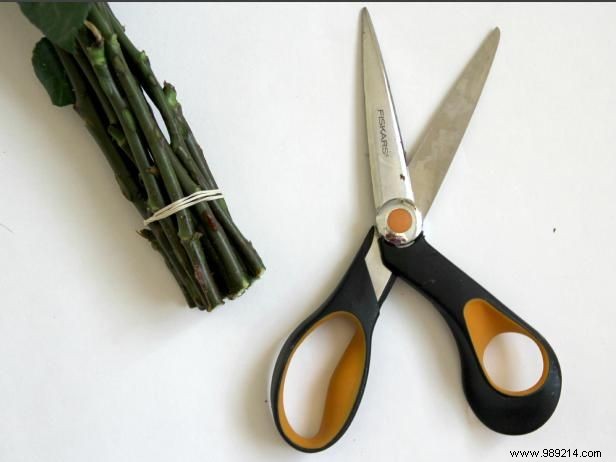
Secure the flower stems tightly with a thin rubber band. Trim the bottoms evenly with scissors to your desired length for a balanced bouquet.
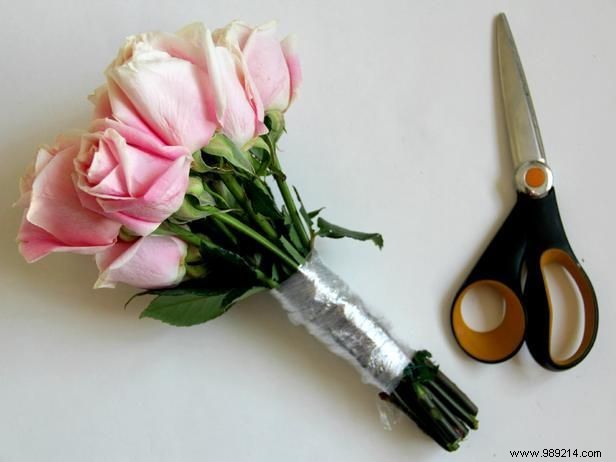
Wrap the stems in plastic wrap for a soft, polished edge around the bouquet, stopping about 1-1/2" from the flower bases. This optional step delivers a refined, professional finish.
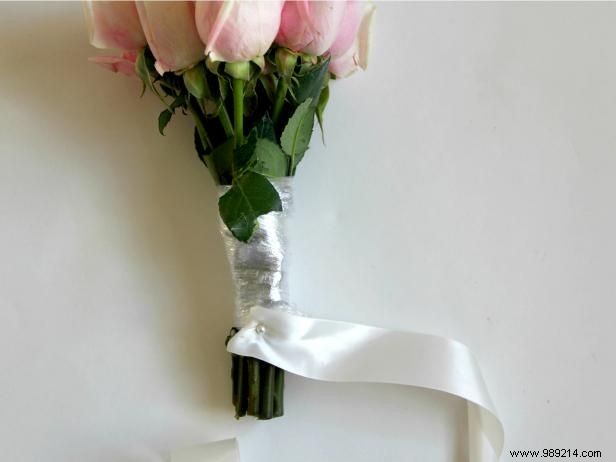
Pin one edge of the ribbon securely at the base of the flowers to anchor it in place.

Start wrapping the ribbon around the stems, spiraling upward smoothly for even coverage.
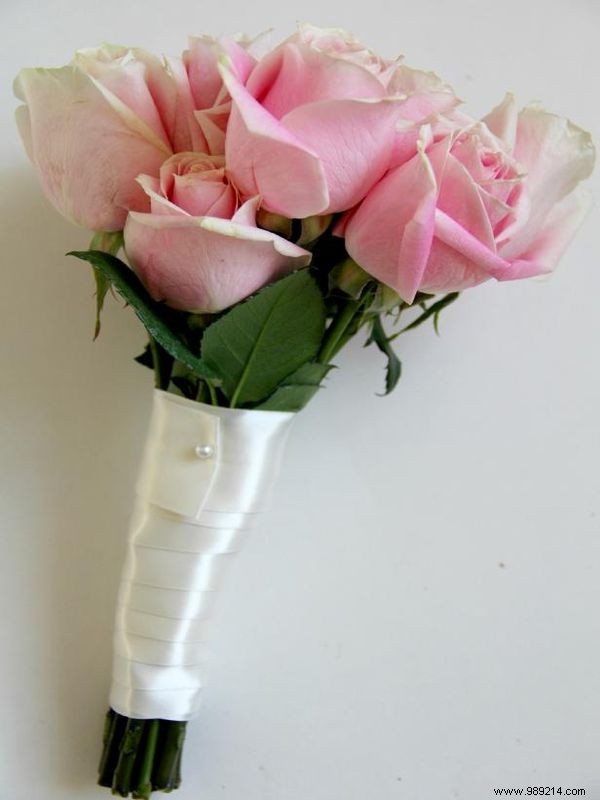
Reach the top of the plastic wrap or your preferred endpoint, cut the ribbon, fold the edge 1/4", and pin it firmly to finish.
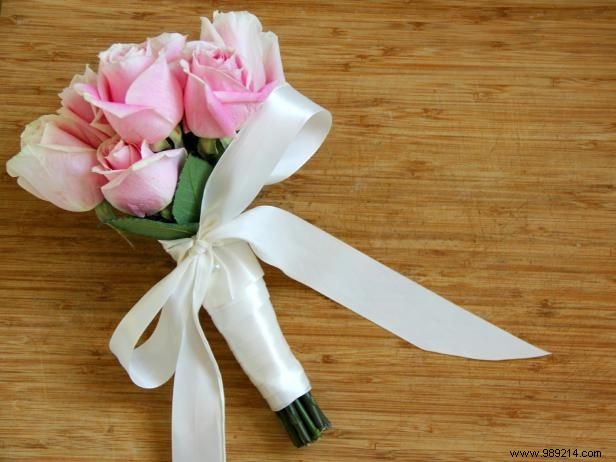
Complete your elegant hand-held bouquet here, or elevate it with a bow: Tie a 24” ribbon piece at the top, form a bow, and seal the edges with Fray Check for lasting beauty.