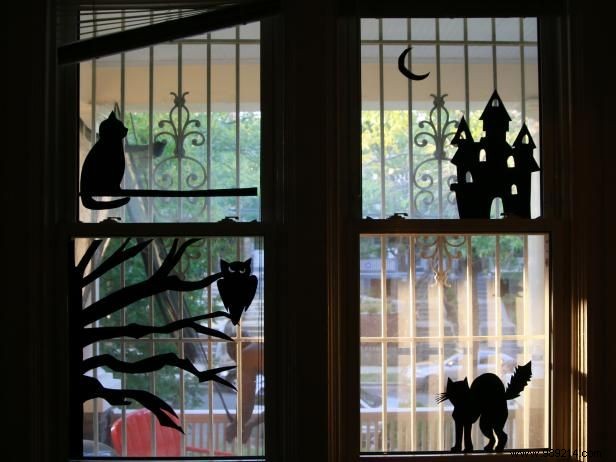
As a crafter with years of Halloween decorating experience, I recommend printing the silhouette templates on plain white paper. Scale them up across multiple pages if you need larger designs for bigger windows.
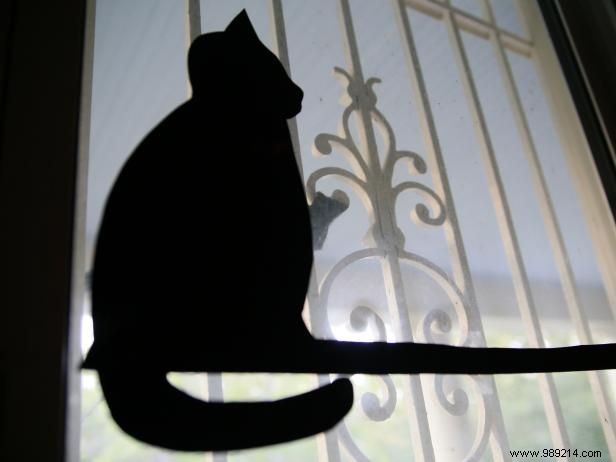
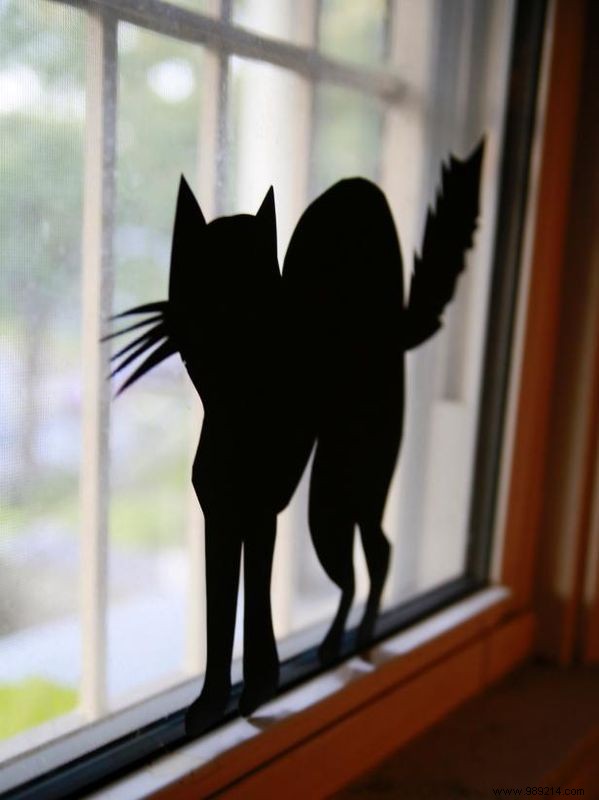
Tape the template securely to black poster paper. Trace the outline with a marker, then cut precisely along the edges for clean silhouettes. Download and print the template
Measure your window panels and cut wax paper to fit. This diffuses light for a glowing effect—stick it directly to the window frame. Download and print the template
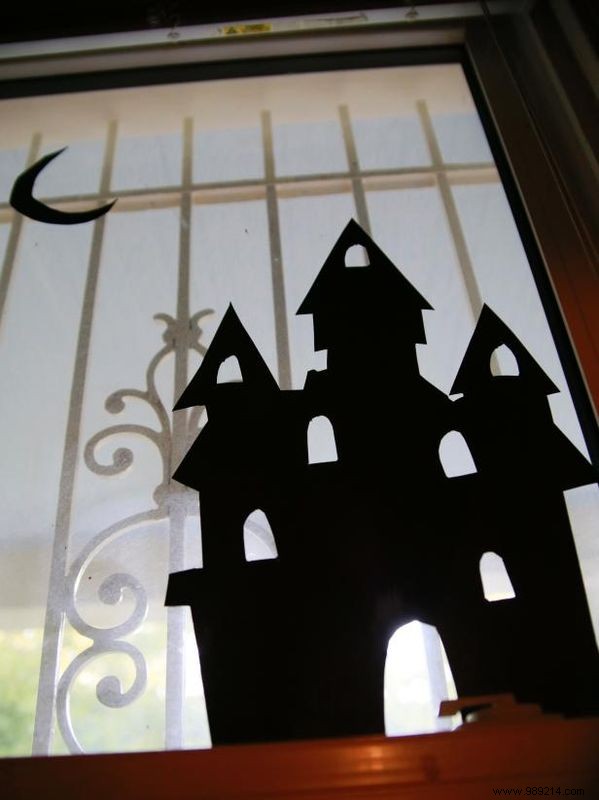
Use double-sided tape to affix the silhouettes to the wax paper or straight onto the window glass. They'll cast eerie shadows when lit from inside. Download and print the template
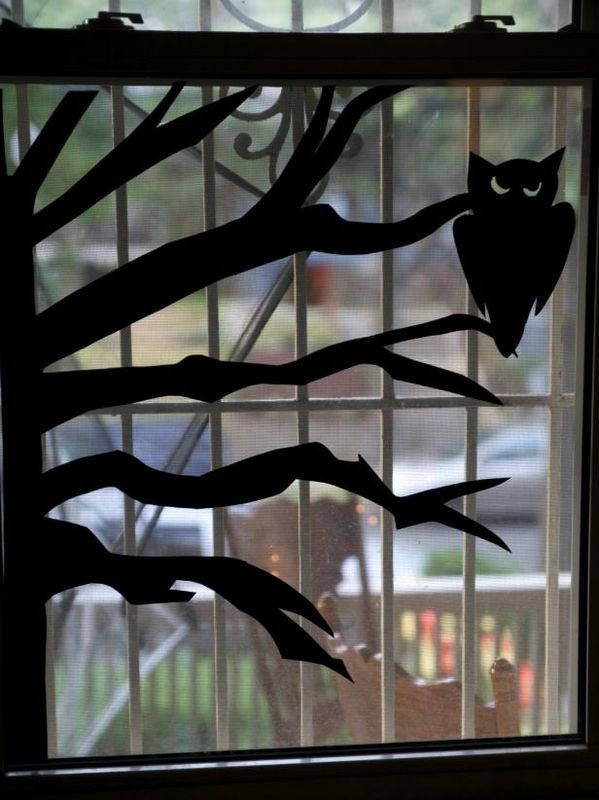
For the owl-on-tree design, cut the silhouette to mimic rough, jagged branches. Position the tree to cover about a third of the window for dramatic impact. Download and print the template