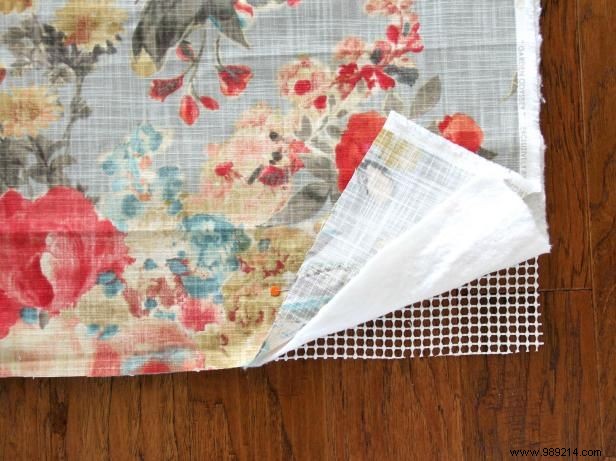
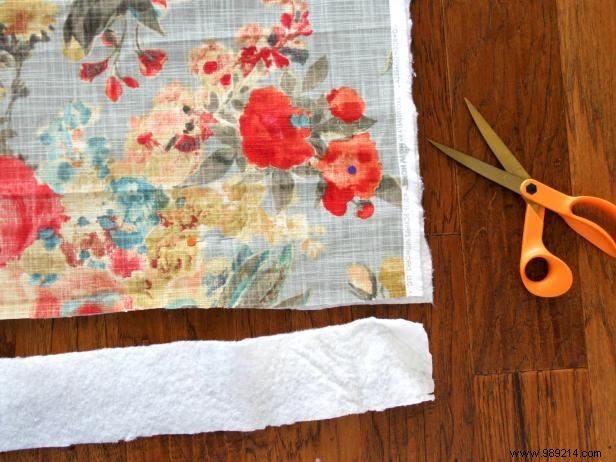
Start by placing a non-slip rug pad on the floor and smooth it flat to remove all creases. Layer cotton batting on top, pressing out any wrinkles. Finally, lay your upholstery fabric face up over both layers, ensuring it's perfectly flat (Image 1). Trim excess fabric from all four sides so the three layers match exactly in size (Image 2).
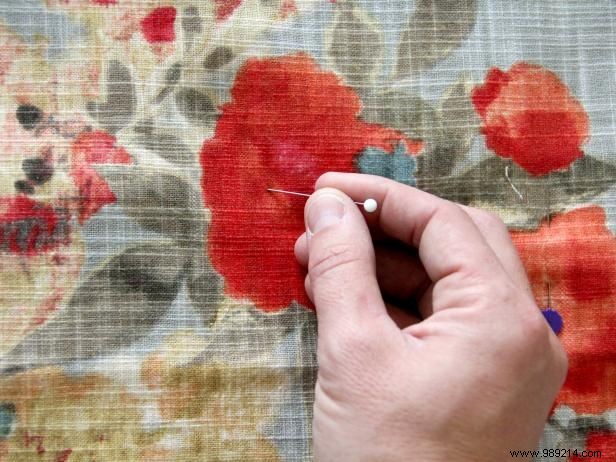
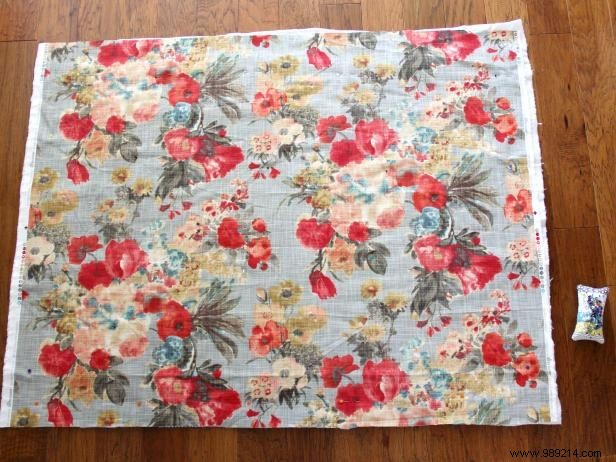
Secure all three layers with pins placed around the edges and in the center (Image 1). This keeps everything aligned and prevents shifting during assembly. You'll now have a stable, three-layered rectangle or square ready for the next steps (Image 2).
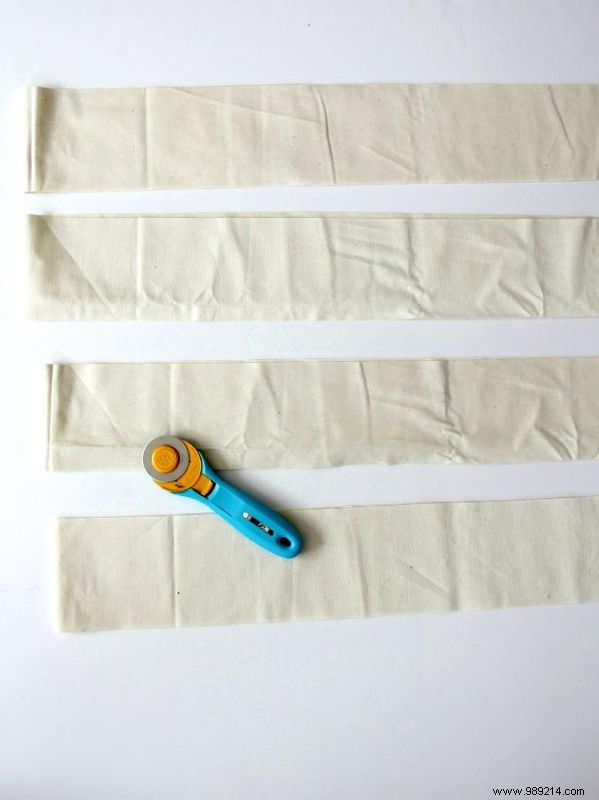
From the fabric edges, cut four 4-inch-wide strips selvedge to selvedge. For larger rugs exceeding the fabric width, cut additional strips and sew them together end-to-end.

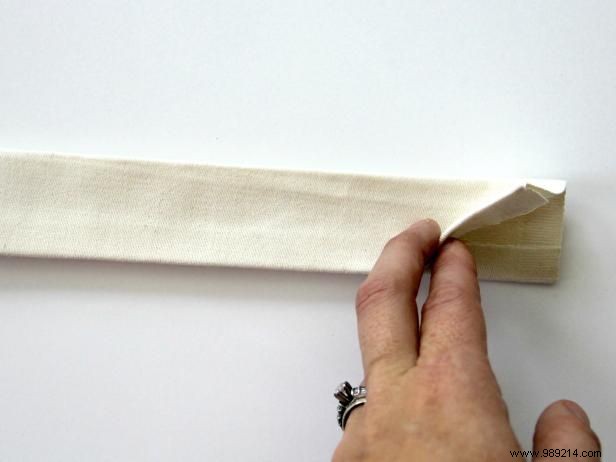
Treat the strips like homemade bias tape for a clean finish. Fold each strip in half lengthwise with wrong sides together and press to create a center crease. Unfold, then fold the raw outer edges 1/4 inch to the wrong side and press (Image 1). Refold along the center crease, enclosing the 1/4-inch folds, and press again (Image 2). Repeat for all strips—your binding is now ready.
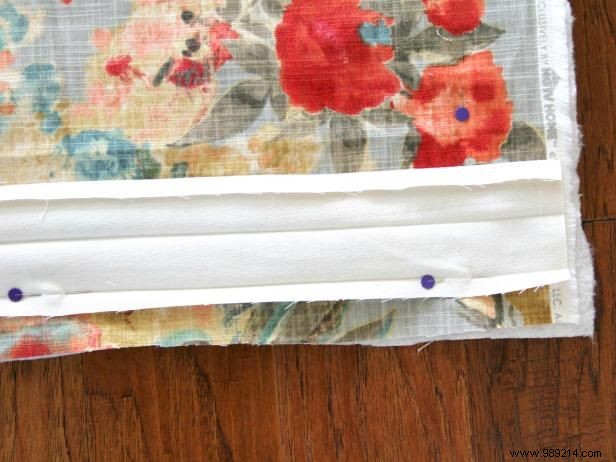
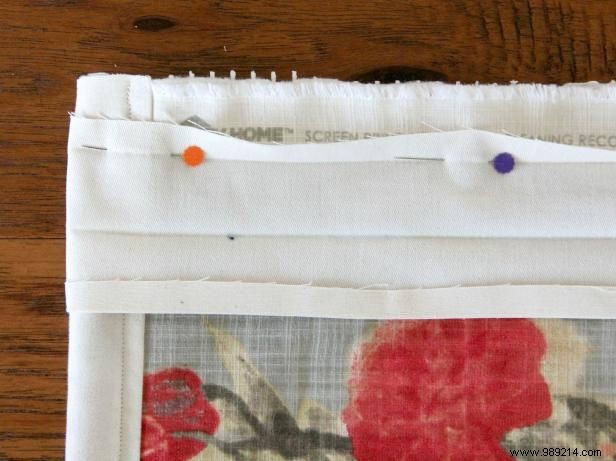
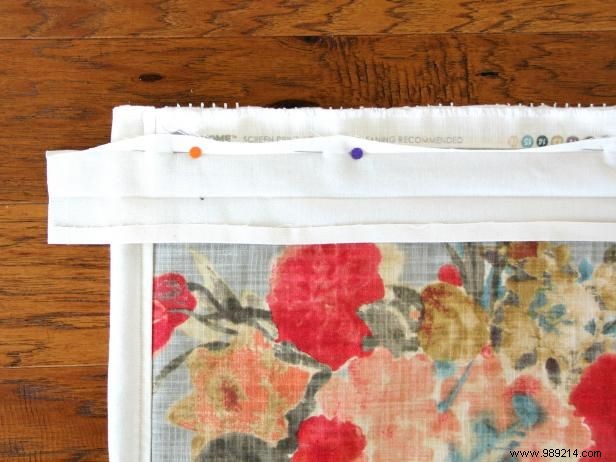
Unfold one strip and position it face down along one rug edge, folds facing up. Align the strip's edge about 1-1/2 inches from the rug's corner and pin along the 1/4-inch fold line. Pin only one side at this stage.
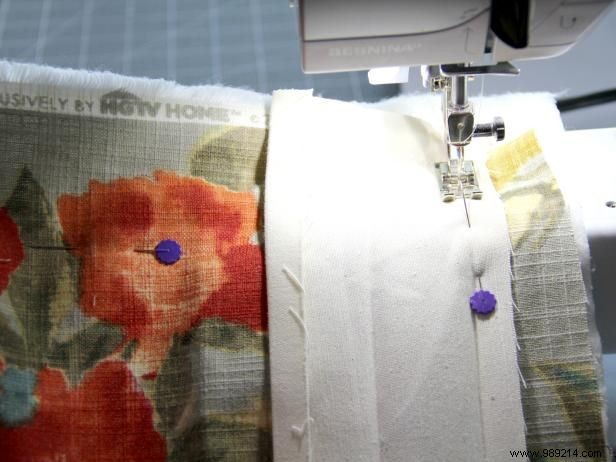
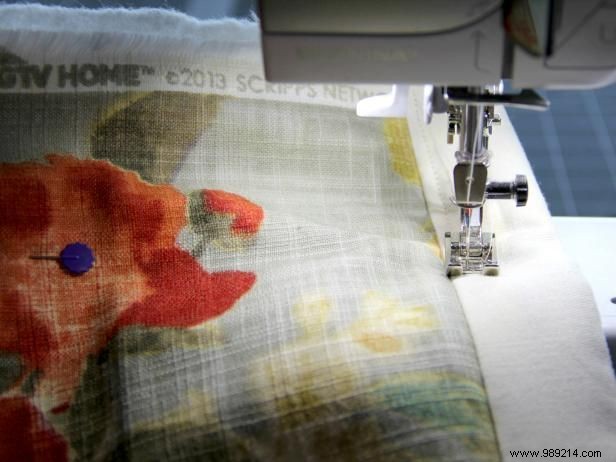
Use a heavy-duty needle to stitch the binding in place directly along the 1/4-inch fold line—this hides the stitches when folded back. Remove pins as you sew (Image 1). Fold the binding over the raw edge, enclosing it fully so the center crease aligns with the rug's outer edge. Pin securely, then topstitch close to the fold (Image 2). For an invisible finish, hand-stitch the inner edge with a whipstitch.
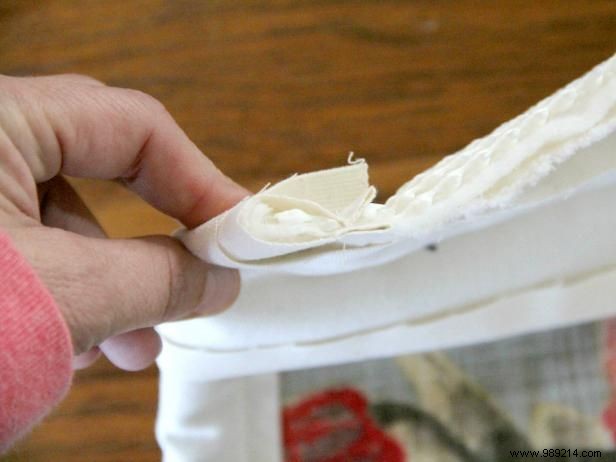
For the adjacent edge, lay the binding strip as before, allowing excess to extend a few inches at each end (Image 1). Fold the overhang neatly around the corner to the back and pin (Image 2). Sew as with previous sides for a mitered, professional corner (Image 3).
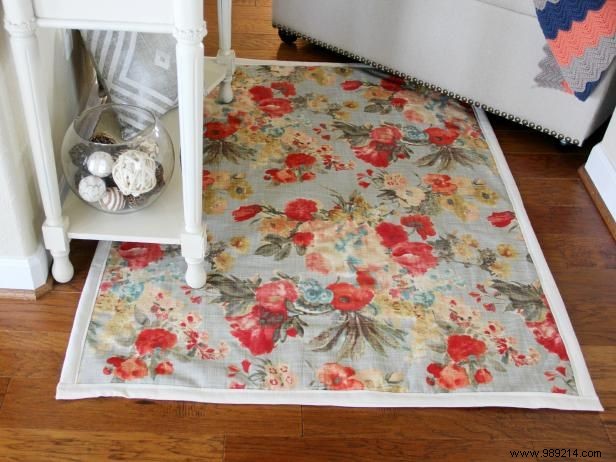
If wrinkles appear, gently press with a low-heat iron. Work lightly and keep the iron moving to avoid damaging the non-slip backing.