Brittni Mehlhoff
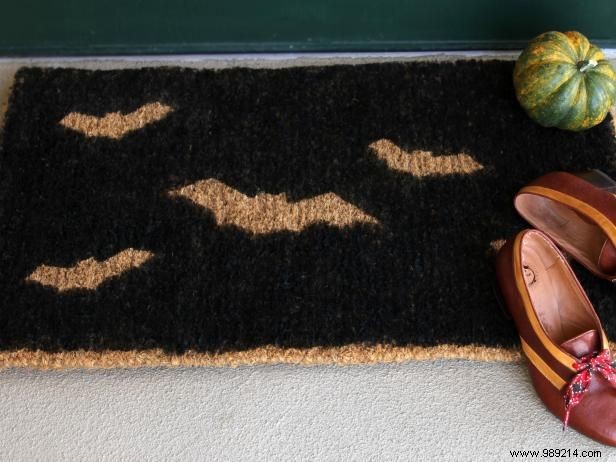
This doormat project uses templates to create the original design. This project can be done at any time of the year with any design. It's an inexpensive way to personalize your front entrance.
Personalize your entryway with spooky bats or any spooky shapes and Halloween phrases you'd like.
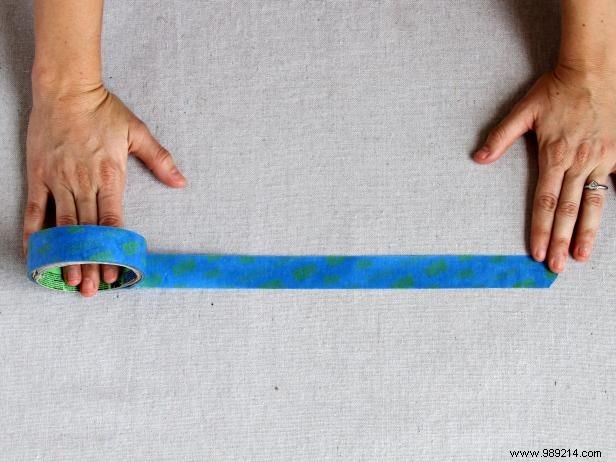
Lay pieces of painter's tape that are about 8 inches long on top of each other, slightly overlapping. Smooth out wrinkles with your hands.
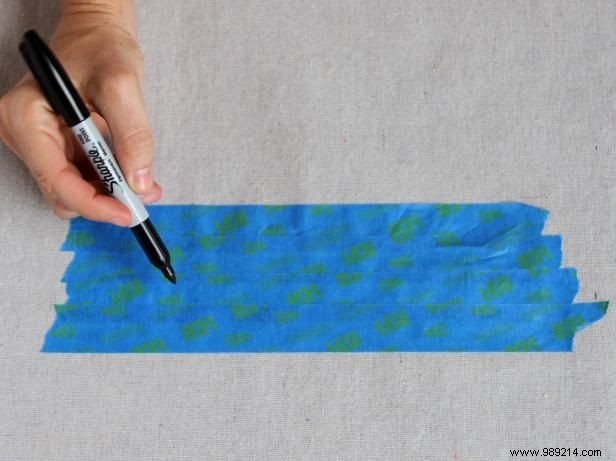
Use a marker or pencil to draw a small to medium sized bat silhouette directly onto the sheet of painter's tape. If you're not comfortable drawing by hand, look for bat shapes or other shapes, like pumpkins or cats.

Carefully remove the sheet of tape and cut out the silhouette of the bat. This will be your upside down template. Make more bats in various sizes until you have the number you want.
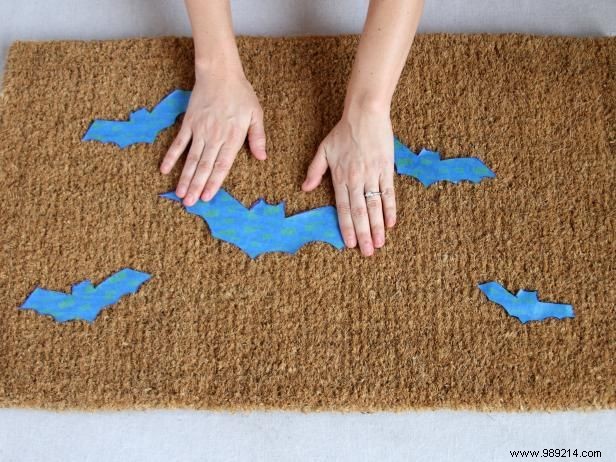
Tape each bat to the plain mat in an interesting pattern or design. Push the tape down firmly to make sure it adheres to the carpet.
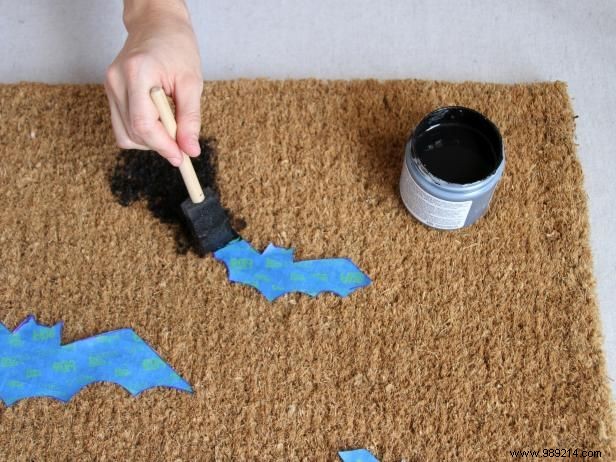
To make sure the mat doesn't get hard and crusty and the bats keep their shape, use textile paint. Brush it in short up and down strokes to make sure the shapes stay sharp and defined. Note:A special spray paint made for textiles can also work for this project if you're in a time crunch. But keep in mind that bats with reversed letters may not be as crisp as if you were using brushed paint.
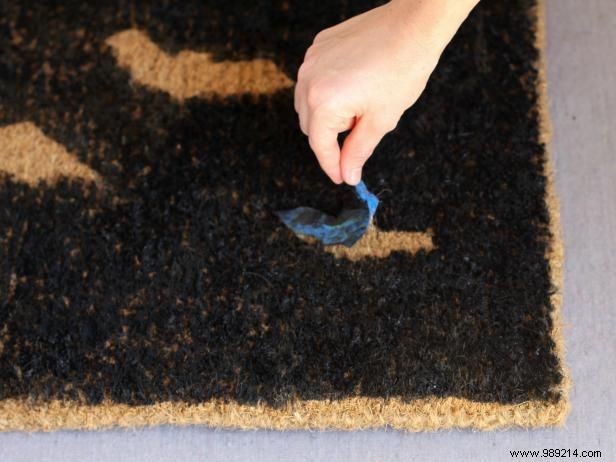
When the mat is completely painted and dry, remove the tape to reveal the final bat shapes. Touch up any areas that need it with additional paint, then spray with clear sealer before use.