As experienced DIYers, we crafted this one-of-a-kind headboard by combining three old shutters with select new wood pieces. Source vintage shutters from consignment shops and salvage yards—ours measured 10" x 64". Scale proportions to match your shutters and bed size. Designed for a full-size bed, the finished headboard measures 33-1/2"H x 59"W x 2-1/4"D.
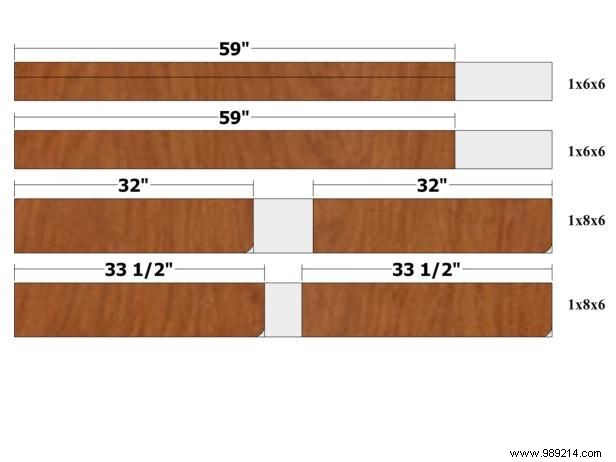
In addition to the shutters, we purchased (2) 1x6 x 6' boards and (2) 1x8 x 6' boards. Here's the precise cut list: (1) long shutter at 1-1/2” x 10” x 33-1/2”; (2) short shutters at 1-1/2" x 10" x 32"; (2) long filler boards at 3/4" x 7-1/4" x 33-1/2"; (2) short filler boards at 3/4" x 7-1/4" x 32"; (1) headboard cleat at 3/4" x 3-1/16" x 59"; (1) wall cleat at 3/4" x 3-1/16" x 59"; (1) offset board at 3/4" x 5-1/2" x 59". (*Widest face)
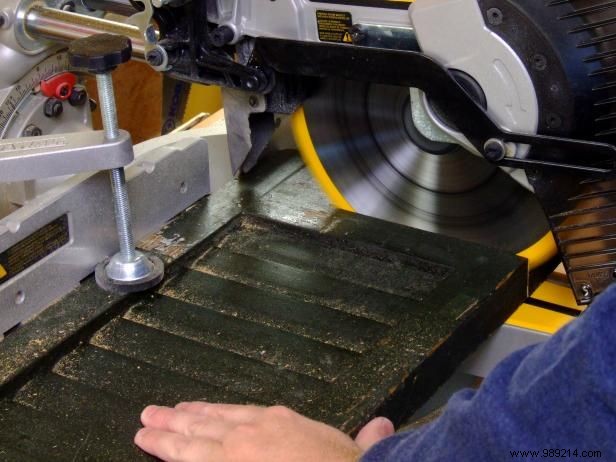
Mark one shutter at 33-1/2". Remove any hardware obstructing the cut line. Use a miter saw if it fits the width; otherwise, a circular saw with a straightedge guide. Secure the shutter firmly during the cut. If the piece is long enough, mark the remainder at 32” and cut. Mark and cut another shutter at 32” to yield two short shutters.
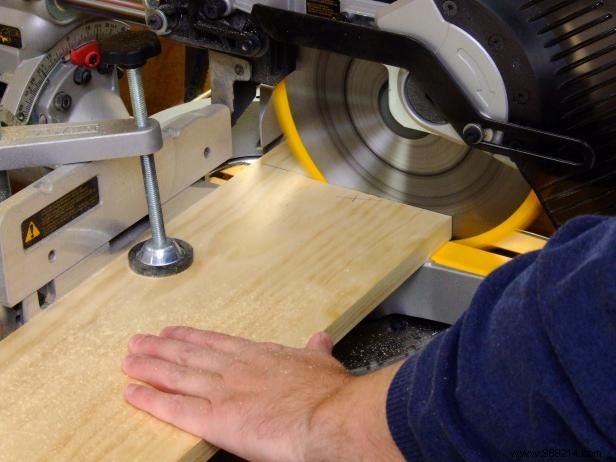
Cut the long and short filler boards to the dimensions in the cut list.
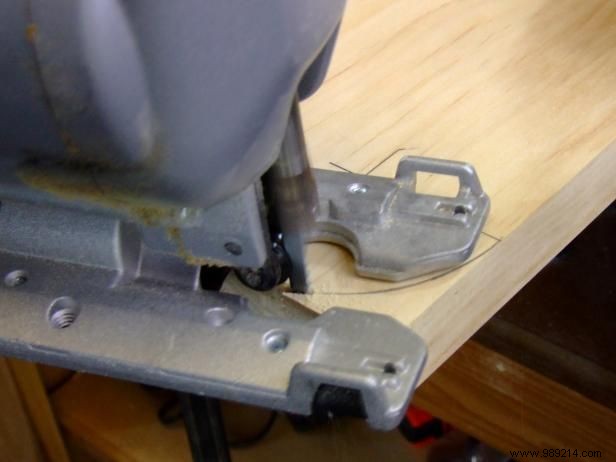
On one filler board, use a compass to mark a 1-1/2” radius curve at one corner. Cut with a coping saw, then sand the edges smooth.
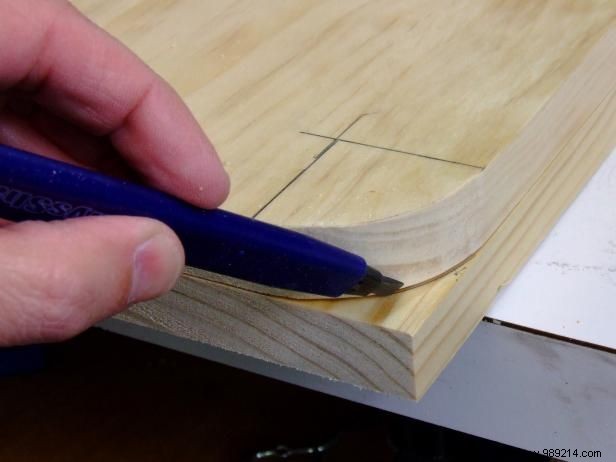
Use the curved board as a template to trace the radius onto the matching corners of the other filler boards. Cut and sand similarly.
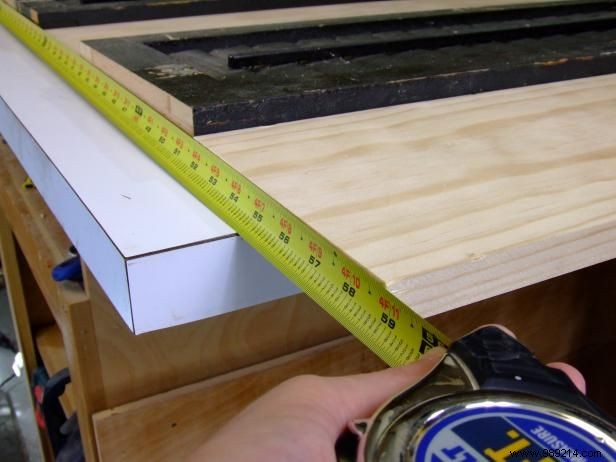
Align the filler boards and shutters flush. Measure the total width—this determines the length for the offset board and cleats (59” here). Position short fillers at the edges with curves at the top outer corners; align long fillers similarly.
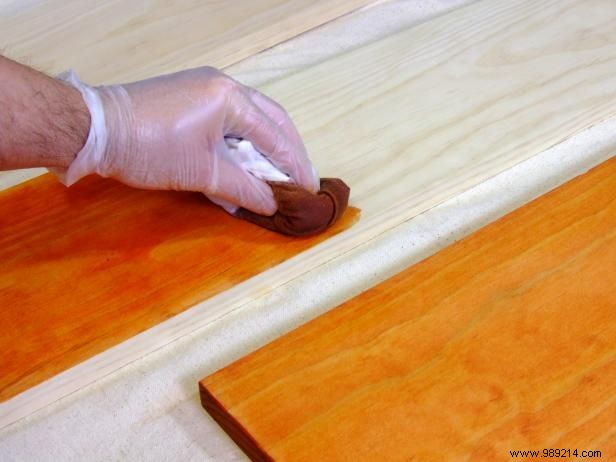
Apply pre-stain conditioner, then stain all faces, edges, and ends. Once dry, seal with polyurethane.
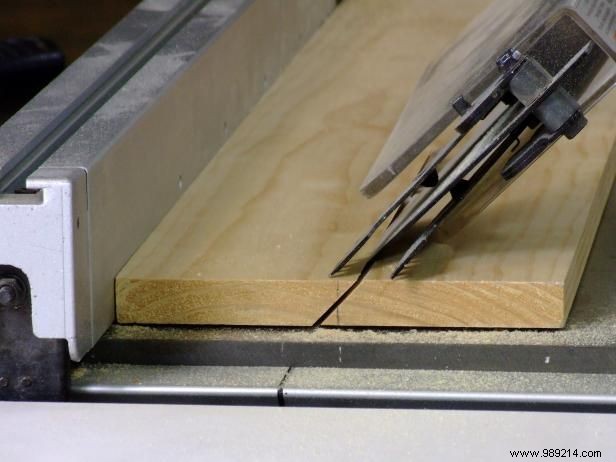
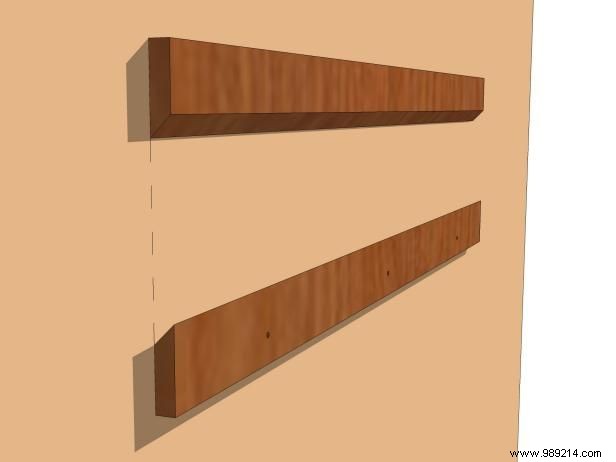
Cut the cleats to length matching the offset board. On a 1x6 end, mark the centerline and draw a 45° line bisecting it. Set your table saw blade to 45° and rip the board to form the interlocking headboard cleat and wall cleat profiles.
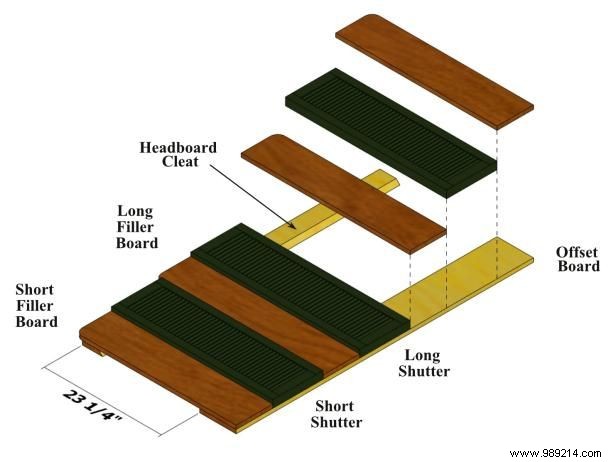
Lay the offset board flat against a straightedge. Position the headboard cleat parallel to it. Arrange shutters and fillers perpendicular to the cleat and offset board. Fine-tune placement, then clamp everything securely.
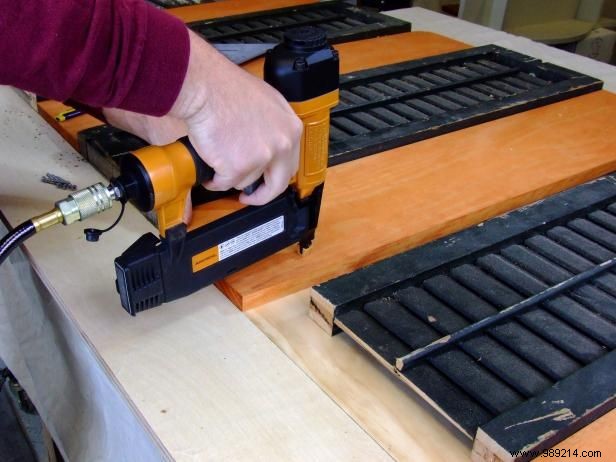
Starting with a short filler board, attach it to the offset board using wood glue and at least four #17 x 1-1/4" pin nails (ensure flush alignment).
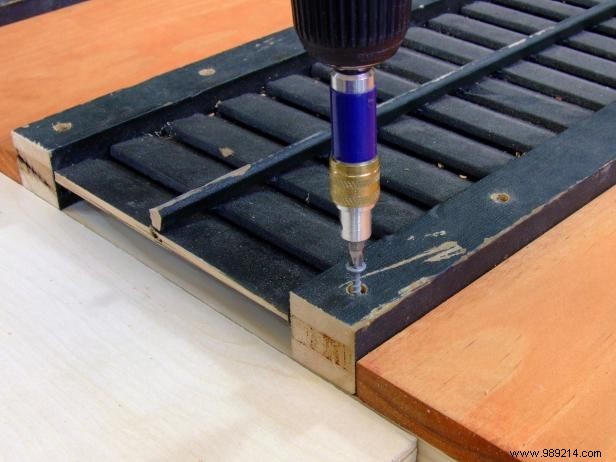
Align a short shutter against the attached filler and secure to the offset board with four 2” screws. Butt a long filler against the shutter and fasten with four 1-1/4” pin nails. Add the long shutter with four 2" screws. Mirror on the other side (long shutter, long filler, short shutter).
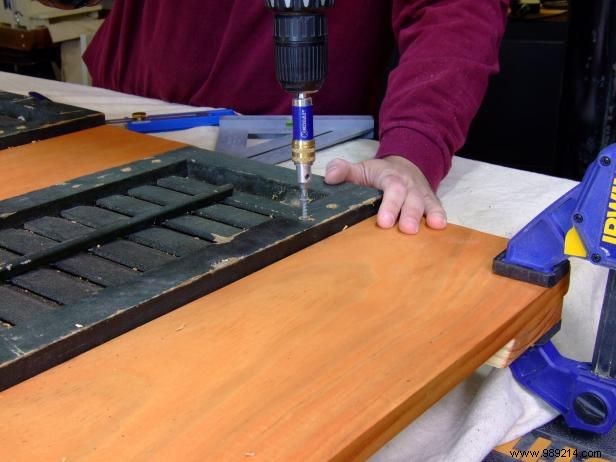
Verify cleat alignment with a square. Secure fillers and shutters to the cleat using the same fasteners as the offset board.
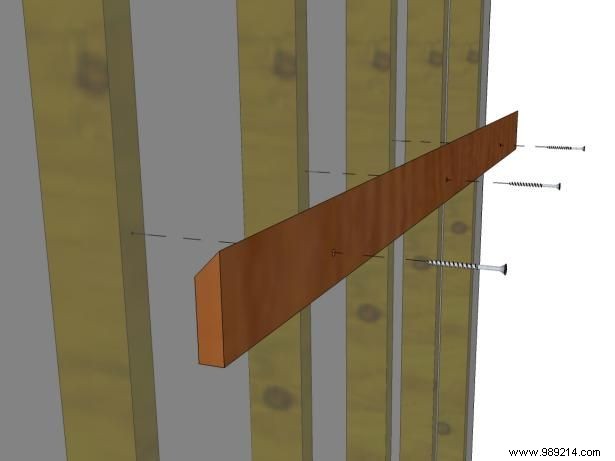
Position the assembled headboard against the wall. Align the wall cleat flush to the headboard cleat and mark its location. Level it, then screw into wall studs with 3-1/2” screws. (Illustration shows drywall transparency for stud visibility.)
This cross-section illustrates the interlocking French cleat mechanism securing the headboard to the wall.
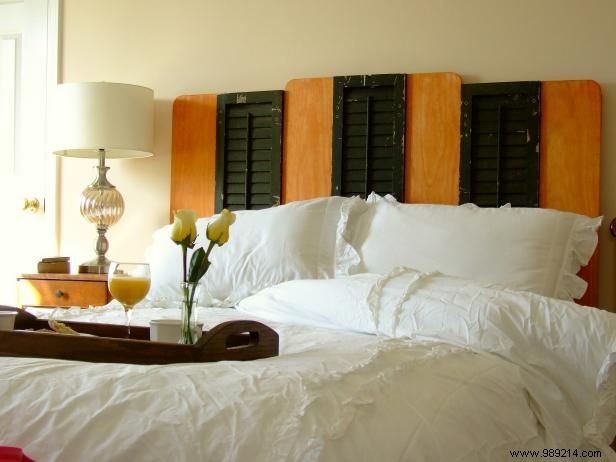
The result is a stylish, durable headboard blending reclaimed shutters with fresh wood for timeless appeal.