The main plywood panel should match your bed's width plus twice the wing padding thickness. Skip separate legs—the wings provide sturdy support.
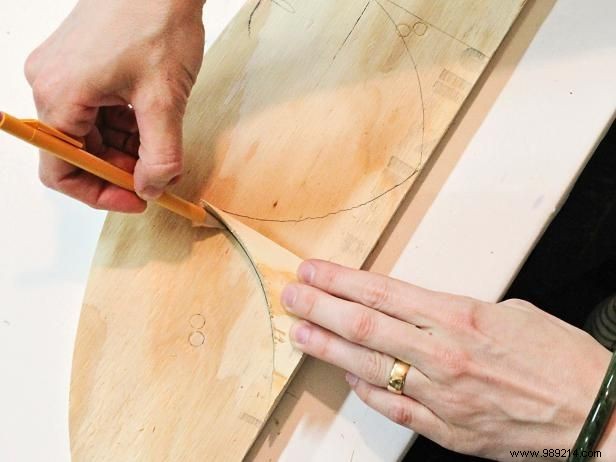
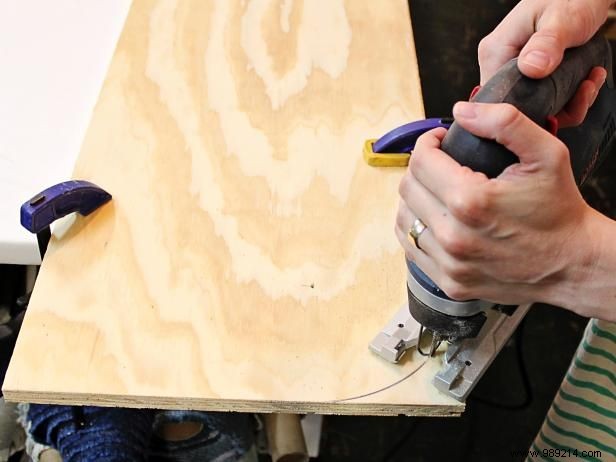
These secure the wings to the frame. Space brackets every 12-18 inches based on headboard height—8-10 typically work. Trace a curved triangle on plywood, cut with a jigsaw, and use the first as a template.
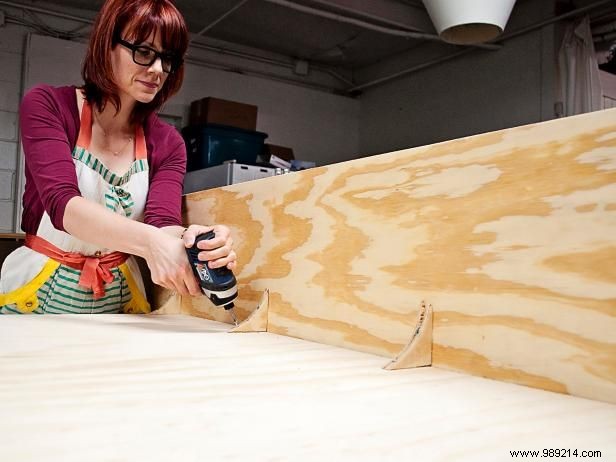
Position the wing's trailing edge against the main panel's side. Glue and screw brackets every 12-18 inches along the left and right edges.
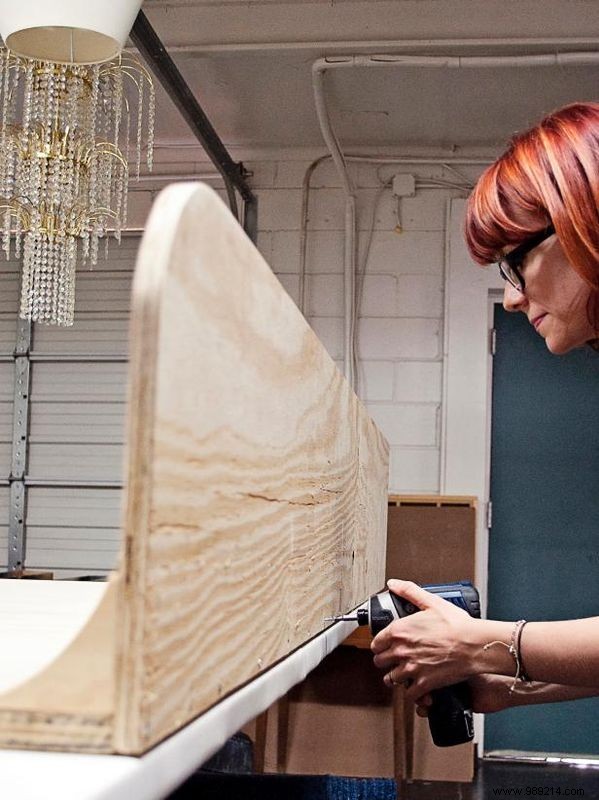
Screw brackets into the wings from the exterior. Add screws along the wing's trailing edge into the main panel for extra stability.
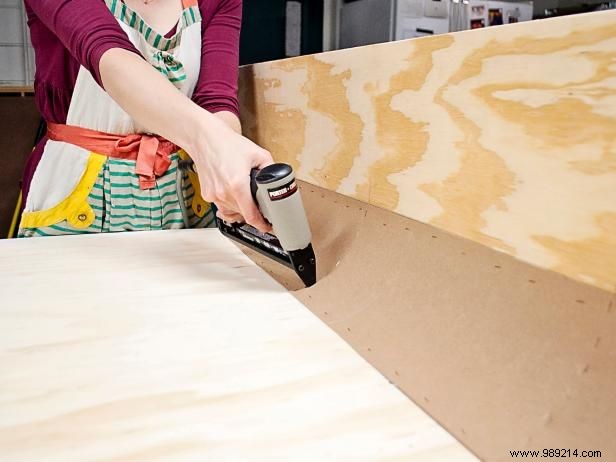
For a seamless transition between wings and headboard, cut paneling to fit and staple over brackets, wings, and frame edges.
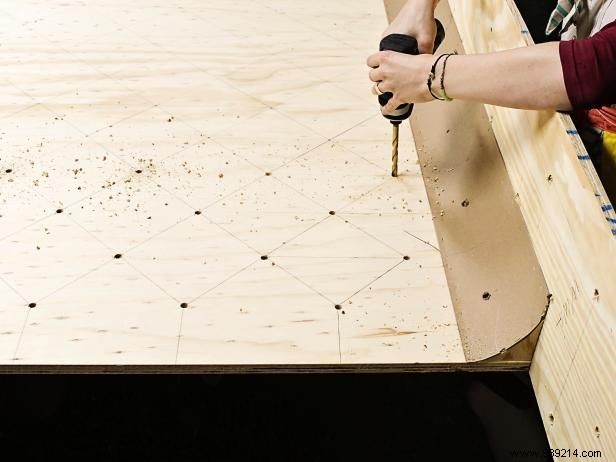
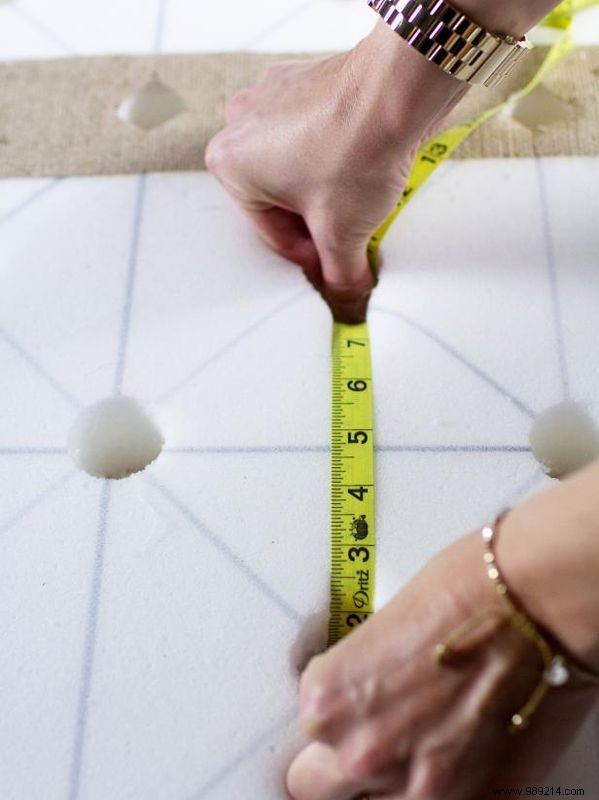
Draw a diamond grid with 6-inch spacing—or adjust for visual appeal and dimensions—using a square and straightedge on the frame.
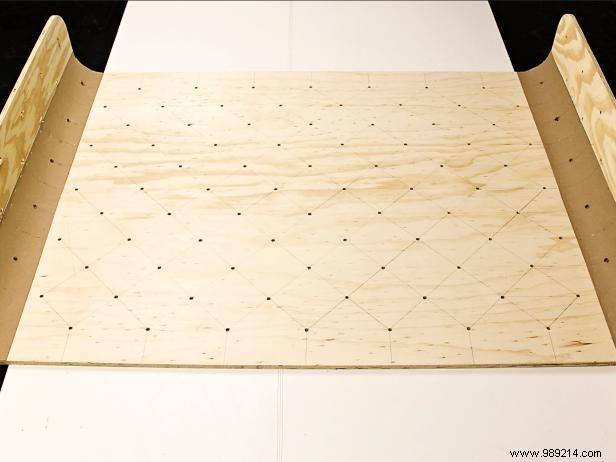
Bore through each diamond intersection. Opt for at least 3/8-inch bits to ease needle passage later.
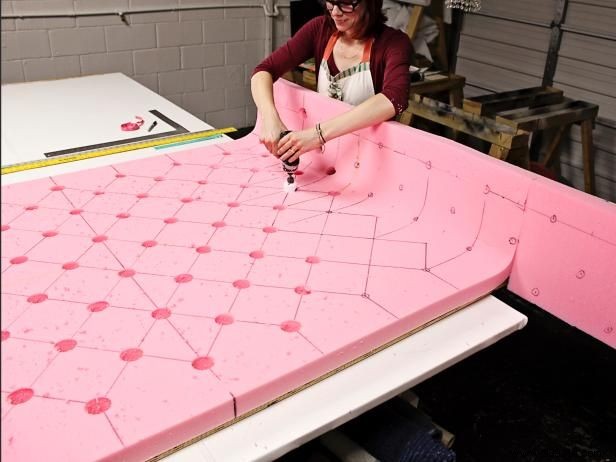
Layer 2-inch firm-density foam, gluing pieces with foam-fabric adhesive. Redraw the grid, use a hole saw over frame holes, and draw lines from edge buttons to foam edges. Adjust spacing in curved wing areas.
Run tape from hole to hole over foam, noting tighter curves. Reinforce seams with adhesive or burlap if needed; clear debris from holes.
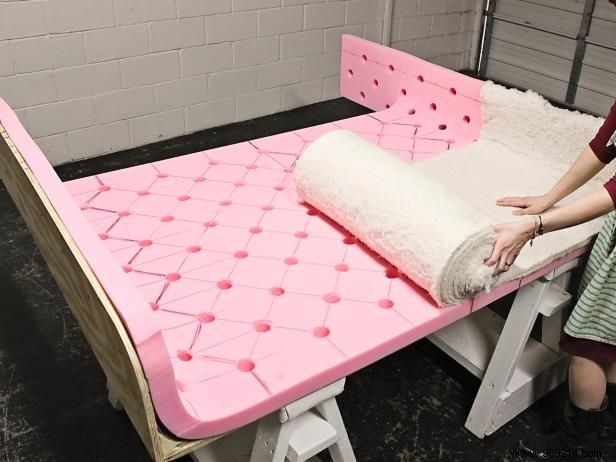
Layer two sheets over the foam front, finger-pulling batting from holes for clean access.
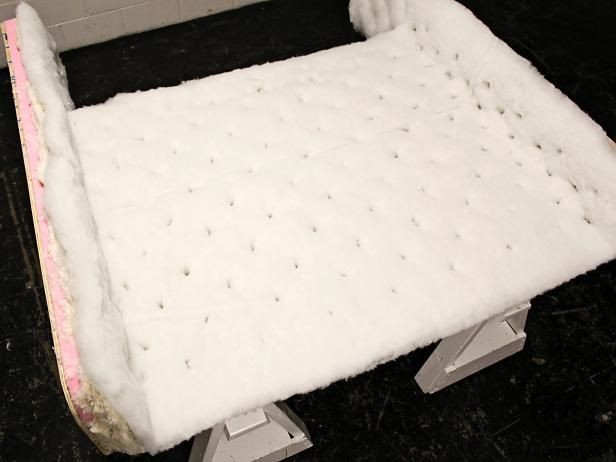
Wrap front and edges with one layer of stitched Dacron (gauze-backed). Snip threads, remove gauze, trim flush to frame back, and clear holes.
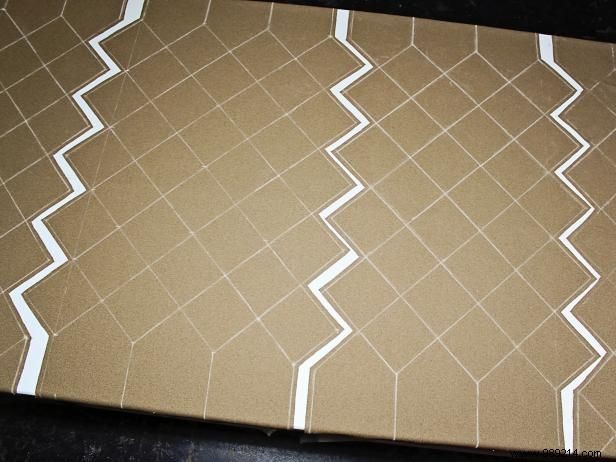
Mark tufting grid on fabric back using measurements. For large boards, vandyke seams invisibly with 1/2-inch allowances; add extra inches on edges for stapling.
Right sides together, align edges, and stitch into one full headboard panel.
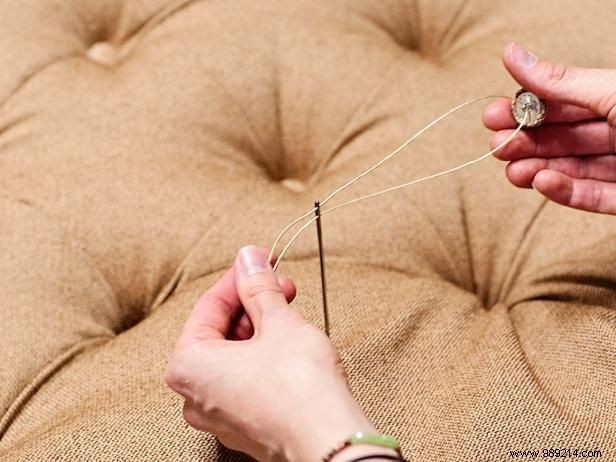
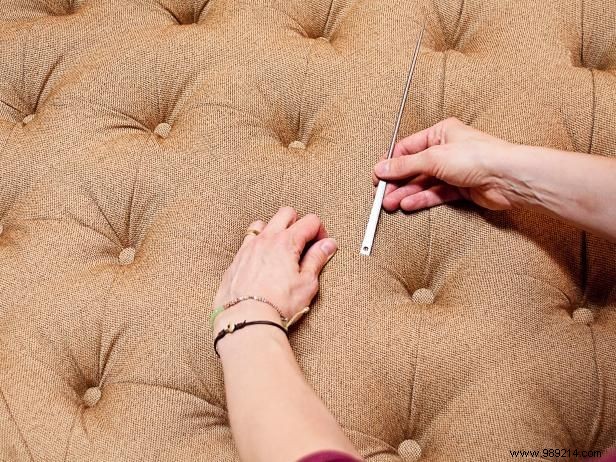
Pro upholstery shops make custom buttons affordably; otherwise, use kits (size 30, ~130 here). Thread 20-inch tufting twine through button loop and needle eye.
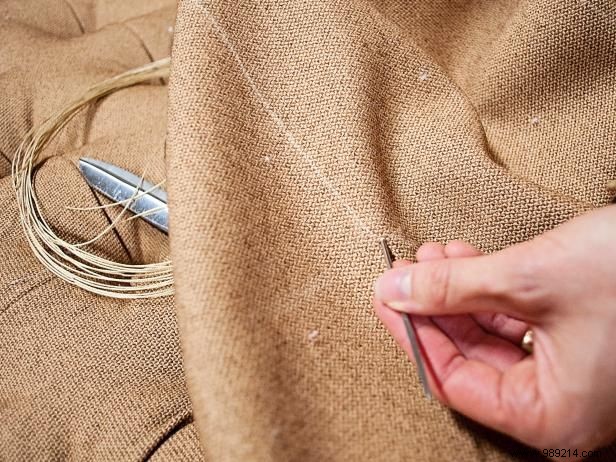
Start center: needle through fabric grid mark into matching frame hole, pulling button forward.
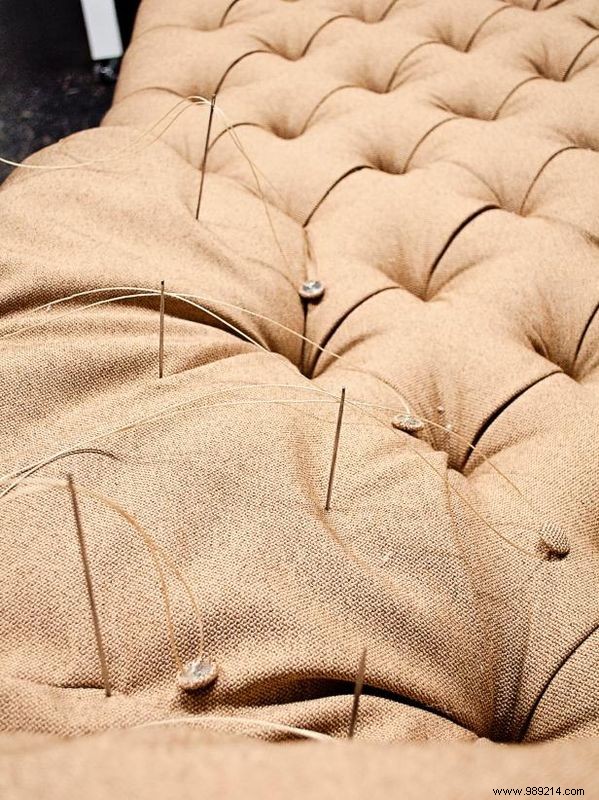
Invest in multiple tufting needles to attach several buttons simultaneously, saving time.
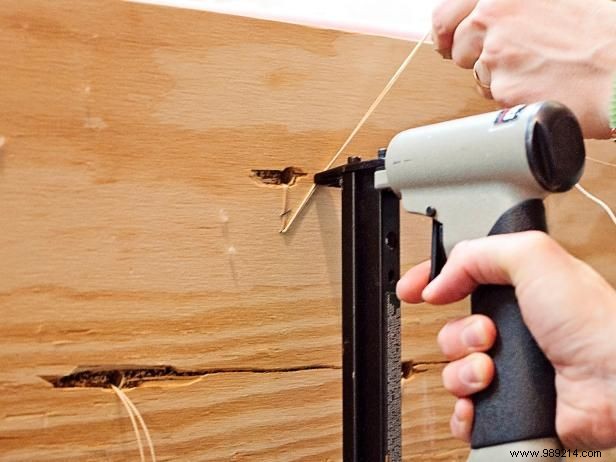
Pull twine taut; staple twice to frame back. Press buttons deep while pulling slack for plush tufts.
Pull ends oppositely and restaple to prevent slippage.
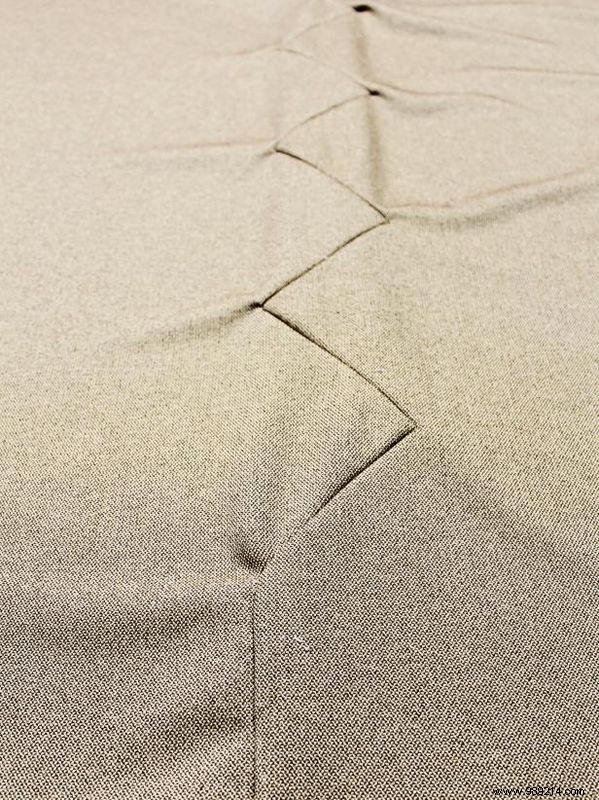
From center outward, tuck excess fabric under pleats toward the floor to repel dust. Secure all buttons this way.
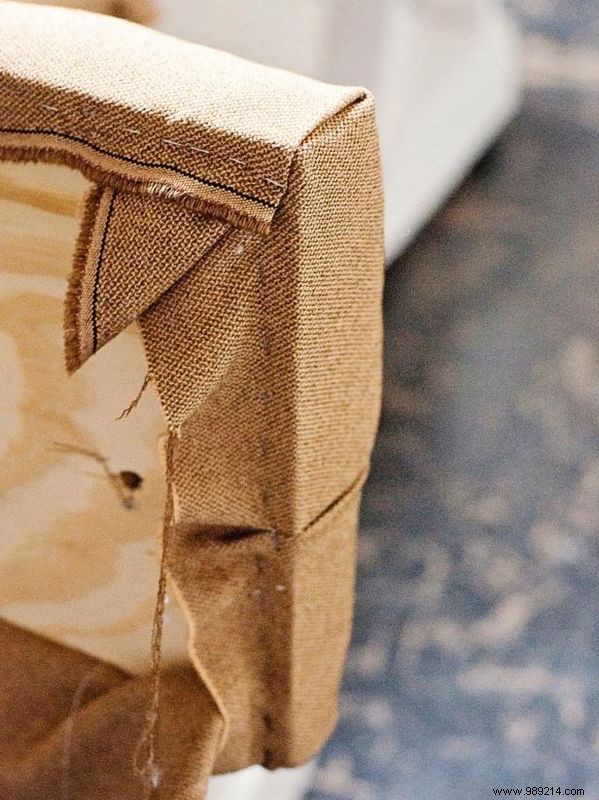
From outermost buttons, form straight pleats and staple neatly to backs of wings and headboard.
Neatly pleat surplus fabric at leg bottom corners and wing top curves.
Snip small releases between wings and headboard for flat curves; staple excess to top/bottom corner supports.
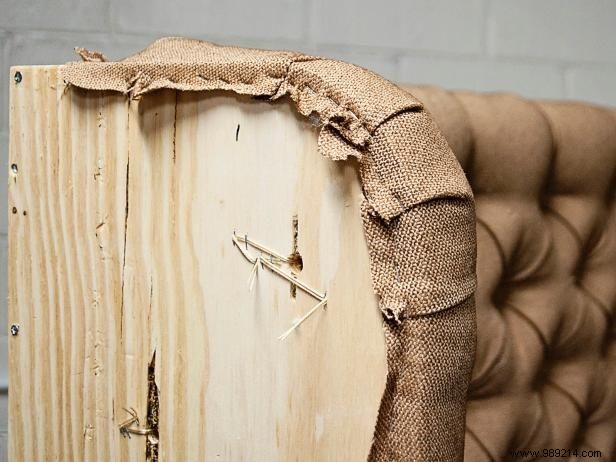
Staple along inner corner supports, one per tooth hole. Fold inward toward headboard interior.
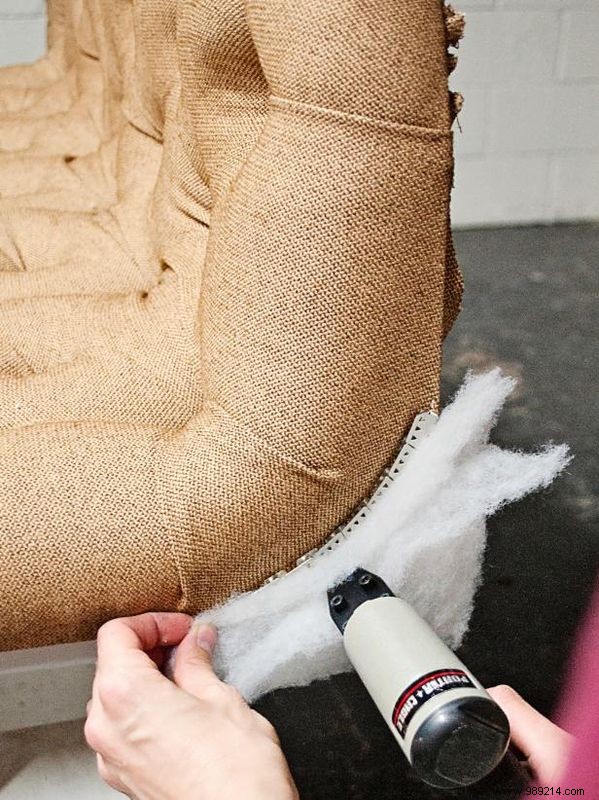
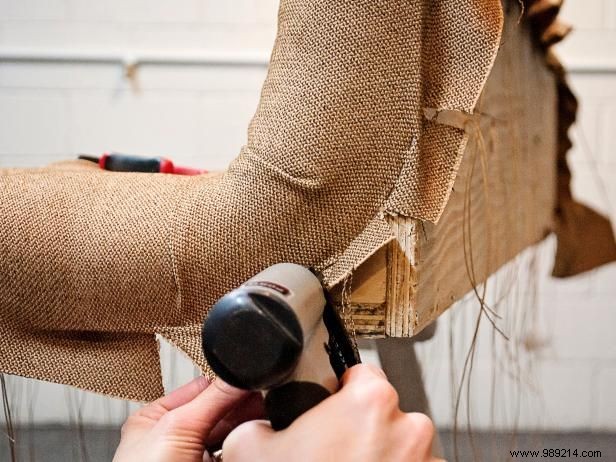
Staple extra Dacron into corners; trim flush with frame edges and Pli-Grip.
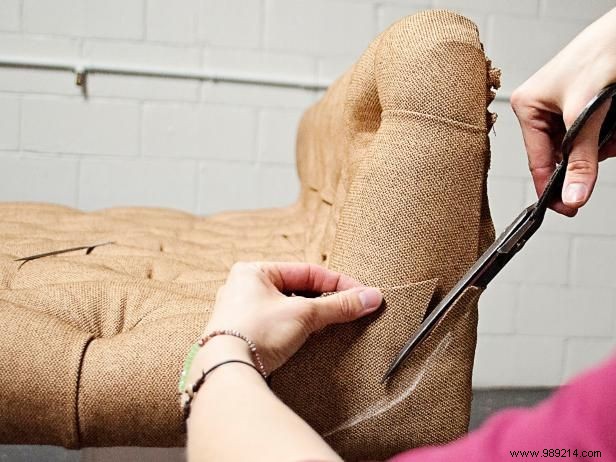
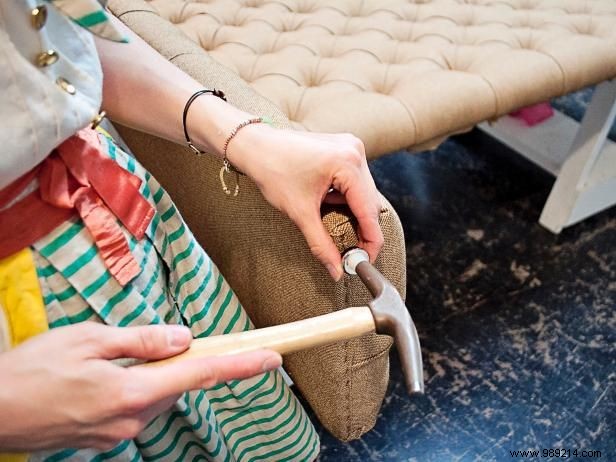
Staple fabric scraps around corners to frame backs. Smooth over Pli-Grip; trim 1/2-inch beyond teeth.
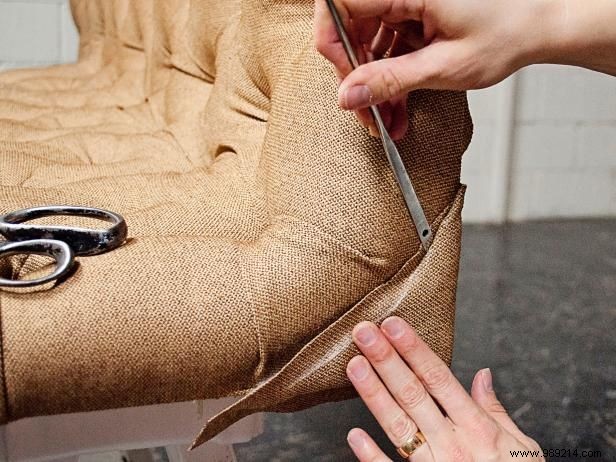
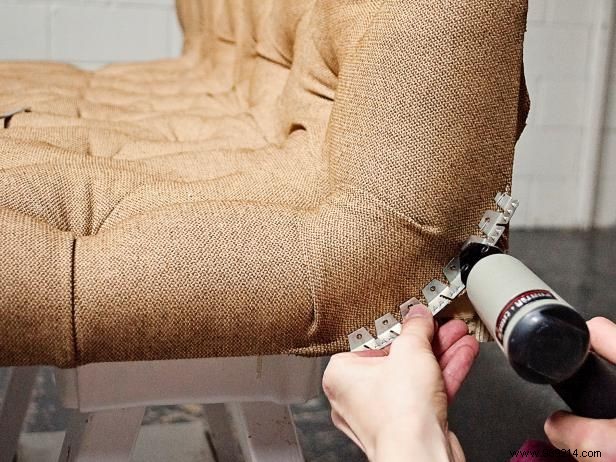
Use a metal tool's flat end to press excess into teeth.
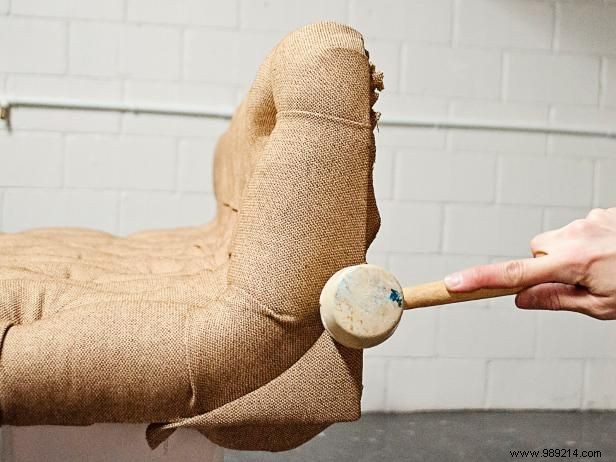
Fully seat with a rubber mallet.
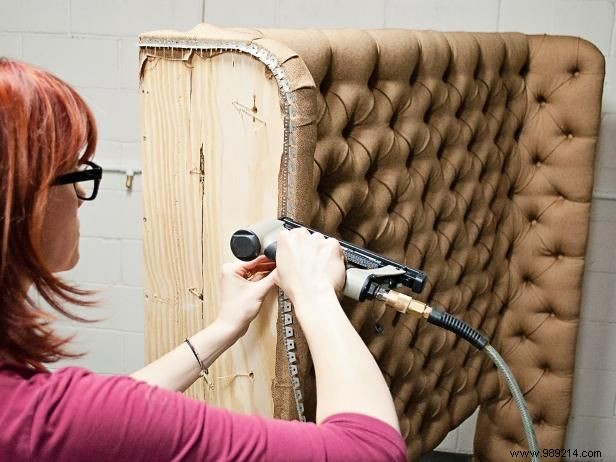
Staple to top/front edges. Cut at sharp corners; start fresh pieces. Press teeth down firmly.
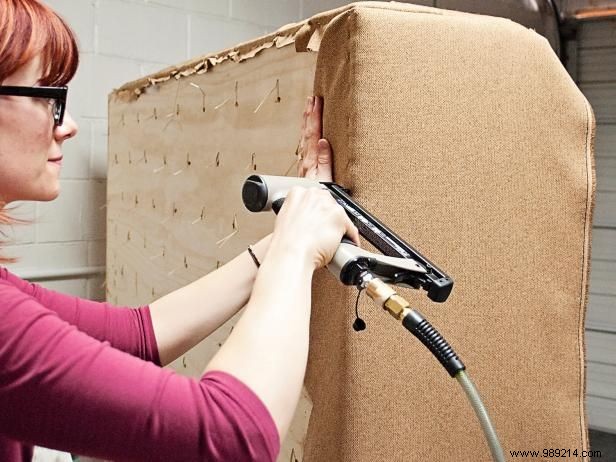
Cut to cover wing plus pull margins. Staple back/bottom edges securely.
Hammer sliders or glue felt pads to leg bottoms for fabric protection.
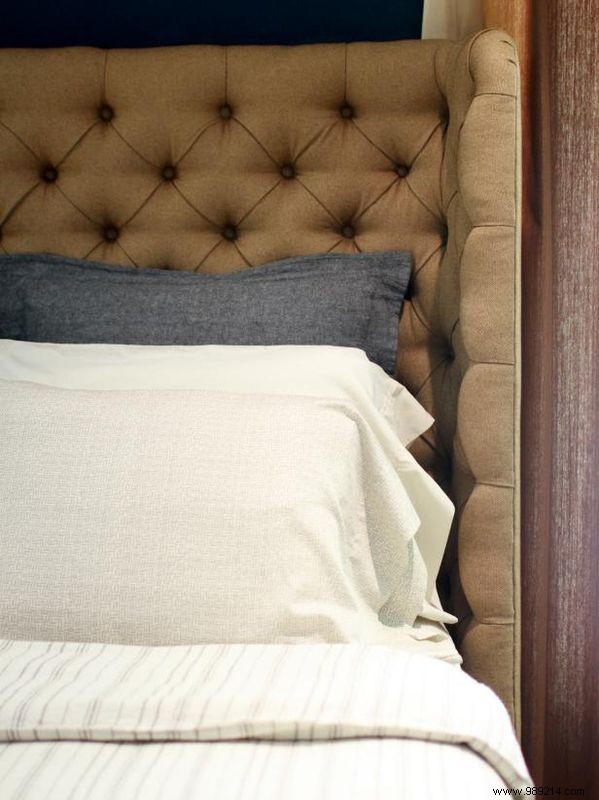
Position in your bedroom for an elegant, professional finish.