Cut posts and rails to length using a hacksaw.
To assemble the basic headboard frame, position the two end posts vertically on your work surface. Then, place the rails horizontally across the top and bottom to form a sturdy square.
James Calloway
Slide seven tension bar brackets onto each post. The two outer brackets secure the rails at the top and bottom, the three inner ones hold the fence in place, and the remaining two on each post anchor the headboard to the wall.
James Calloway
Attach a rail end cap to each of the four tension bar brackets at the top and bottom of the posts. Fit the top and bottom rails into them—they'll stay loose until the fence is tensioned and secured.
James Calloway
James Calloway
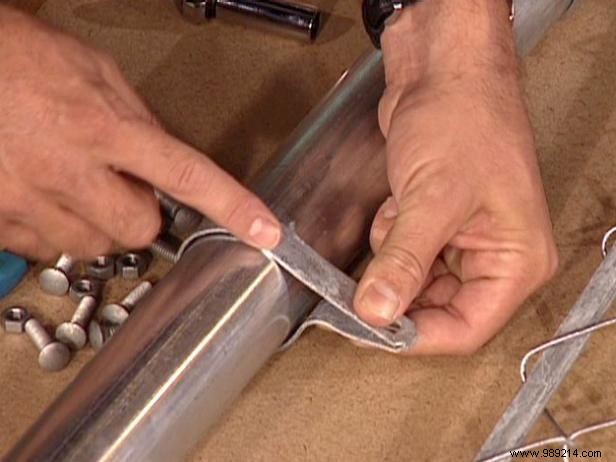
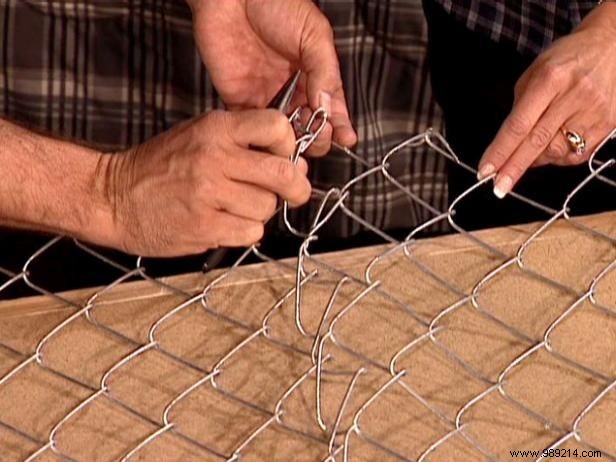
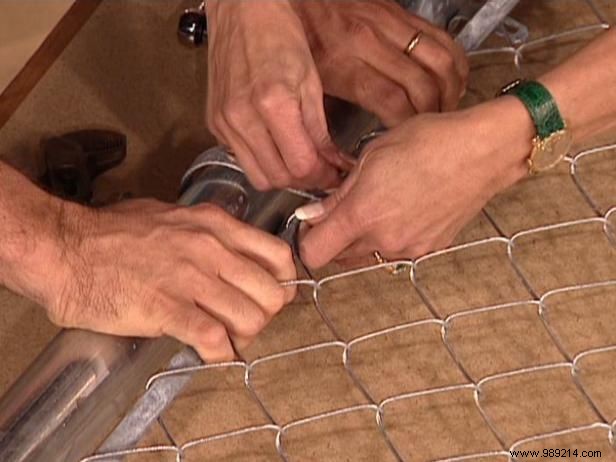
With the frame ready, attach the chain link fencing. These fences interlock and can be uncoiled to create the 3 1/2" wide section needed for the headboard. Use pliers to crimp the top and bottom of one connecting piece, then slide it off to unwind (Image 1).
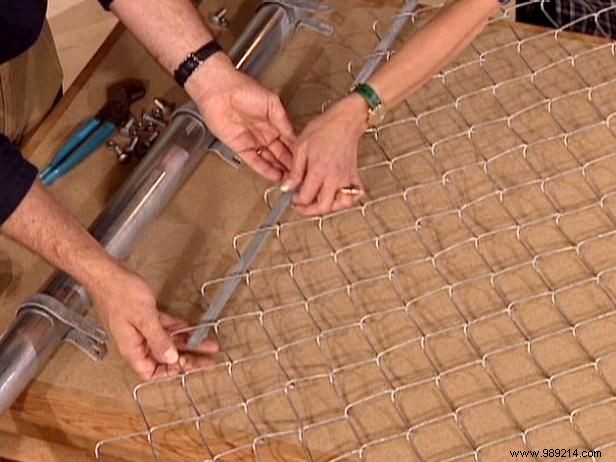
Slide a tension bar onto each end of the fencing piece (Image 2).
James Calloway
James Calloway
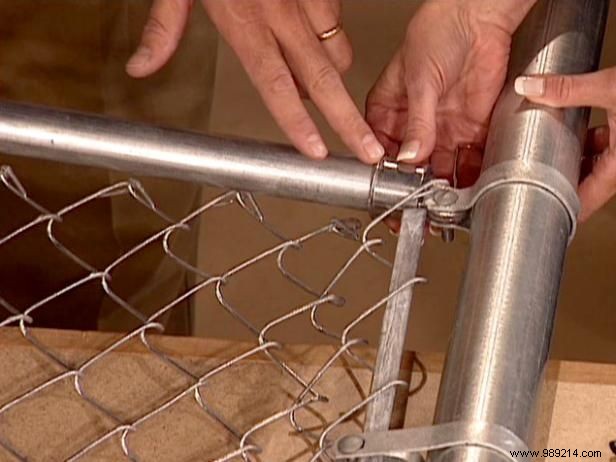
Secure one end of the fence to a post by screwing the tension bar into the three center brackets. For the other side, pull the fence taut, slide the tension bar into the brackets, and screw it in place (Image 1)—this works best with two people, one tensioning while the other secures.
Screw the headboard to the wall using the two remaining brackets per side.
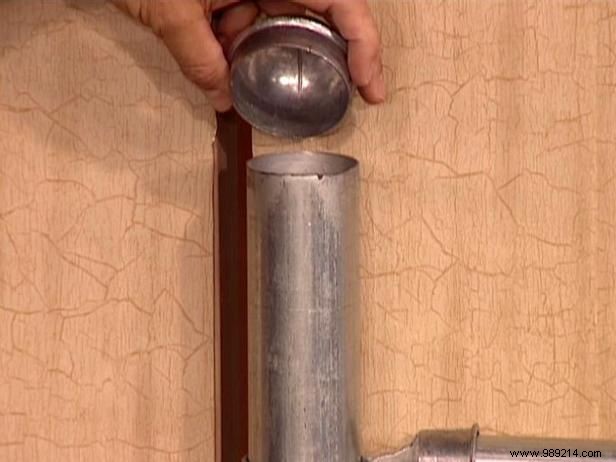
Add end caps to the top of each post for a polished finish (Image 2).