Measure your window's width and height, then add 4 inches to the width and 16 inches to the height to account for hems. This gives the size for each panel—make two per window. Cut your curtain fabric to these precise measurements.
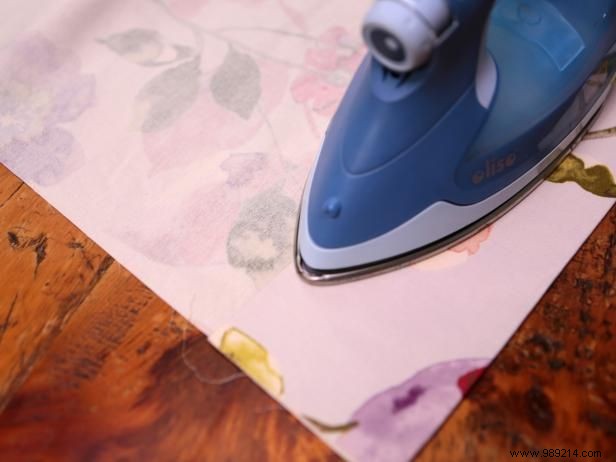
With the right side of the fabric facing down, fold up a 4-inch hem at the bottom and press with an iron. Fold it over again another 4 inches using the first crease as a guide, then iron flat. This double hem adds weight for a straight, professional hang. Place fusible hem tape along the raw edge between the layers and iron until it adheres securely. Repeat at the top of the panel.
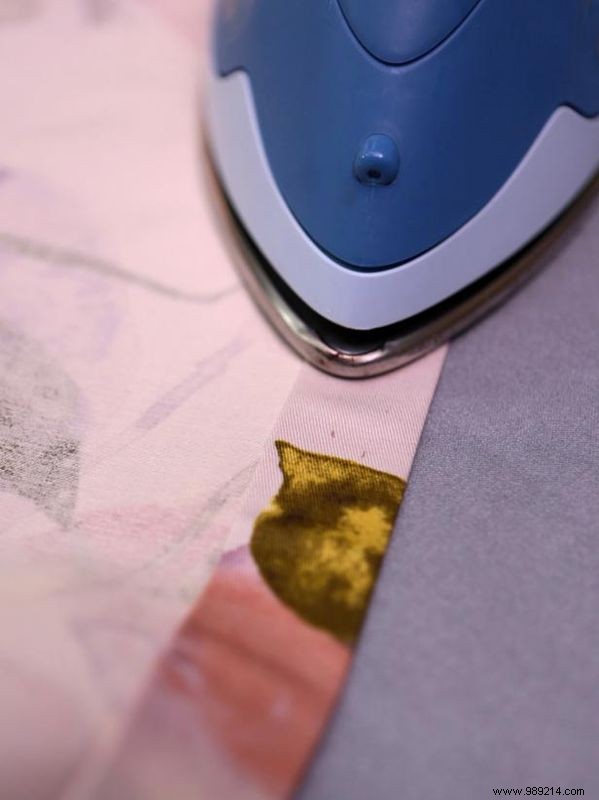
Create double hems on both long sides. Right side down, fold over a 1-inch hem, measure to ensure straightness, pin if needed, and iron. Remove pins, refold another inch using the crease as a guide, and iron again. Insert fusible tape into the fold and press firmly with a hot iron to melt the adhesive and bond the layers. Repeat on the other side.
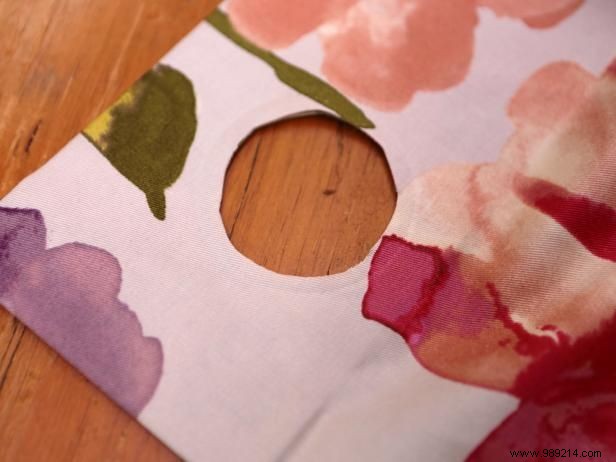
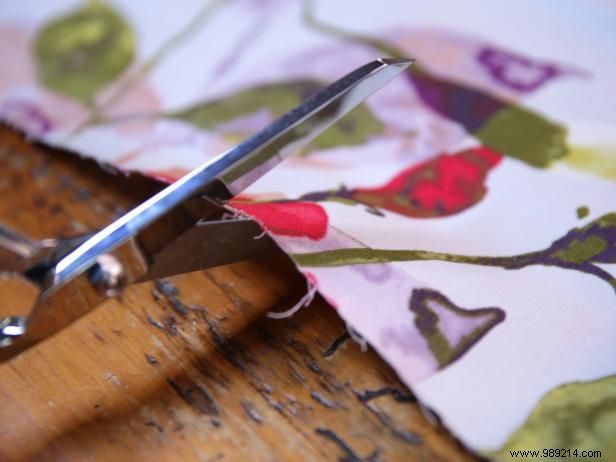
Mark positions evenly across the top hem for your eyelets—use an even number so folds align at both ends. Use the grommet kit's template and a fabric marker to trace circles about 2-3/4 inches from the top edge. Make a small cut in the center of each circle through both fabric layers with sharp scissors. Lay the panel flat to ensure alignment, then carefully cut out each circle as precisely as possible.
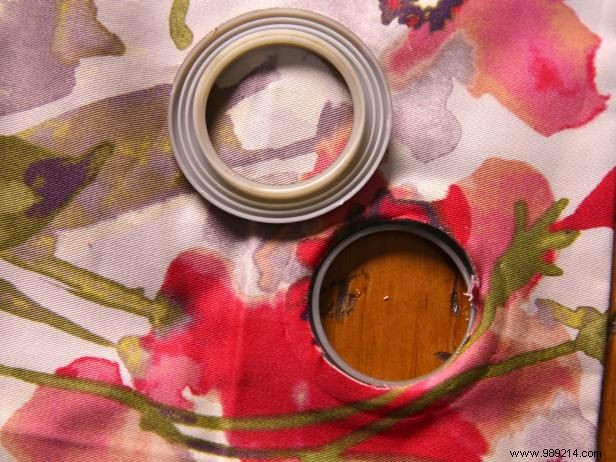
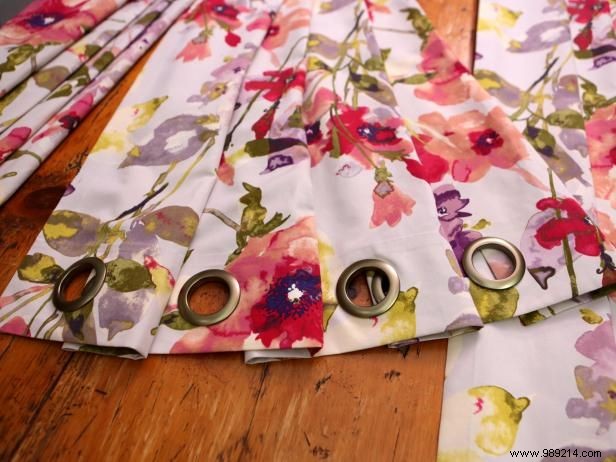
Insert the back piece of the eyelet (with the raised prongs) from the wrong side through the hole, ensuring a snug fit (Image 1). Trim any excess fabric if necessary. Snap the front piece firmly into place. Repeat for all holes (Image 2).
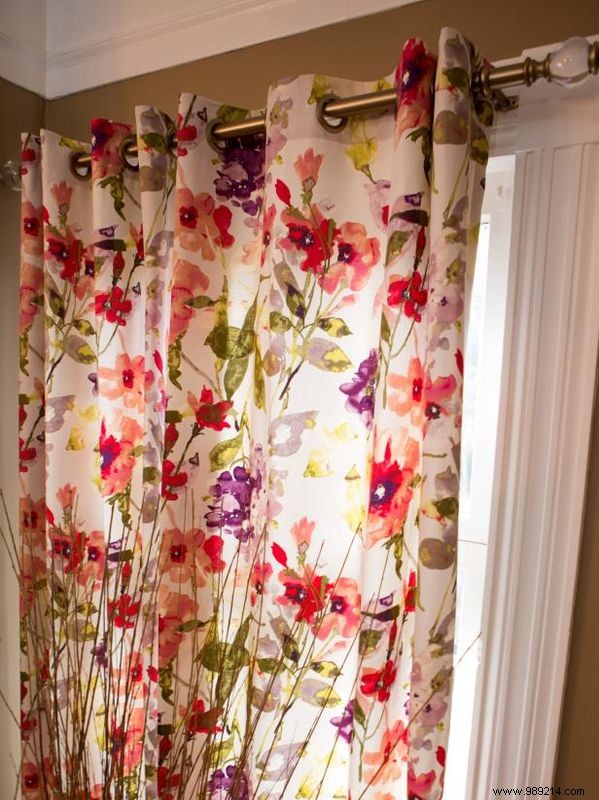
Slide the curtains onto your rod and step back to admire the professional results.