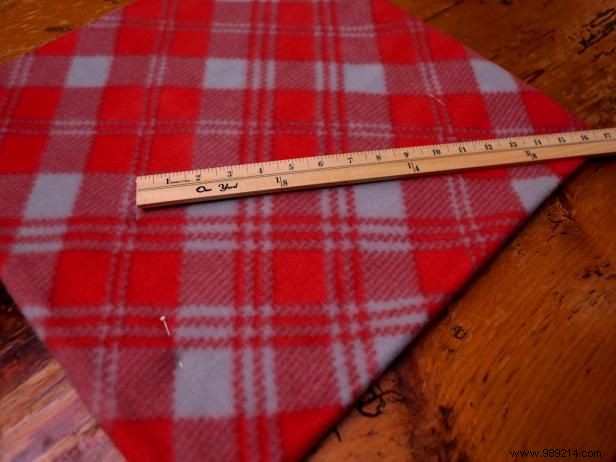
As an experienced DIY crafter, I always start with a paper pattern for precision—especially with printed fabrics to ensure perfect centering. Use craft paper, old wrapping paper, or newspaper to make a 36" x 36" square. Fleece is ideal: it's ultra-soft, doesn't fray when cut, and gives clean edges. Fold the fleece in half for two layers, pin the pattern securely, and cut. Alternatively, trace with a fabric marker for control.
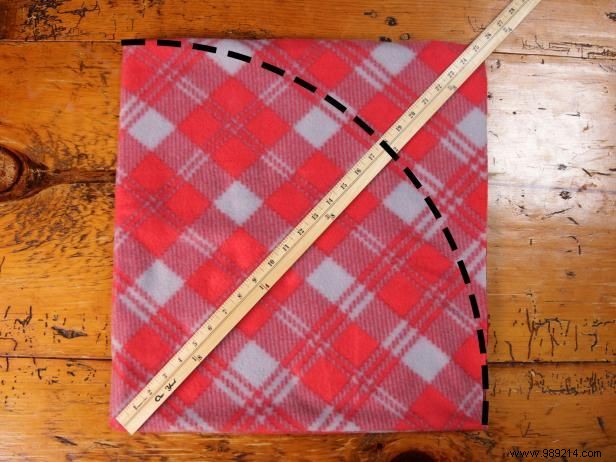
Fold each square into quarters, right sides in, and pin layers. With a fabric marker, draw a quarter-circle from the folded corner: mark about 18½" along the edges from the corner, then connect the marks with a smooth curve for an even arc.
With the four layers pinned, cut along the drawn pattern line. Unfold to get one 27" diameter circle. Repeat with the second square for your matching pair.
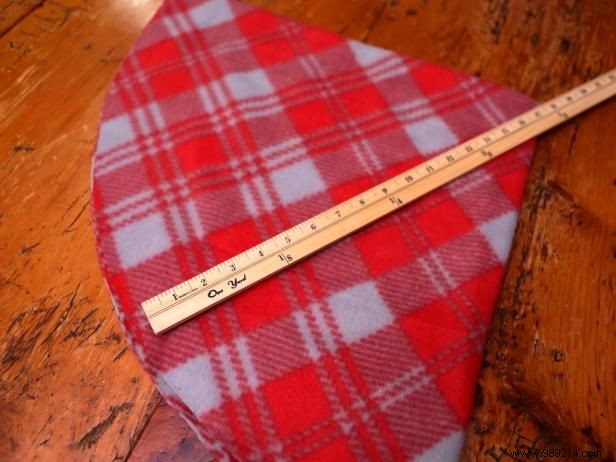
Unfold both circles, stack right sides together, and pin. Draw a guide line 4 inches in from the outer edge—this marks where your tabs will end.
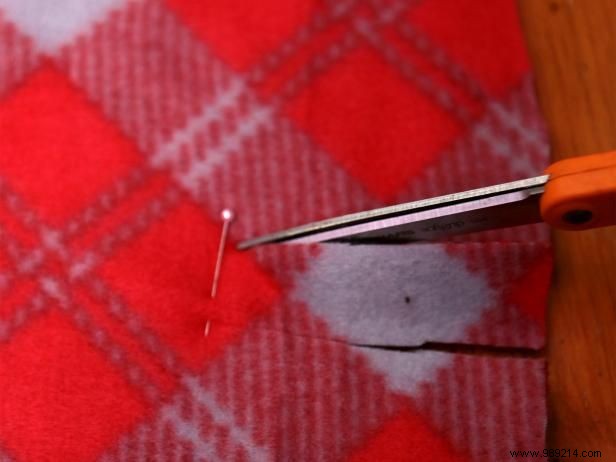
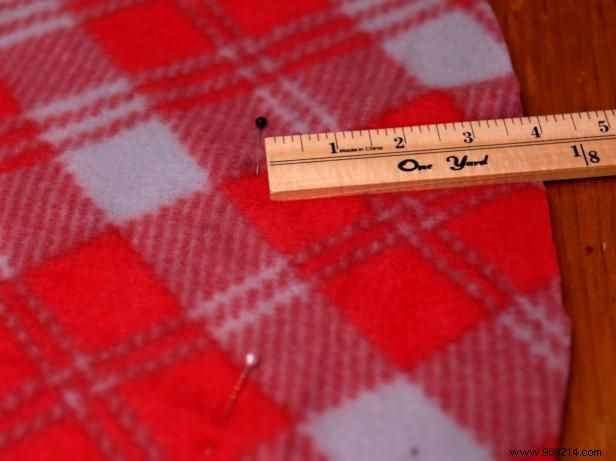
Cut 1" wide by 4" long tabs up to the guide line, through both layers simultaneously to ensure they align perfectly.
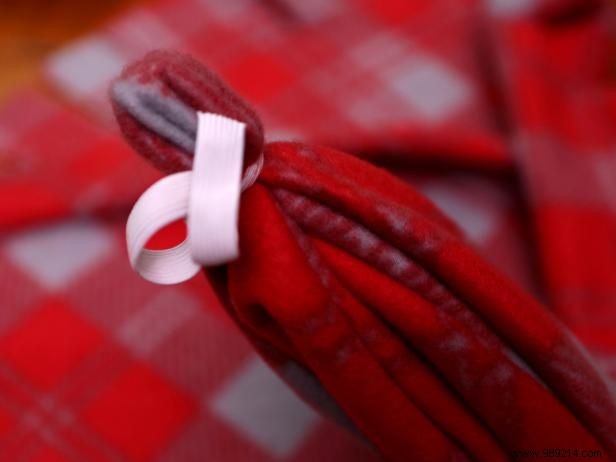
For a polished, pleated center detail that elevates the design, fold the top fabric layer into quarters like accordion folds, right side in. Secure the center corner with a rubber band 2-3 inches in. Turn both layers right side out and pin together.
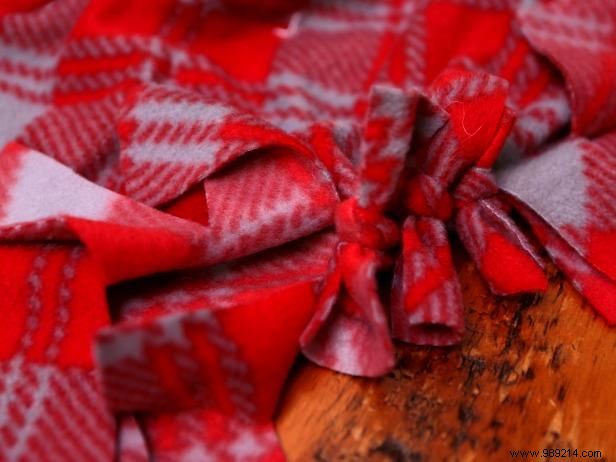
Starting anywhere, tie matching top and bottom tabs in secure double knots. Work evenly around—skip none to avoid gaps.
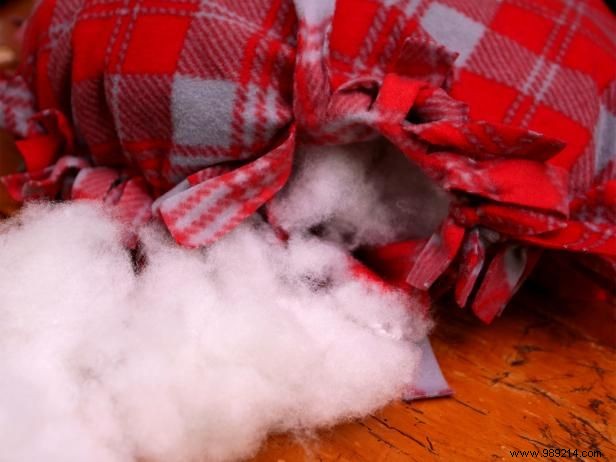
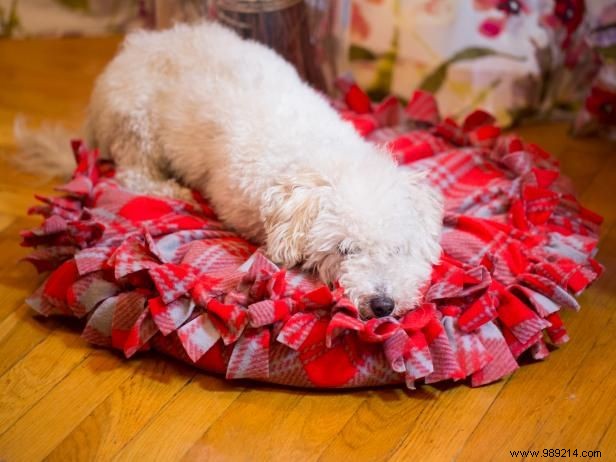
Leave a 10" opening un-tied. Fill firmly with polyester filling, old sheets, pillows, or clothes until it lays flat. Tie the remaining tabs to complete your durable pet bed.