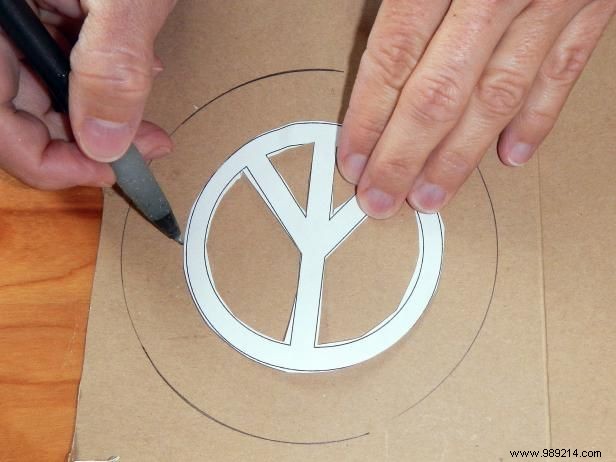
Print or draw peace signs on a sturdy piece of paper. Use that as a template to trace the shape onto the cardboard. You may want to make some in various sizes.
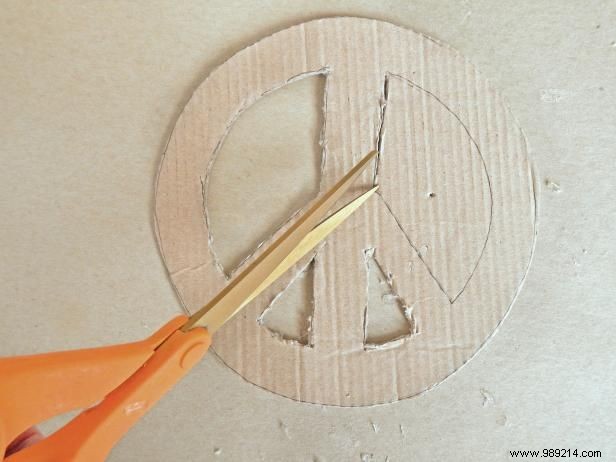
Cut the peace signs out of the cardboard, making sure the inner cutouts are slightly larger than they should be. The pom poms will cover up some of the interior spaces, so you'll want to have a little more room.
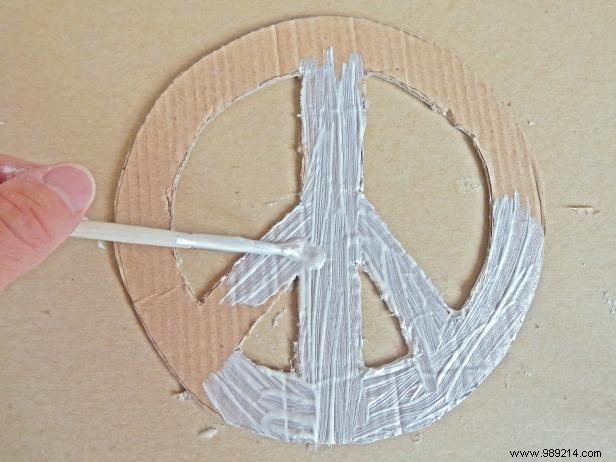
Use a colored marker or craft paint to cover the cardboard in the same color as the pom poms in case the cardboard shows through the pom poms. Be sure to color the edges as well.
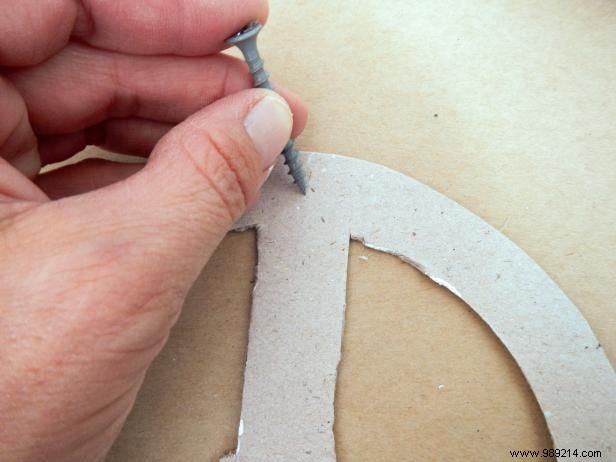
Use a screw, nail, or dowel to create a hole in the top of the peace sign (make sure you're going in the right direction). Thread the pipe cleaner or tape through the hole and twist it around your finger to give it a curly look.
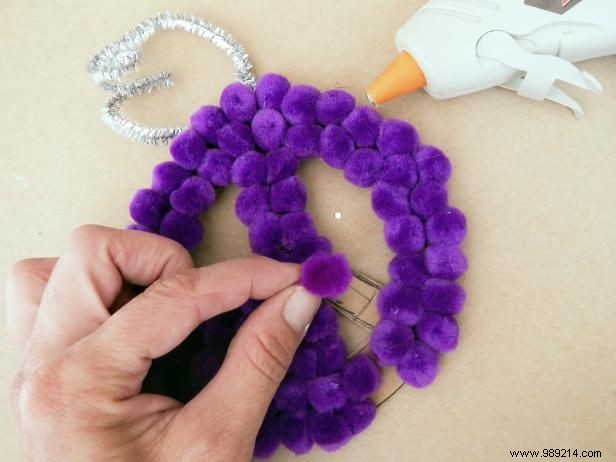
Glue the pom poms onto the cardboard with the hot glue gun. Push them down firmly and hold them in place while they dry. Check again that they do not protrude or are too far from the cardboard.
Susan Teare
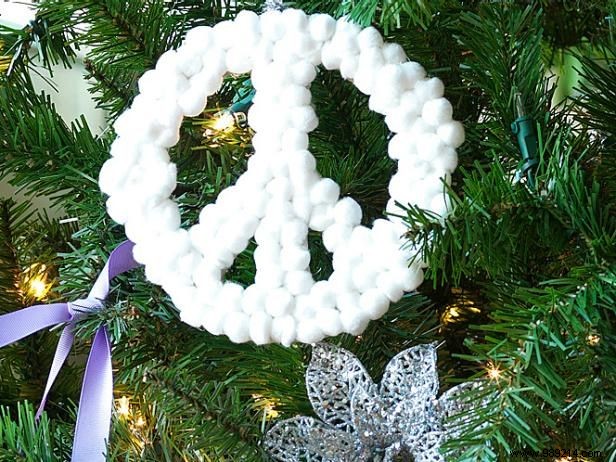
Experiment with a variety of colors and sizes and have fun creating your handmade Christmas decorations.