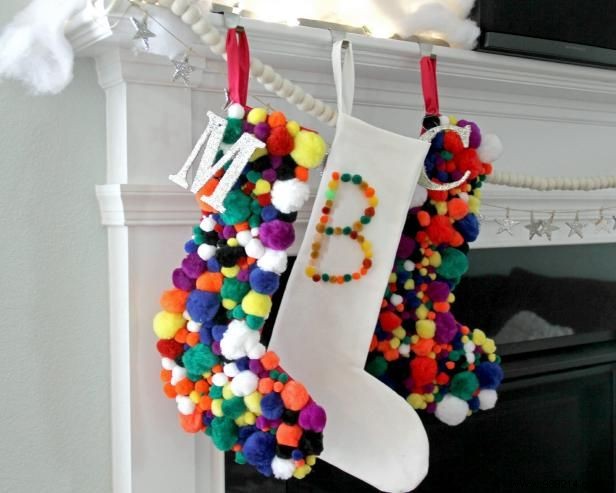
Plain cotton stockings are readily available at craft stores, but creating your own personalized version is simple and rewarding. As a crafter with years of holiday DIY experience, I've perfected this technique—download our handy pattern and follow these proven steps for stunning results.
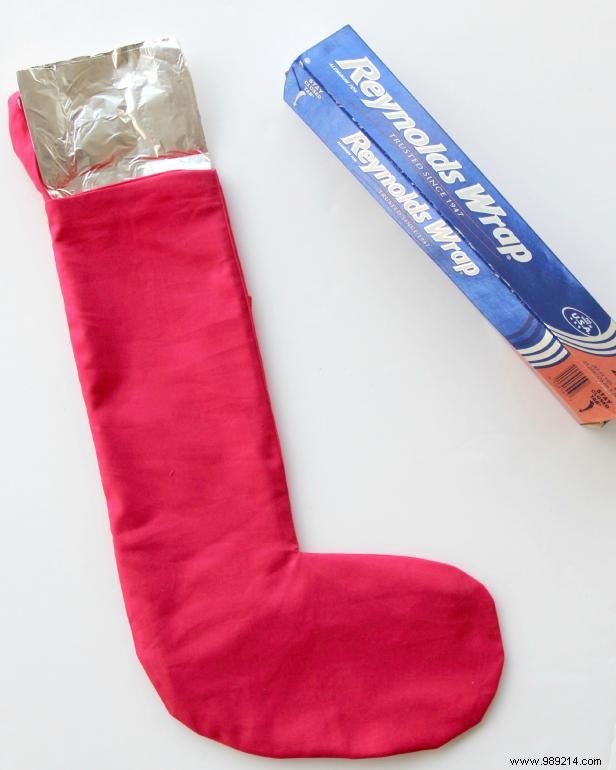
Stuff aluminum foil inside the stocking. This trusted trick prevents glue from seeping through to the back side.

Open a bag of colorful pom poms and have fabric glue at the ready.
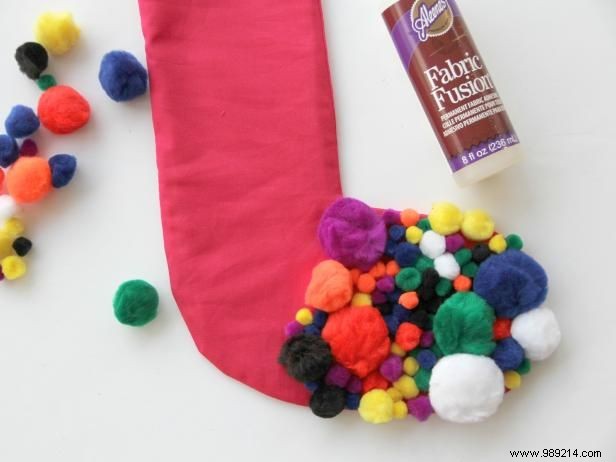
Apply a generous layer of fabric glue to a small section of the stocking. Press pom poms firmly into the glue, covering the area completely.
Keep adding pom poms until the glued section is fully covered. Repeat across the entire front of the stocking for full, vibrant coverage.
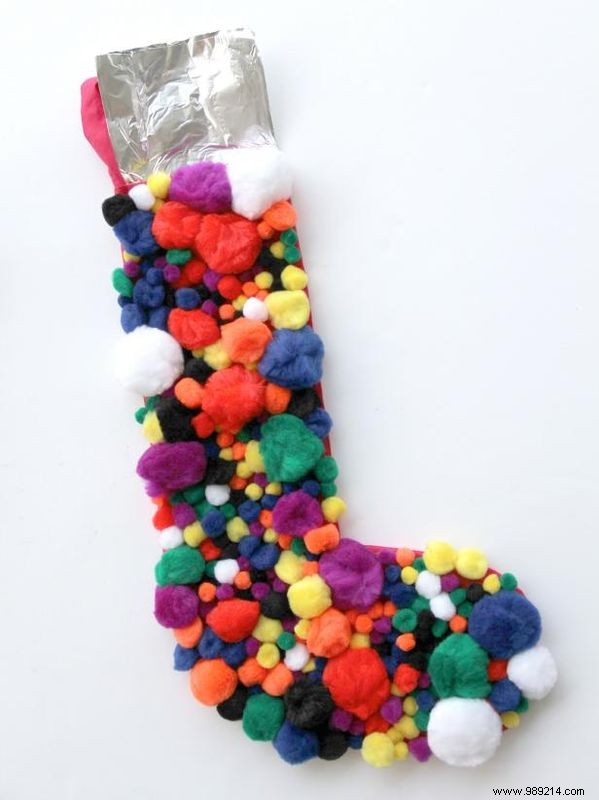
Set aside to dry completely. With the glue volume used, plan for at least 24 hours.
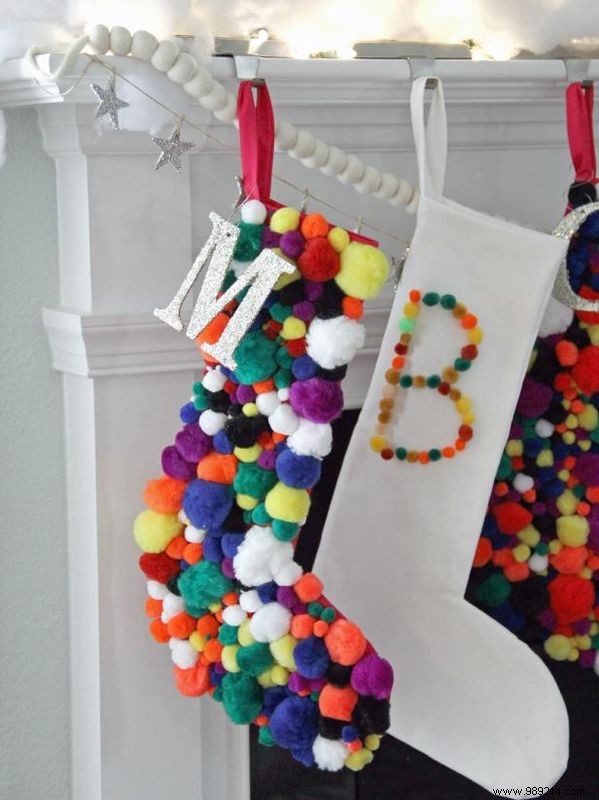
For a custom look, skip full coverage and form a monogram or initial: apply glue in your desired shape and fill with pom poms.