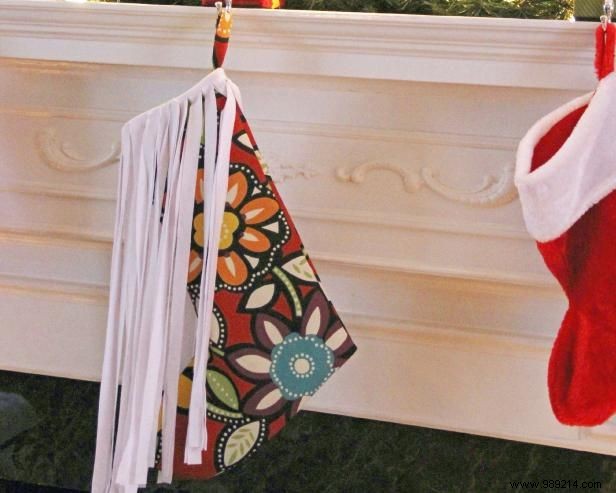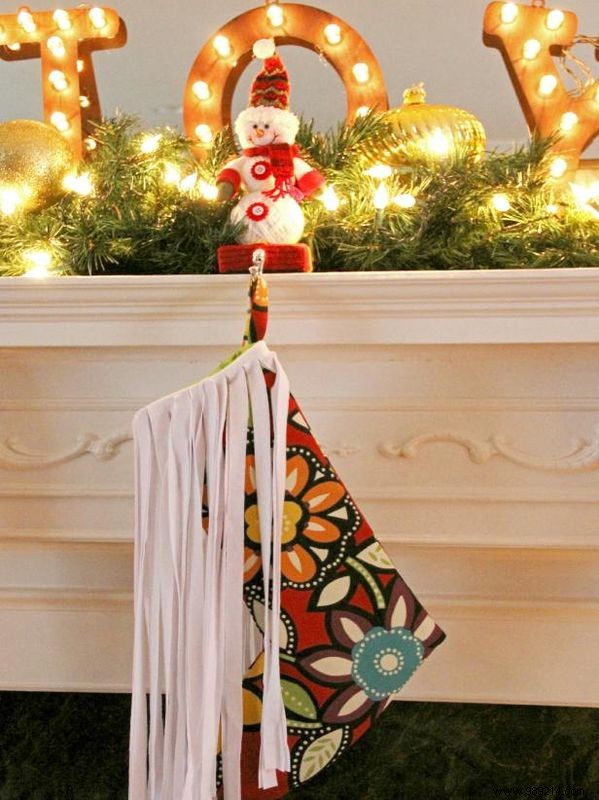
This finished stocking measures 19" tall x 12" wide. For a smaller size, scale the pattern when printing (e.g., 70%, 80%, or 90%). Download and print the pattern to get started on this boho-inspired holiday craft.
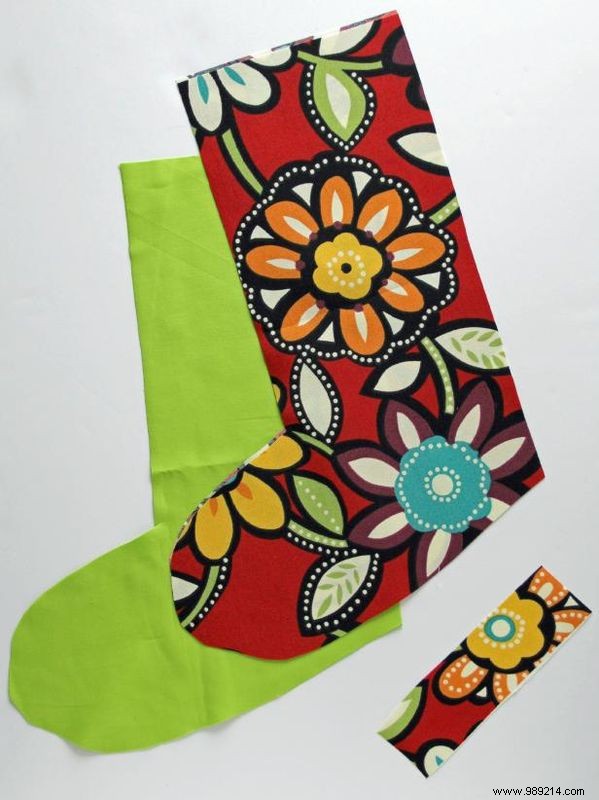
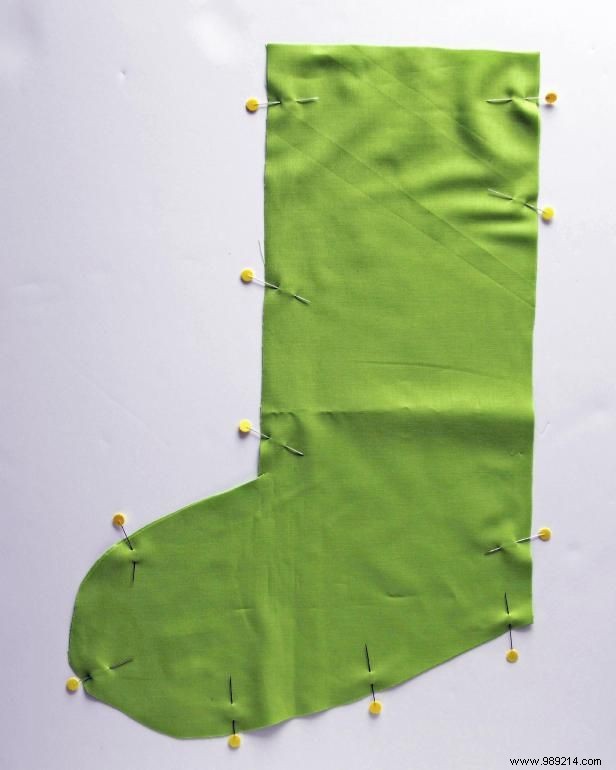
Use the pattern to cut your fabric: two mirror-image pieces for the stocking exterior, two for the lining, and one for the hanging loop.
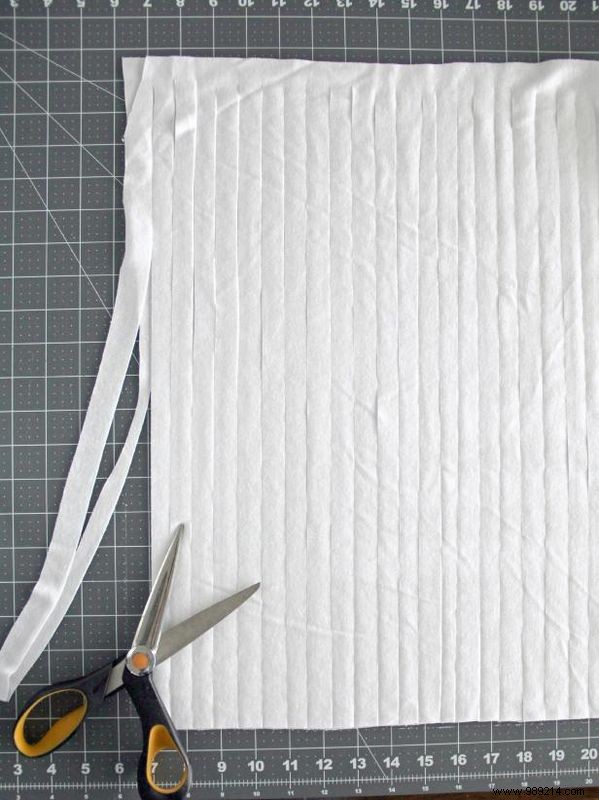
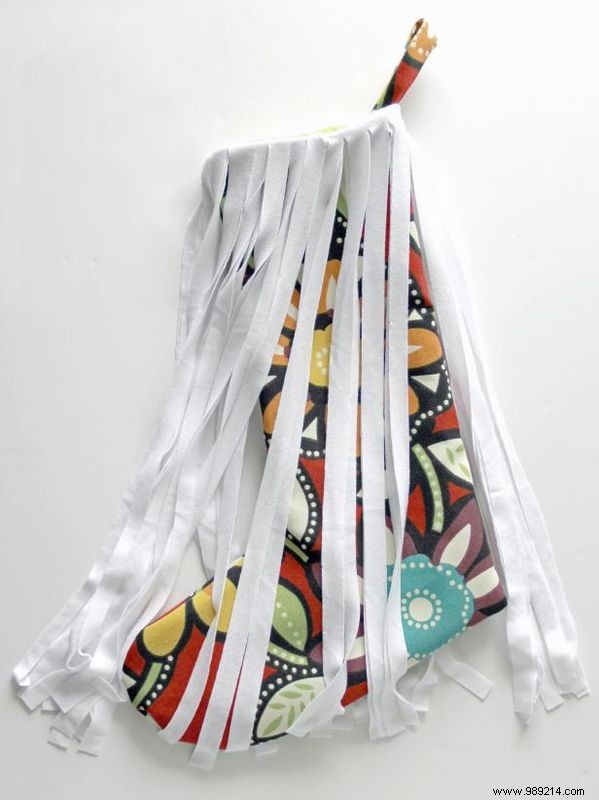
Cut a rectangular piece of knit fabric for the fringe. For denser fringe, cut two fringe pattern pieces and repeat as needed. Following the pattern, use scissors or a rotary cutter to make long slits, leaving the top inch intact.
Place the two lining pieces right sides together and pin along the side edges. Leave the top open and a 5" slit along the back edge. Sew them together, then trim the seam allowances.
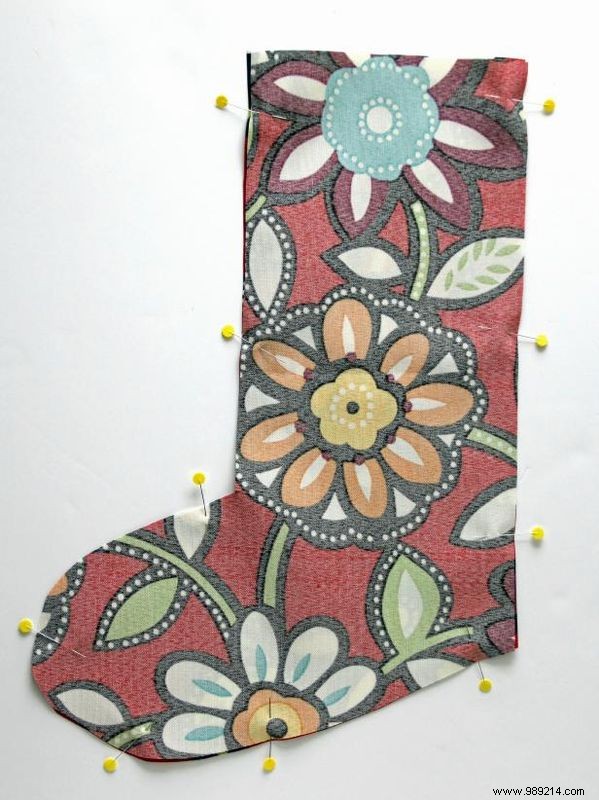
Place the two exterior pieces right sides together and pin along the side edges, leaving the top open. Sew, then trim the seam allowances.
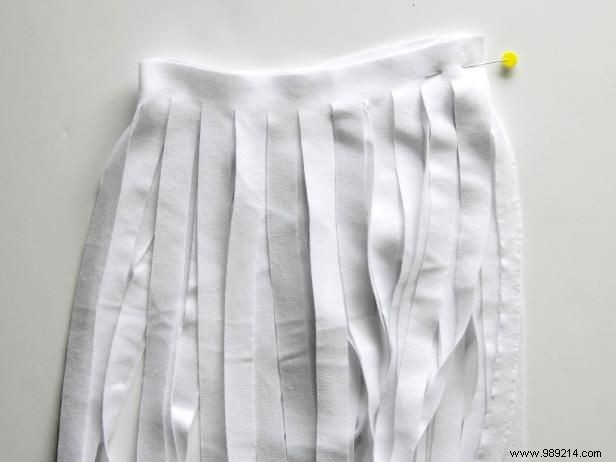
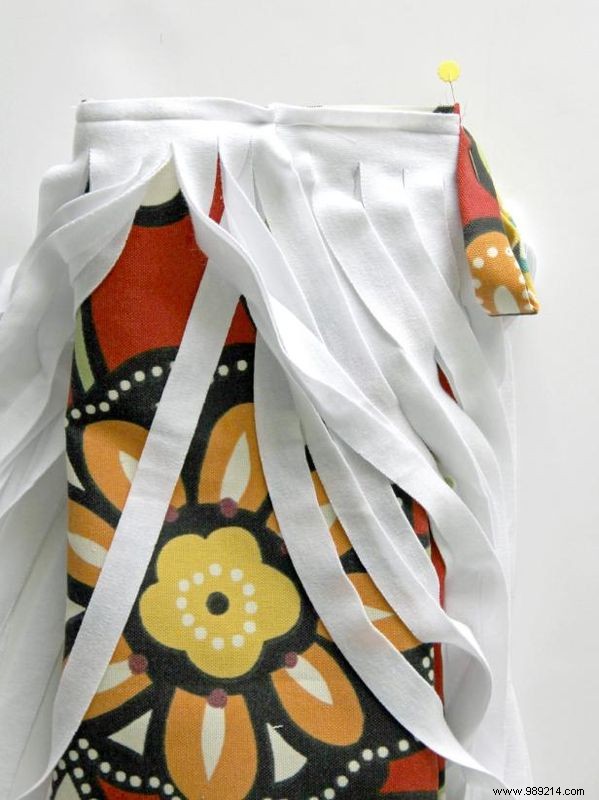
Fold the fringe strip in half lengthwise, matching the top edges. Pin and sew the top 1" edge along the fold.
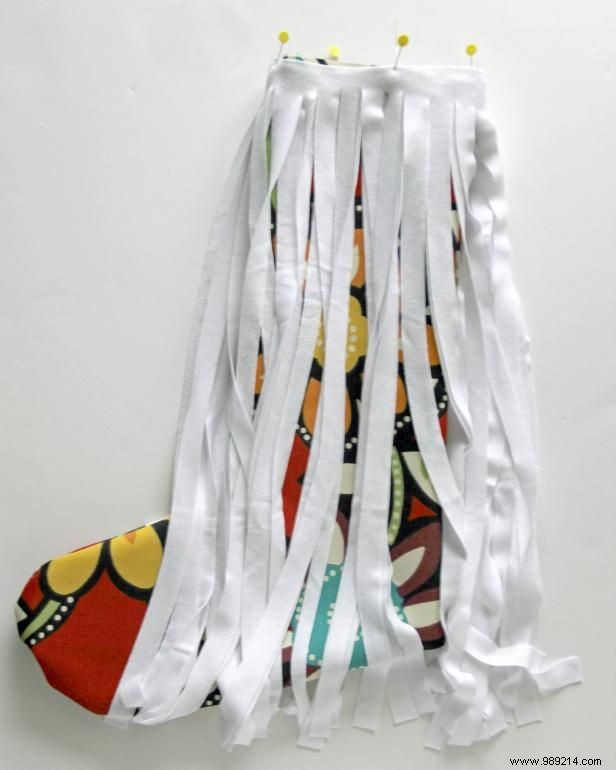
Turn the exterior stocking right side out and smooth the edges. Slide the fringe around the top edge, pin in place, and sew 1/8" from the top edge to secure.
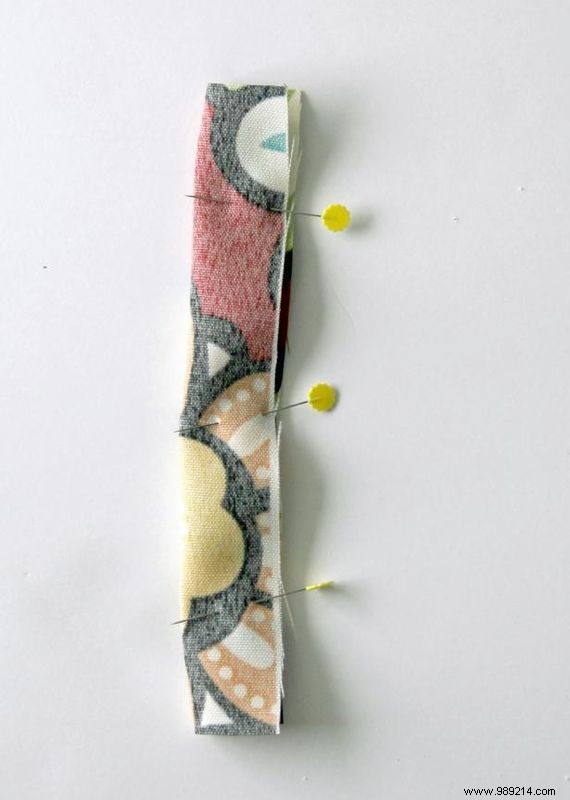
Fold the loop fabric in half right sides together and pin the long edge. Sew, then use a safety pin to turn the tube right side out and press flat.
Align the raw edges of the loop at the top back edge of the exterior stocking to form the hanging loop. Pin and sew 1/8" from the top edge.

With the lining inside out, slide it over the right-side-out exterior stocking, matching seams. Ensure the fringe and loop are tucked inside. Pin the top edges and sew around.
Turn the stocking right side out through the lining's opening. Whipstitch the lining opening closed, push the lining inside, and press for a professional finish.