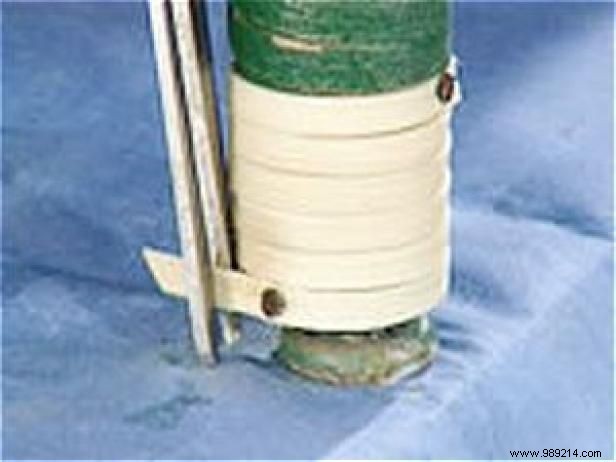
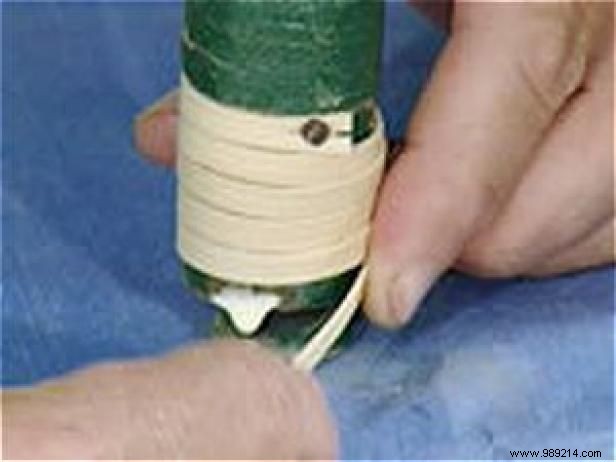

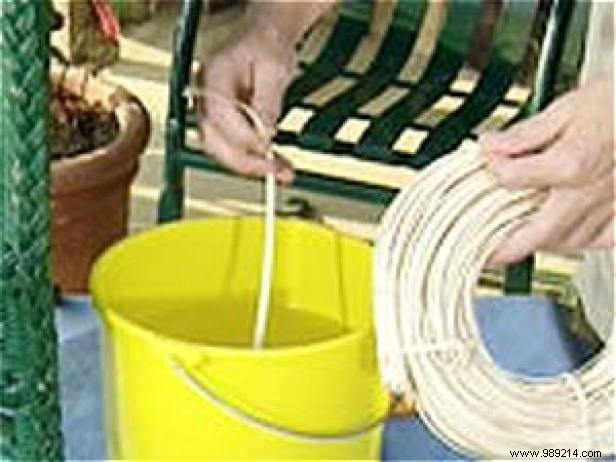
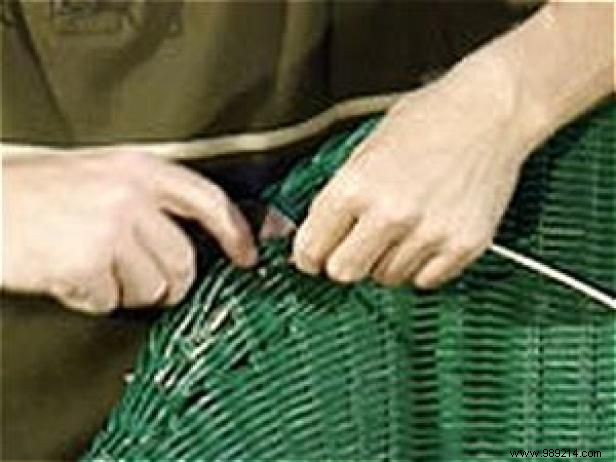
To fix a chair leg where the wicker wrap has loosened, cut a piece of wicker cane and soak it in water for about 30 minutes (Image 1) to increase flexibility. Apply a small dab of glue under the end of the loose wrap, insert the new strand's end, and secure it with a thumb tack (Image 2). Wrap the new cane tightly around the leg (Image 3), add glue at the end, secure with another tack, and trim excess (Image 4).
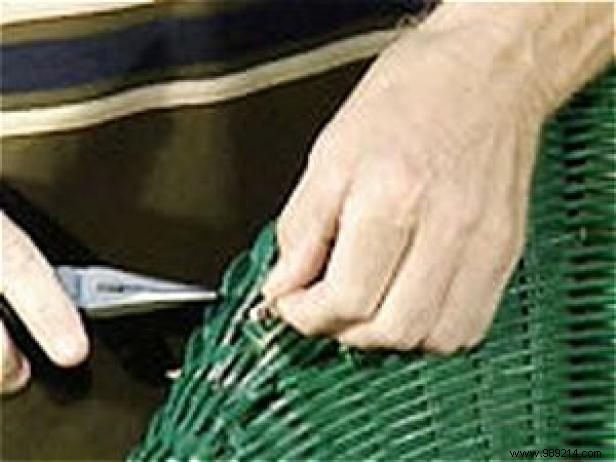
The process for replacing a missing or broken cord on the furniture body is similar. Soak a rattan strand in water for 30 minutes. Use a utility knife to trim protruding ends of the old strand (Image 1) and glue it under a crossing cane if possible.
Once softened, cut a new strand slightly longer than needed. Apply a bit of glue within the weave, position one end next to the break, and weave in the matching pattern (Image 2), using needle-nose pliers if helpful. Trim excess and tuck the end under an intersecting piece.
After repairs dry, spray paint the areas to blend seamlessly. Use light, even coats for a professional finish. For outdoor pieces, opt for outdoor enamel spray paint.