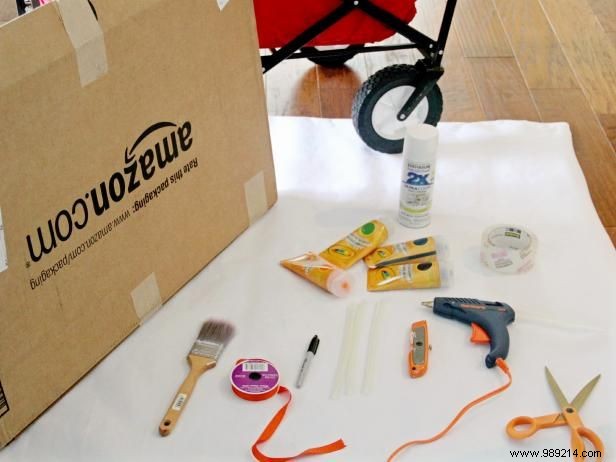
Make trick-or-treating effortless and exciting this Halloween. Transform your child's wagon into a wearable spaceship costume—no more tired legs after hours of walking the neighborhood!
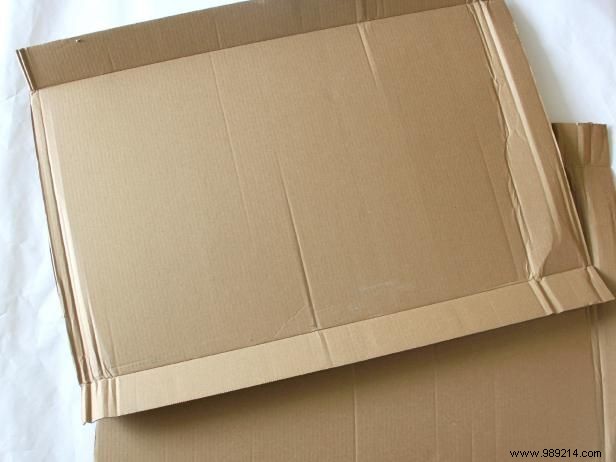
Cut two identical rectangular pieces of cardboard, matching the length of your wagon's side to your desired height.
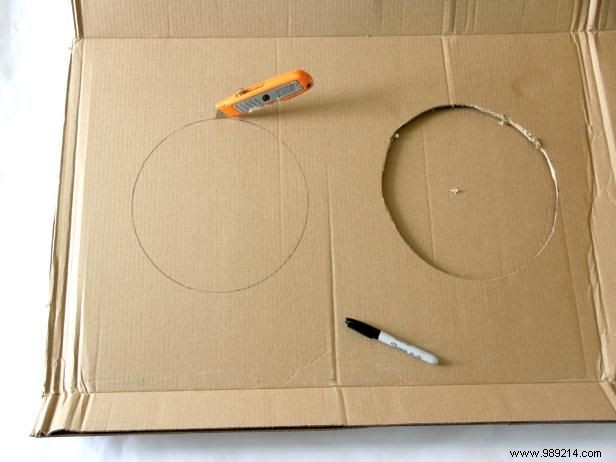
Cut portholes into the cardboard pieces for that authentic spaceship look.
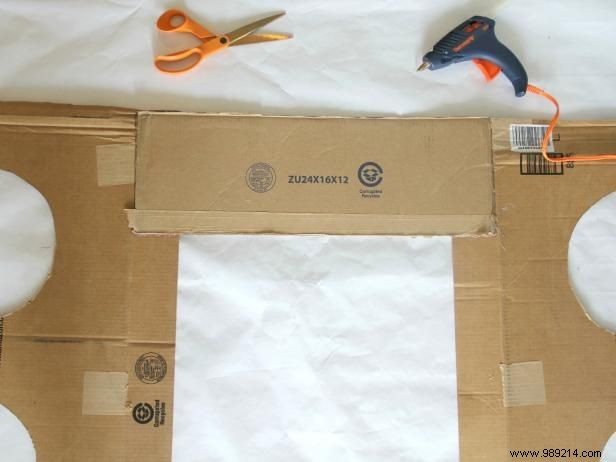
Cut a smaller piece of cardboard 8" by the width of your wagon. Use hot glue to connect the two larger cardboard rocket rectangles together at the back end, with the smaller rectangle centered. Measure the length of this connected back piece.
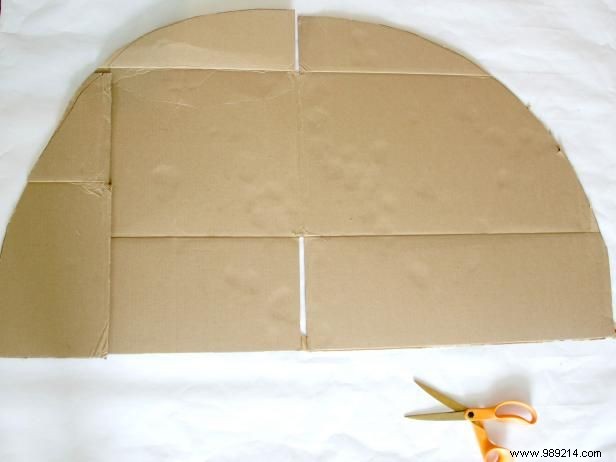
Cut a semicircle for the rocket's nose cone. The outer arc should match the length measured in the previous step.
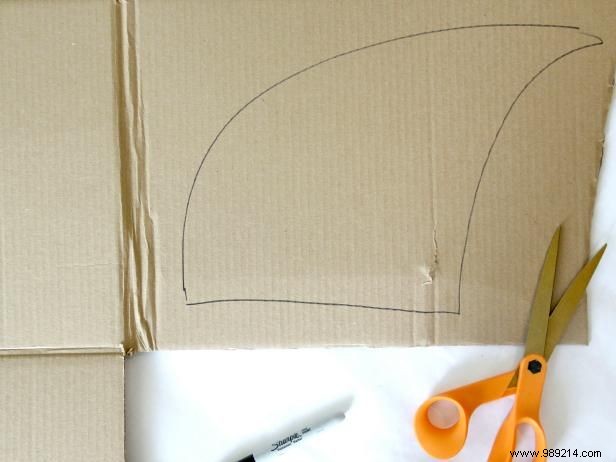
Draw and cut out three rocket fins.
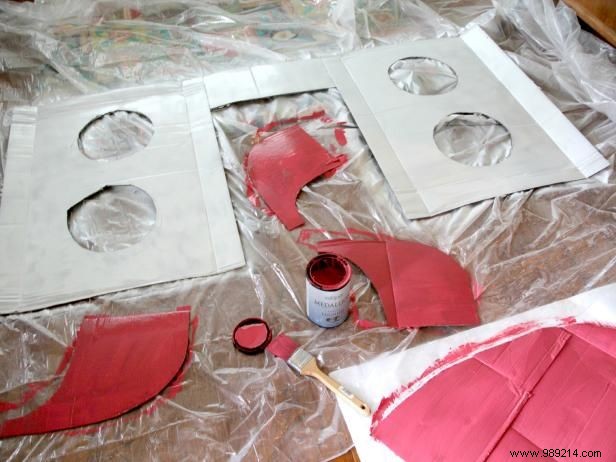
Spray paint the main rocket body white. Paint the fins and nose cone your desired colors. Coat both sides of the fins and let everything dry completely.
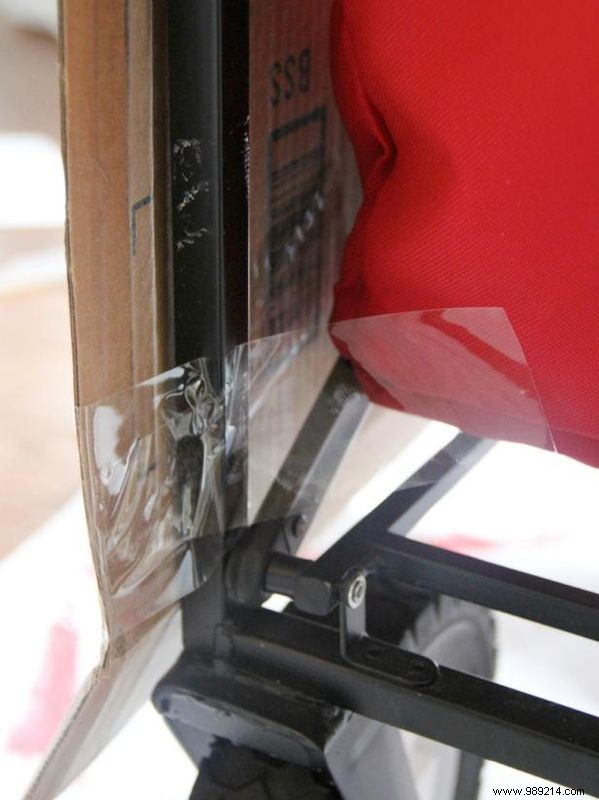
Slide the main rocket body over the wagon. Secure the bottom edges at all four corners with packing tape.
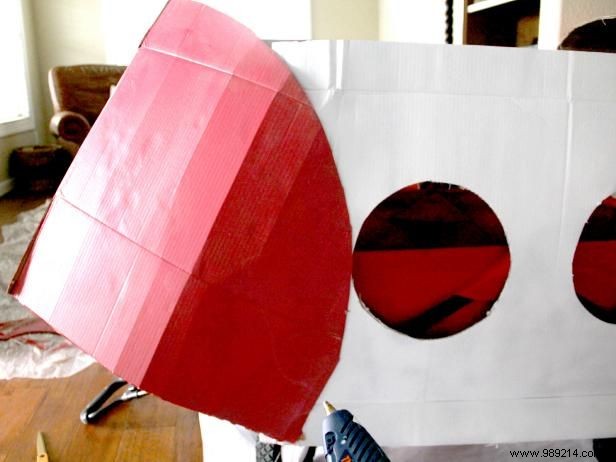
Apply hot glue around the outer edge of the nose cone's back. Slide it onto the rocket's front, curving the semicircle over the top. Press firmly for a few minutes to set.
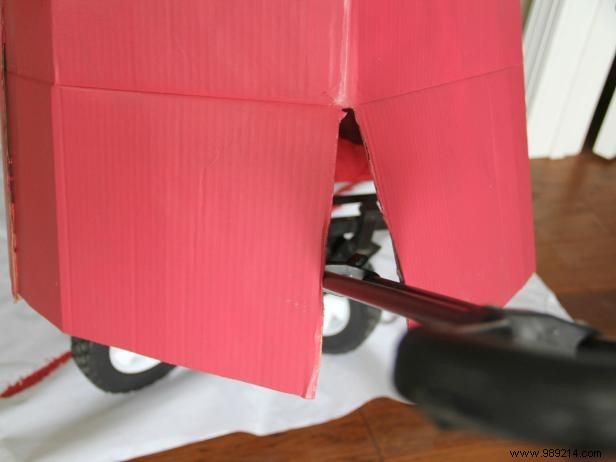
Cut a slit in the bottom of the nose cone for easy wagon handle movement. Trim any excess as needed.
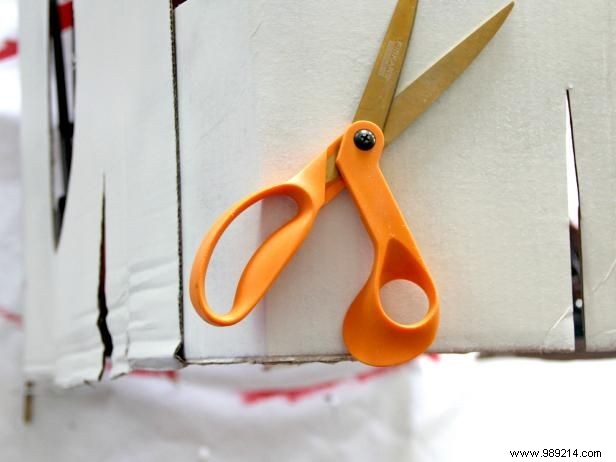
On the back of the rocket, cut 7" slits where you want the fins placed.
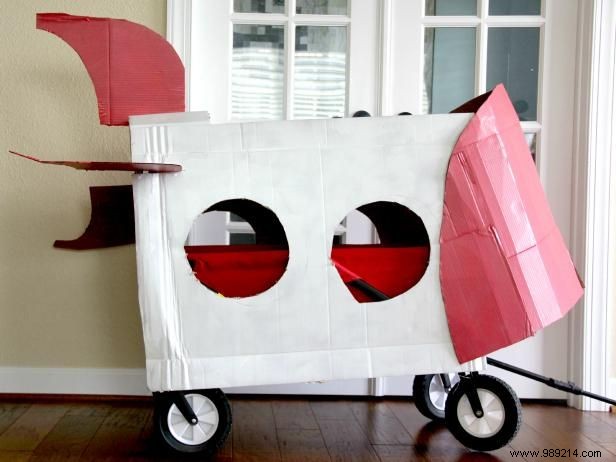
Slide the fins into the slots and secure with hot glue. Hold in place for a few minutes to set.
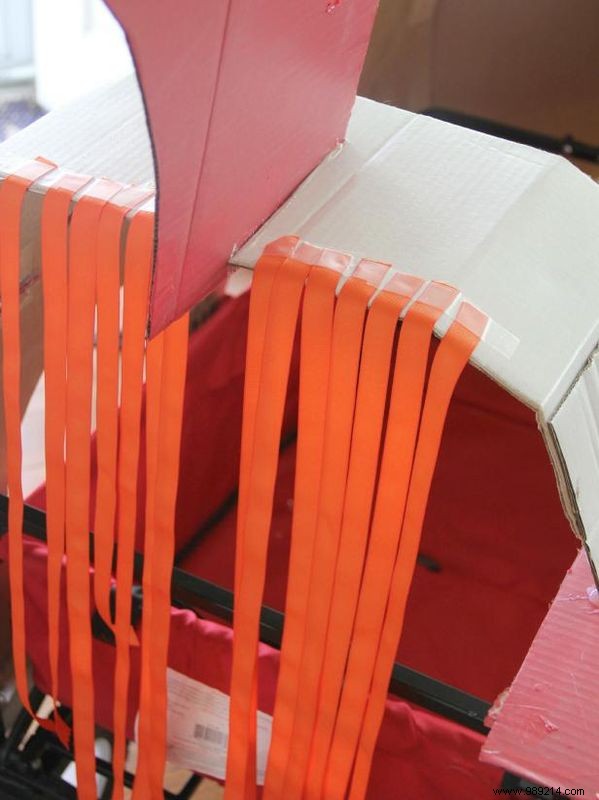
Create fiery flames by cutting strips of red ribbon or tissue paper. Glue or tape the tops to the rocket's back—they'll flutter impressively in the wind.
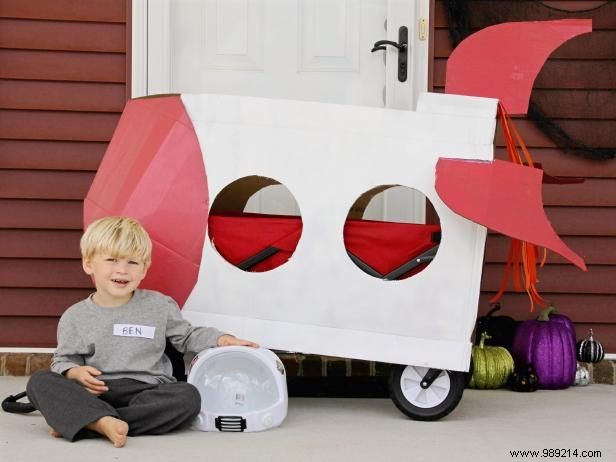
You're all set! Add mini astronauts and blast off for Halloween adventures.