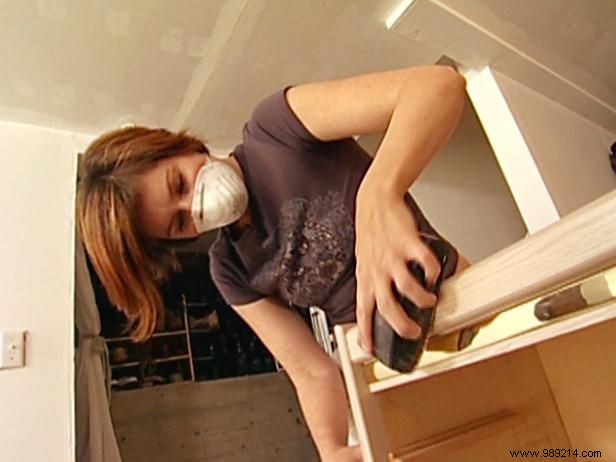
Sand the dresser to roughen the surface for optimal paint adhesion. Brush away all dust thoroughly, then wipe it down with a tack cloth to capture any fine particles left behind.

Apply a high-quality primer to the dresser and allow it to dry completely. Next, paint the drawers with your first color choice and let them dry fully.
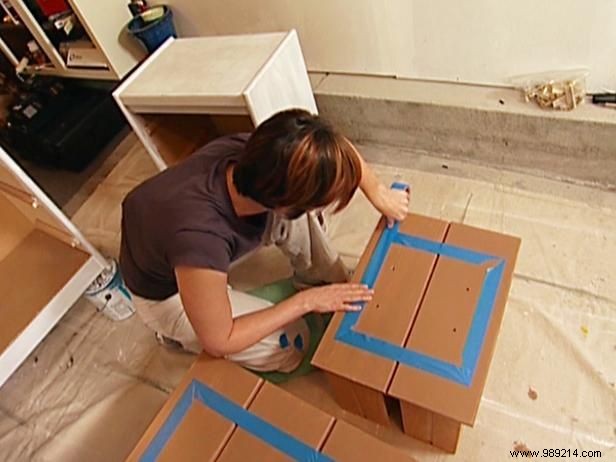
Lay the drawers on their backs, positioned closely together as they will be on the dresser. Measure and mark your desired pattern lines. Tape just inside the lines, pressing firmly at corners with your fingernails for crisp edges, then tear excess tape. Seal tape edges with a bit of the first paint color.
Brush the second paint color over the entire drawer surfaces, including the tape, and allow it to dry completely.
Use narrower tape along the outer edge of the first layer. Cut tape precisely at corners with a utility knife. Seal with the second paint color. Paint only the outer drawer edges to form a frame effect. Carefully remove all tape once dry.
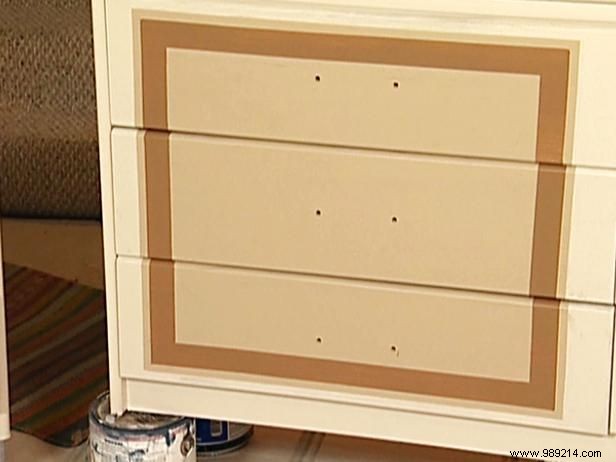
Paint the dresser body to match the outer band on the drawers. For the final touch, apply creamy white paint to the drawer cases and outer panels, leaving the center unpainted for a striking contrast.