
Measure the areas between the top of the doors and the ceiling (in this example, covering two corners). Then measure the other two corners from floor to ceiling. Cut a 4 x 4 pine post to length. (This will prevent the logs from mitering for the corners.)
Put a short 4 x 4 post over the door, pre-drill holes in the sides, against the walls. Attach post to wall using 2" wood screws.
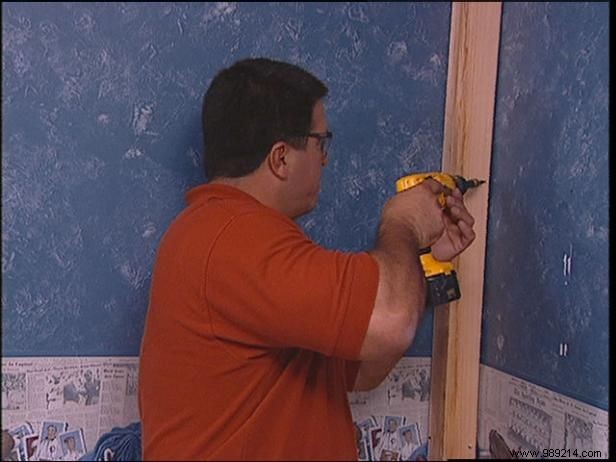
Add a long post in the next corner, using the same technique to secure.
Pre-drill in various locations along the sides of the room and "glue" the 4 x 4 posts in the correct locations for the siding to rest on.
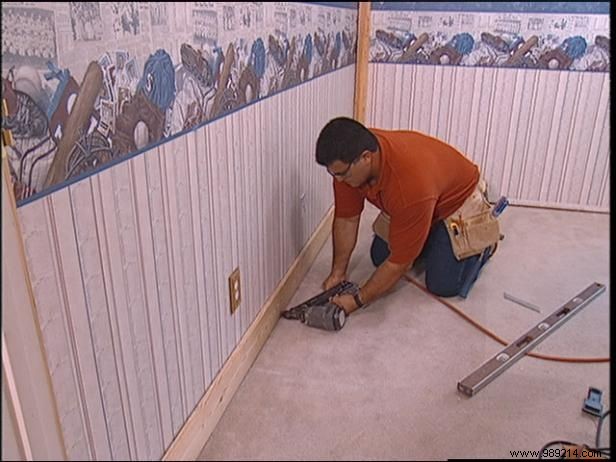
Install baseboards. Measure between the corners, then cut 1x6 pine to fit the space. Check the level, then use a lever to adjust as needed. Secure it to the wall with 2" nails. Work around the room to position the baseboards until they are fully installed.
Calculate the height from the top of the base plate to the ceiling. Determine the height of the table. Divide the height of the wall area by the height of the board. This will determine if you need trim installed near the ceiling. If ceiling clearance is greater than 3-1/2", simply rip panels to fit. Install without top trim. If less than 3-1/2", add trim for 2 x paper to fill the space.
Next, use a stud finder to determine where the log liner will be attached. Use a marker to mark the studs from floor to ceiling.