
As a carpenter with over 15 years transforming homes into cozy rustic retreats, I recommend starting by measuring the areas between the top of the doors and the ceiling (in this case, covering two corners). Measure the other two corners from floor to ceiling. Cut a 4x4 pine post to length. This solid post eliminates the need for mitered corners on the trim.
Position a short 4x4 post over the door, pre-drill holes in the sides against the walls, and secure it firmly with 2-inch wood screws.
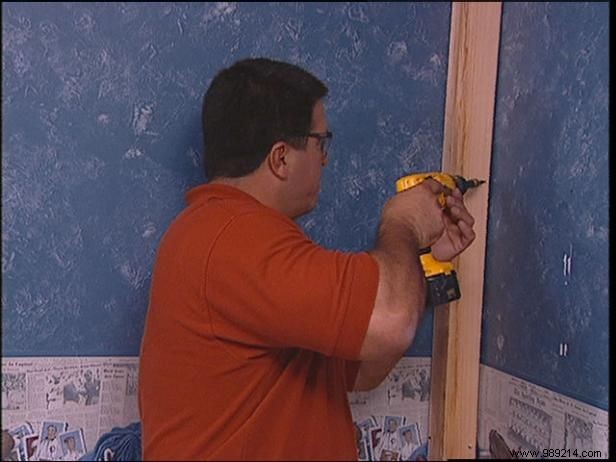
Repeat the process for a long post in the next corner, ensuring a secure attachment using the same reliable technique.
Pre-drill holes at key points along the room's sides and secure the 4x4 posts in place where the siding will rest, providing sturdy support throughout.
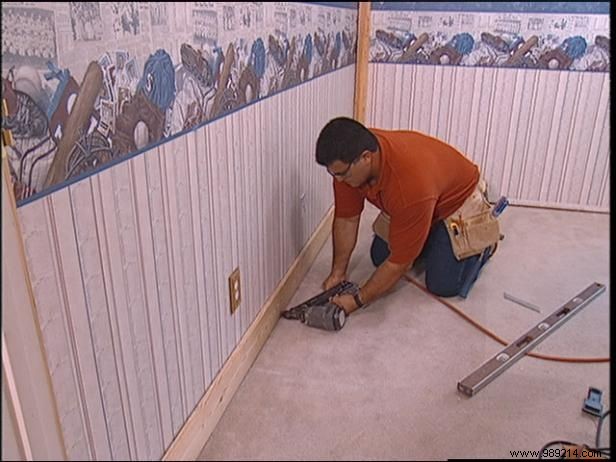
Begin with the baseboards: Measure between corners, cut 1x6 pine to fit precisely. Check for level and use a pry bar to adjust as needed. Nail securely to the wall with 2-inch nails, working methodically around the room.
Next, measure from the top of the baseboard to the ceiling. Calculate the wall height minus baseboard height, then divide by the trim board height to determine board count. If ceiling clearance exceeds 3-1/2 inches, rip panels to fit and install without top trim. For less than 3-1/2 inches, add 2x2 trim to fill the gap perfectly.
Use a reliable stud finder to locate attachment points for the siding. Mark the studs clearly from floor to ceiling for precise nailing later.