Revitalizing a stale room? Don't overlook the ceiling—it's a game-changer for dramatic transformations. While prefab options like faux tin or prefinished planks abound, a custom reclaimed wood ceiling offers unique character. With basic DIY skills and salvaged materials, you can achieve professional results in a single weekend, as we've done in countless renovation projects drawing from real-world sources like deconstructed docks.
Mona Sadler
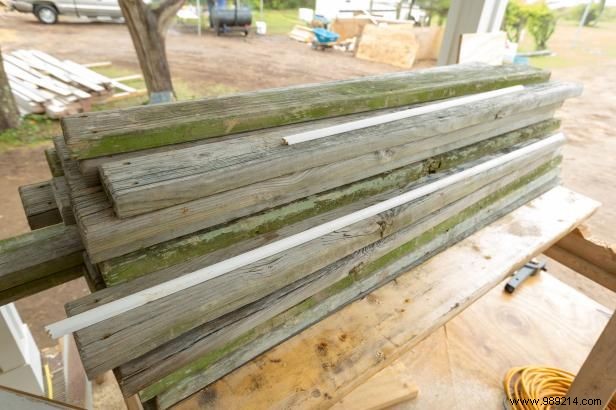
Choose non-toxic, insect-free, stable wood suitable for overhead installation. Here, we sourced straightest planks from a dismantled old dock, ensuring durability and safety based on years of hands-on experience with reclaimed lumber.
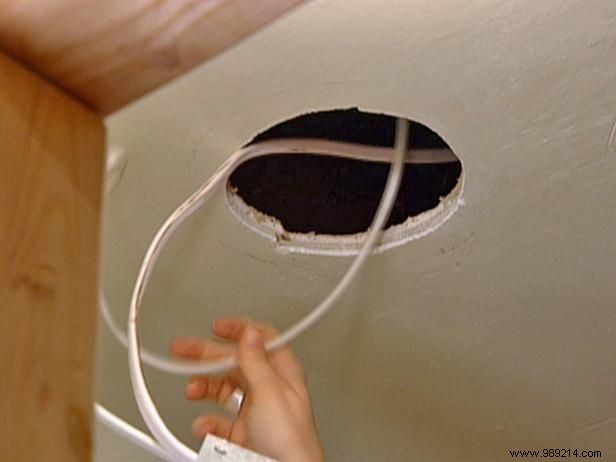
Engage a licensed electrician to remove fixtures beforehand and reinstall them later. Discuss recessed lights, fans, or wiring relocations—route attic wires atop joists to avoid fastener risks. Safety first, always verified by pros in our projects.
Mona Sadler
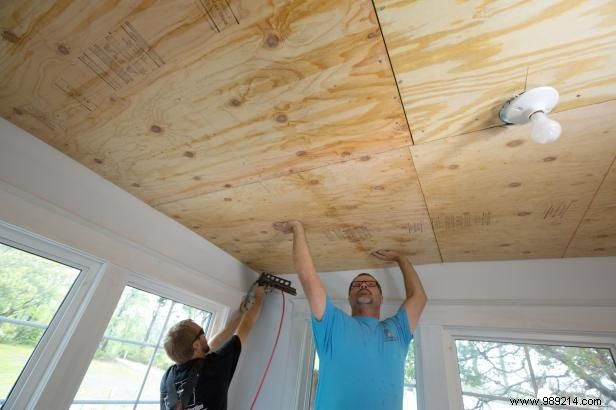
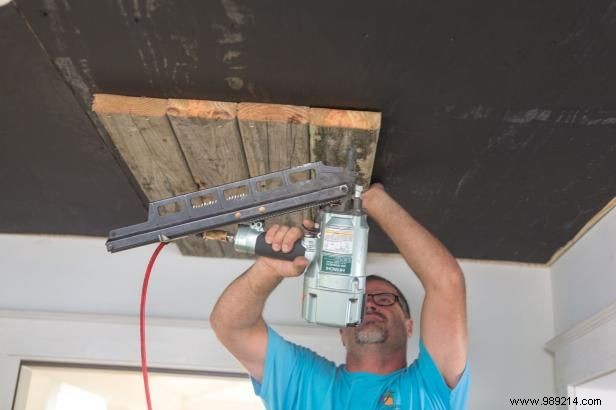
Locate joists with a stud finder; chalk lines across the room with a helper. Scrape heavy textures for flatness, then secure 1/2-inch plywood over drywall or plaster. Screw into joists every 12 inches (or use a framing nailer). This robust sublayer supports the treatment's weight securely.
Mona Sadler
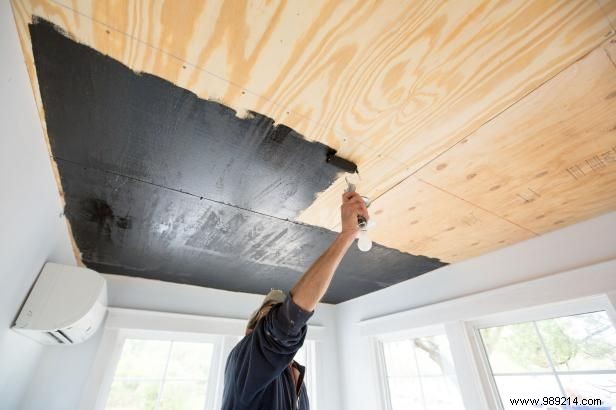
For non-overlapping planks or visible gaps, apply flat black paint to plywood for a seamless backdrop. Mask the room and protect furniture thoroughly— a trusted prep step from our renovation playbook.
Adrian Henson
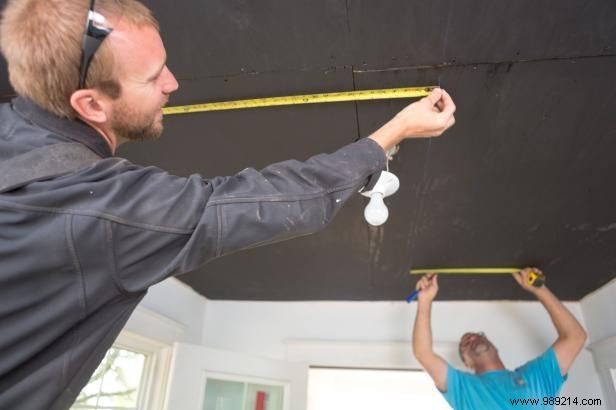
Chalk a center line on the primed surface, then perpendicular lines if materials are square. Divide the room into equal sections—here, thirds matched plank lengths—for balanced reveals on all walls.
Adrian Henson
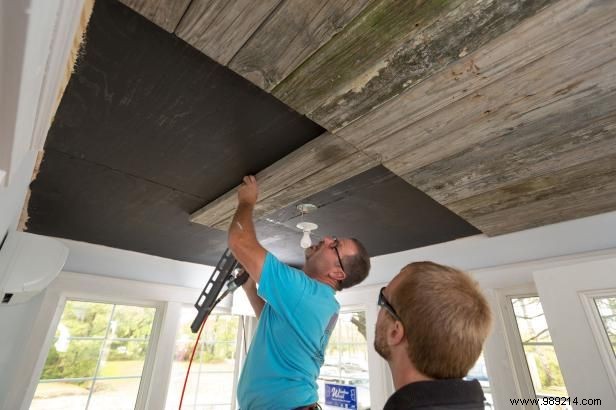
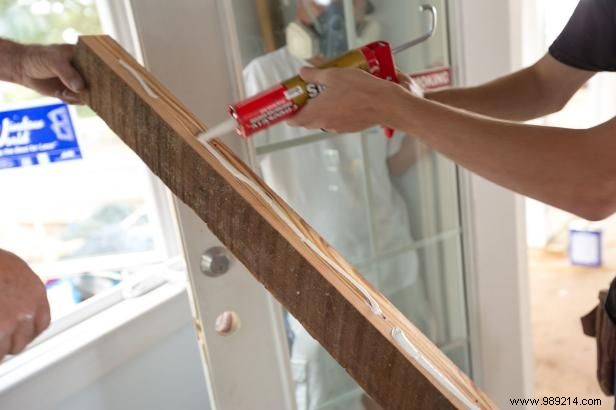
Trim boards to uniform length. Apply construction adhesive atop each, secure with two 2-inch framing nails per end (joints covered later). Proceed row by row for precision, a method proven in our dock-wood installs.
Mona Sadler
Rip the final row to fit, leaving a 1/4-inch gap at walls for wood expansion—essential for natural materials like reclaimed boards.
Mona Sadler
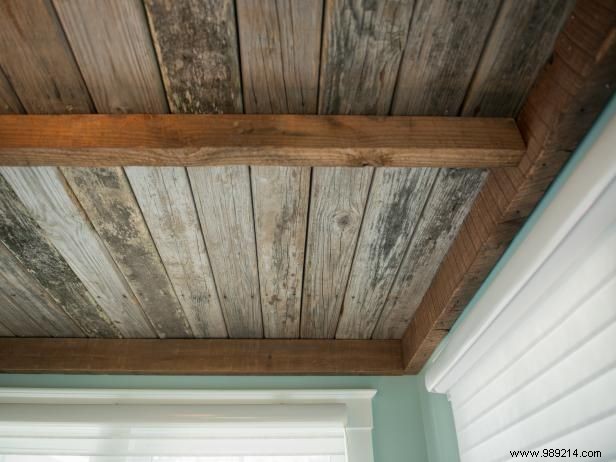
Using reclaimed beams for seams and authentic dock framing vibe, rip to depth and add construction adhesive beads atop each.
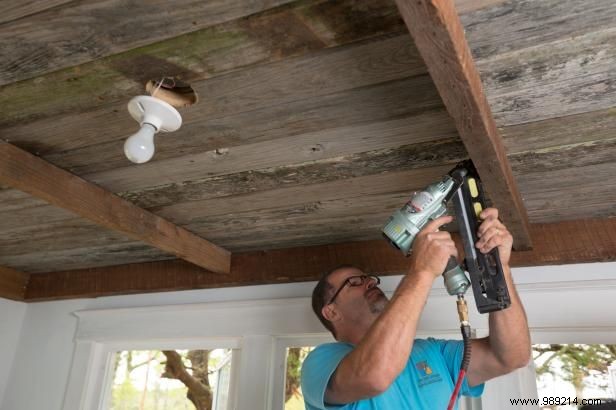
Mona Sadler
Nail joists to ceiling with 15-gauge finish nails, ensuring fasteners reach plywood if needed for solid anchoring.
Jason Kisner
Apply stain, paint, or clear coat as desired. Have your electrician reinstall fixtures. Revel in your bespoke reclaimed wood ceiling!