Tin ceilings originated in the mid-19th century, introduced to Africa and Australia, but gained mass popularity in the U.S. with rolled tin sheets. They offered middle-class Americans an affordable alternative to Europe's ornate plaster ceilings, peaking in the late 1800s before drop panels took over.
The current revival stems from historic home restorations, boosting demand for patterned tin panels. Source vintage ones from architectural salvage yards—they often require cleaning, patching, stripping, and repainting. Modern options include new metal or foam panels in classic and contemporary designs.
Research thoroughly before starting. Browse online galleries for inspiration, then select your design, color, and material while comparing prices.
Measure your ceiling area and sketch it to scale on graph paper. Note key light sources like windows, chandeliers, or sconces to inform your layout.
Ceiling dimensions typically match the floor. Measure from below to avoid ladder work.
Calculate panels needed based on ceiling size. For the Blog Cabin 2011 game room alcove (8' x 9'), we sourced reclaimed sealed tin panels from a salvage provider. Account for cleaning and varying sizes/patterns. Reclaimed panels cost $15–$70 each, depending on condition.
Secure panels to furring strips (2" x 2") screwed into joists. Perimeter strips are essential. Refer to your shopping list for nails, screws, adhesive, and tools.
New Stamped Tin Panels?
If reclaimed is too pricey, opt for manufactured panels online ($4–$50 each). Search 'stamped tin ceiling panels' for diverse patterns, sizes, materials, and colors.
Choose uniform panel sizes to reduce trimming.
Frank Murray
Frank Murray
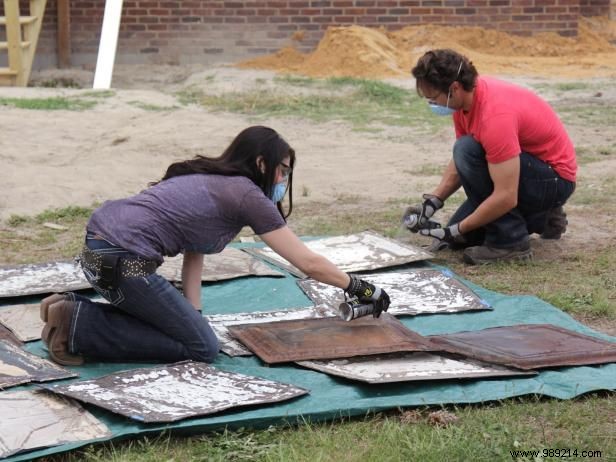
Lay panels on a drop cloth outdoors. Gently chip off loose paint with a putty knife or plastic scraper, avoiding scratches. Wipe clean, dry, and dispose of chips safely.
Once dry, spray both sides with polyurethane—apply a second coat to seal any lead paint.
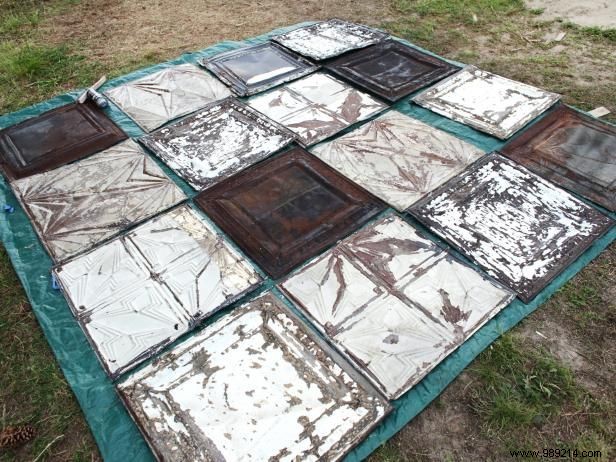
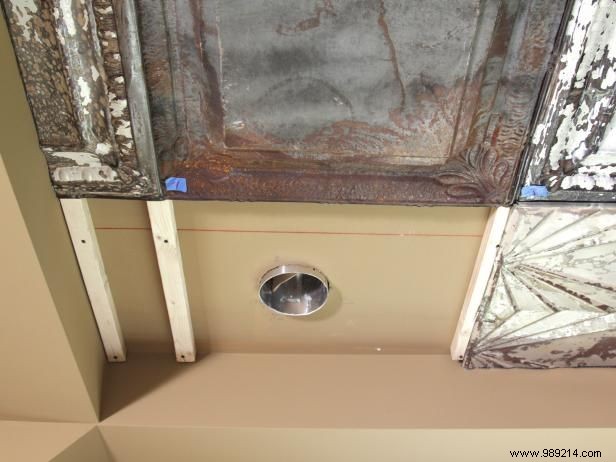
Arrange in your pattern and number them with blue painter's tape for easy installation.
Lead paint (pre-1978) is hazardous—wear gloves and a heavy-duty mask. Bag waste securely. Check your state's health department for regulations.
Frank Murray
Remove lights, fans, vents, and detectors.
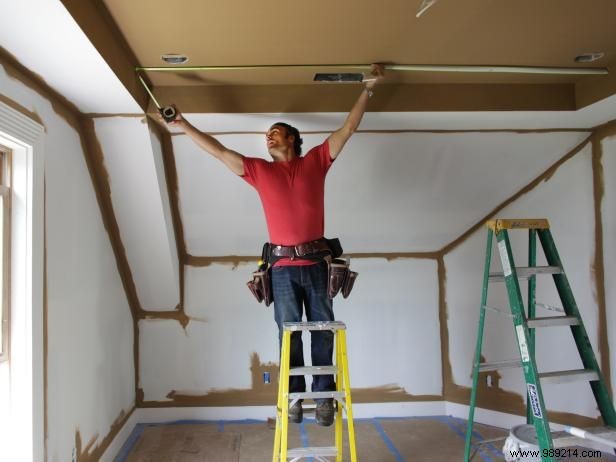
Mark joists with chalk lines—nail into centers (later covered). Probe drywall with finish nails to locate: easy entry means no joist; resistance indicates edges. Joists are typically 16" apart.
Measure panel width, mark furring strip positions (edges centered on strips). Screw 2" x 2" strips to joists with 3" screws (or use nail gun). Include perimeter strips; cut panels for walls as needed.
Safety: Shut off breakers, test outlets, cap wires.
Builder Tip: Match strip spacing to panel width; use a helper.

Frank Murray
Frank Murray
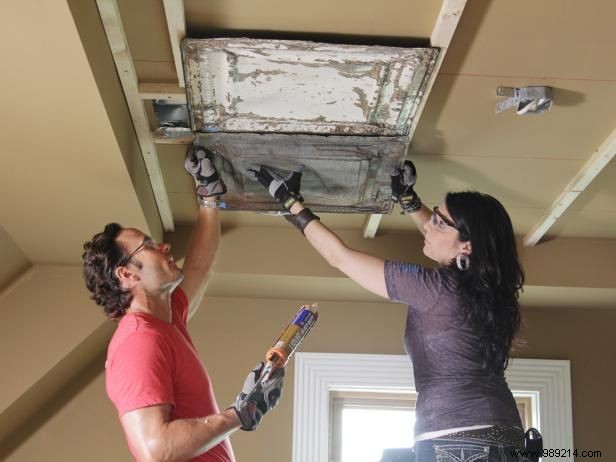
Align first panel on center strips (helper recommended). Nail with 2" finish nails.
Overlap subsequent panels slightly, securing edges with construction adhesive.
Wear leather gloves and safety glasses when overhead.
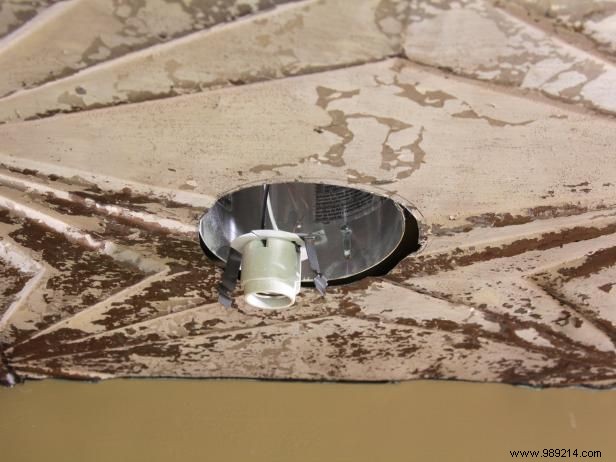
For fixtures, measure precisely and cut with tin snips for snug fits.
Lower boxes to strip level if needed; consult an electrician for complex mods.
Frank Murray
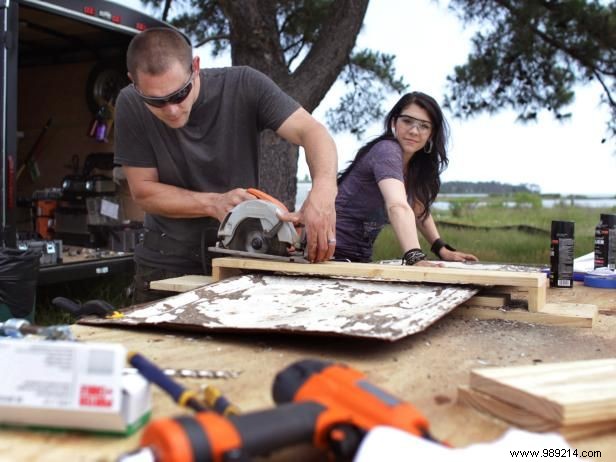
Install toward walls/light, cutting for snug fit.
Use a table with rip fence and circular saw for straight cuts, as at Blog Cabin 2011.
Follow electrical safety steps to reattach.
Add crown molding, medallions, or cornices for polish.