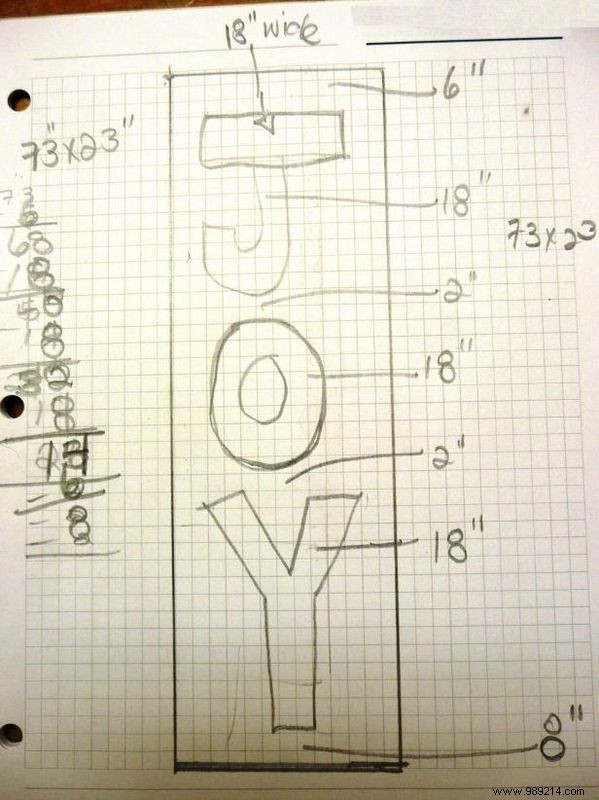
Wear a mask. Clean the dash with a vacuum to remove any paint flakes. Clean with a damp cloth. Measure the board and plan your layout on paper.
If you can't find the right size piece of reclaimed wood, buy a new one, paint it, and then loosen it by sanding and tapping with hand tools.
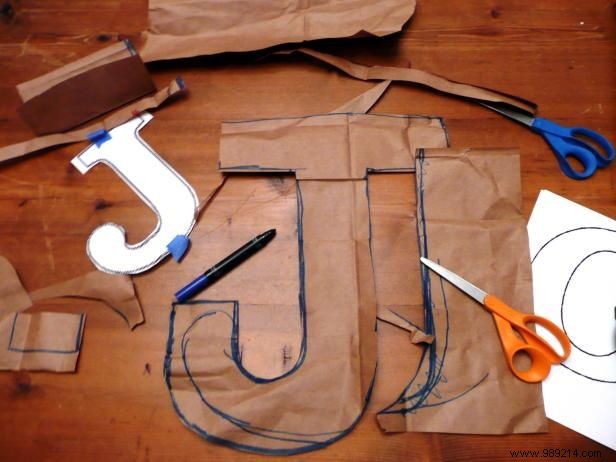
Create a template for the letters on three paper bags. For a 70" x 24" board retrieved, the letters must be at least 16" square.

Paste the letters on the board and the outline with a marker.
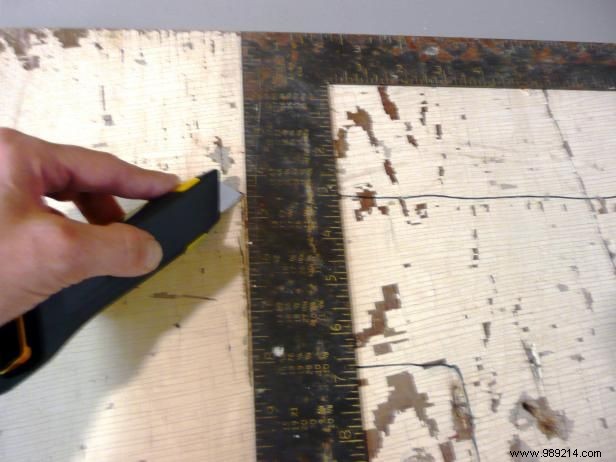
Remove the templates and use a razor blade to cut along the marker lines. Go over it a couple of times to make the lines wider and deeper.
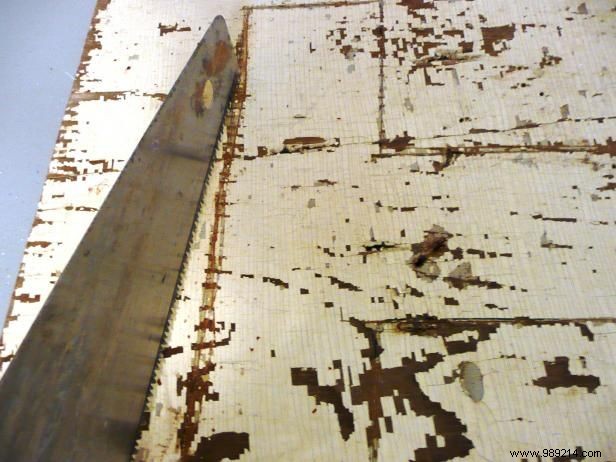
Go over them again with a handsaw to create a bold line look. Vacuum to remove all dust and wood chips.
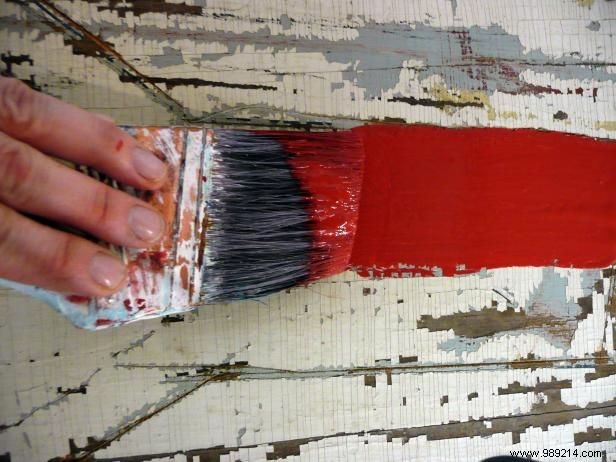
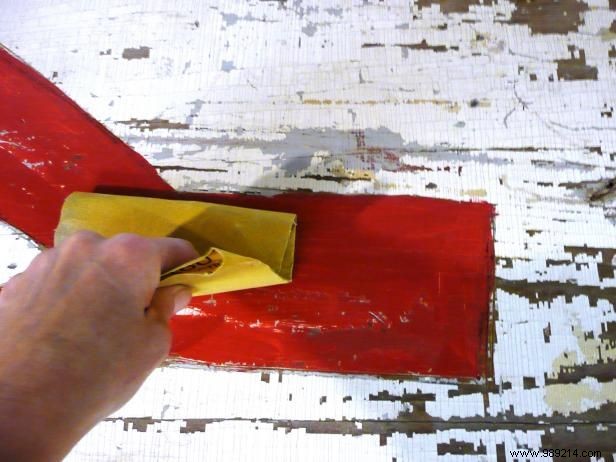
Paint inside the lines, but leave some of the finish/paint underneath exposed. Let dry. If necessary, put on a second coat and let dry. Use sandpaper to scrape up the paint in a few spots to give it an aged look.
Lacquered wood, front and back twice. Add D-rings to the back of the wood. Hang with wire and enjoy your vintage hand painted sign..