As experienced furniture restorers, we've honed our skills at spotting gems at estate sales, garage sales, and thrift stores. Focus on potential across these key areas:
Functionality: Does it suit your needs? For a desk or table, ensure the surface is adequate in size and height without major sags.
Size: Measure meticulously—will it fit through doors and stairs? Carry a tape measure and room sketch for quick assessments, especially at fast-paced sales.
Structure: Check for solid bones—a sturdy frame, weighty build, and stability. Minor fixes like loose legs are manageable with hardware store trips; avoid major rebuilds unless you're skilled in upholstery.
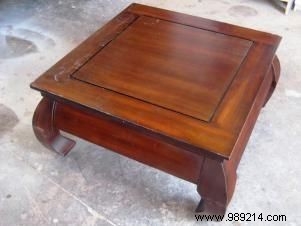
Aesthetics: Seek appealing lines and proportions, like the bowed legs that drew us to this table. Near-misses can become showstoppers with appliqués, leg adjustments, or trim.
Wipe down the table with mineral spirits or Murphy's Oil Soap using a rag. Remove all dirt, grime, and residue for optimal paint adhesion.
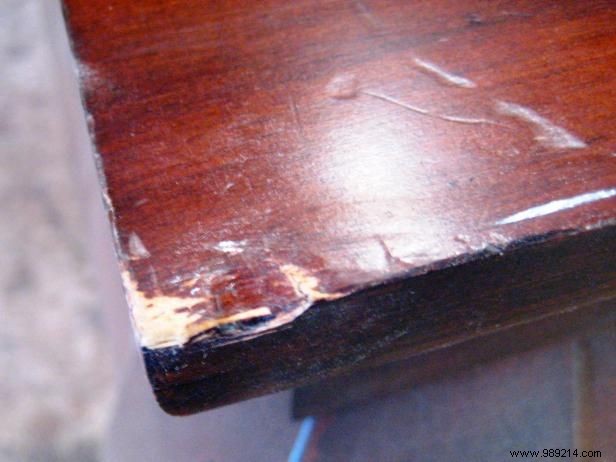
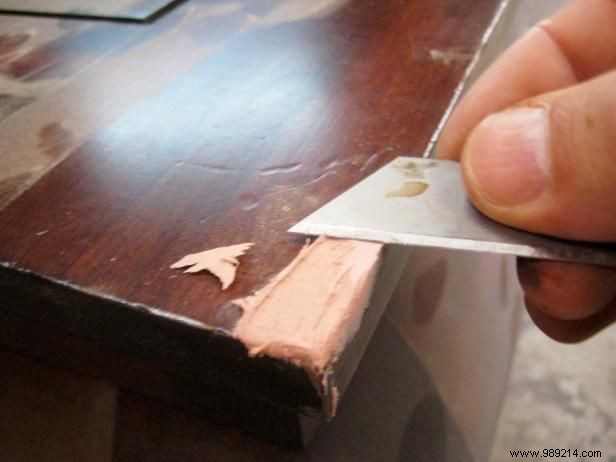
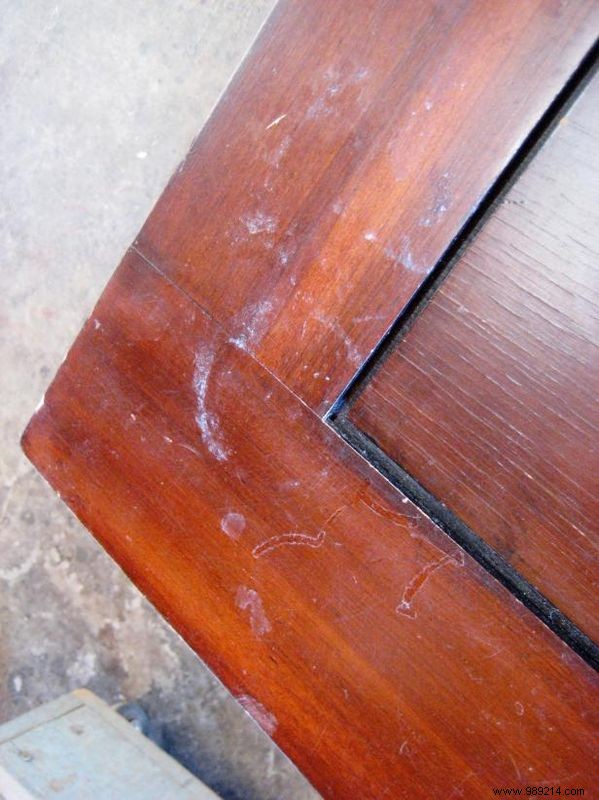
Address dents and corner damage with automotive filler like Bondo. Score the area with a razor blade for better adhesion, creating crisscross cuts. Mix per instructions, apply generously, and let set 3-5 minutes. Trim excess with the blade, then shape with 220-grit sandpaper for precise control.
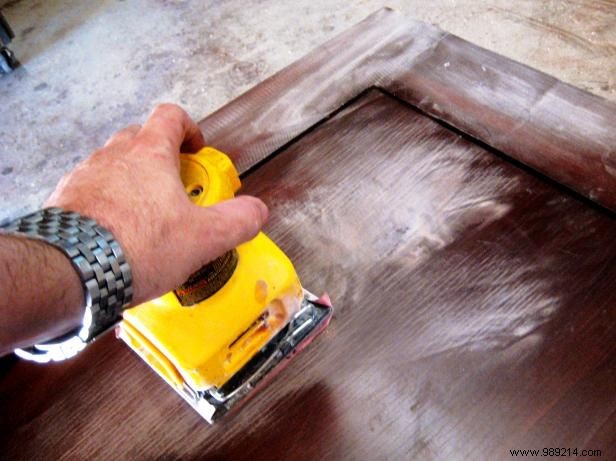
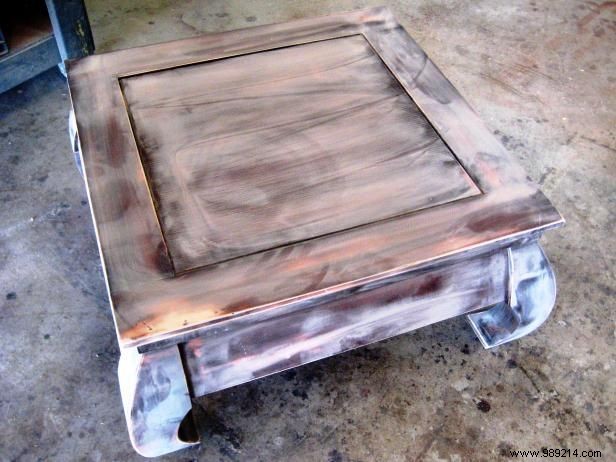
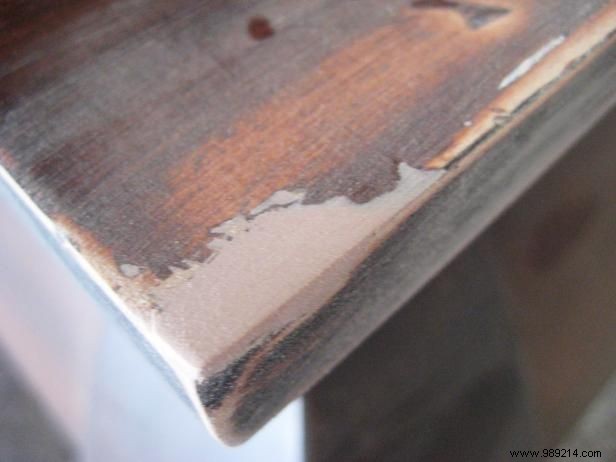
Use 150-grit sandpaper on a palm sander (or by hand) to lightly scuff the entire table and legs. Smooth the existing finish without stripping to bare wood—this minimizes primer use while ensuring strong adhesion.
Opt for a sandable spray primer (ours was brown, but any works). Apply one coat, dry per instructions, then sand lightly between coats.
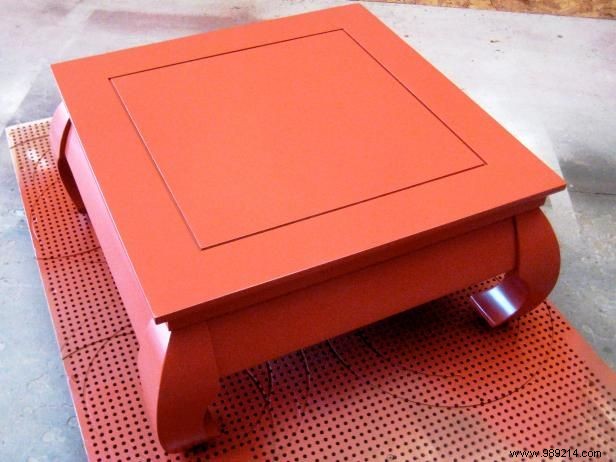
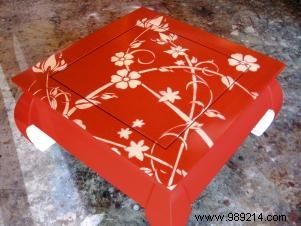
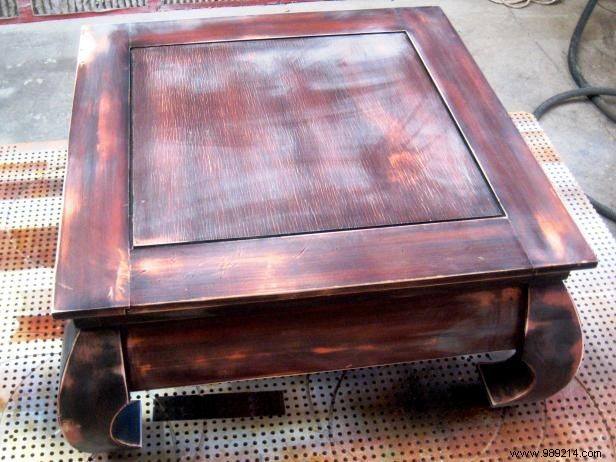
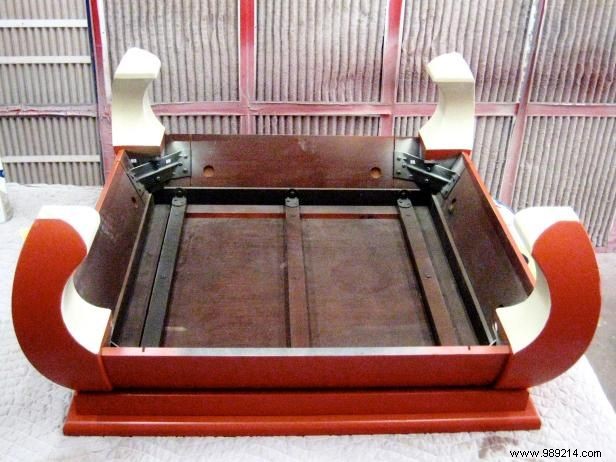
Spray paint or pigmented lacquer yields the smoothest results—consider custom-mixing at a paint store. Spray like the primer, sanding between coats except the final even, particle-free layer.
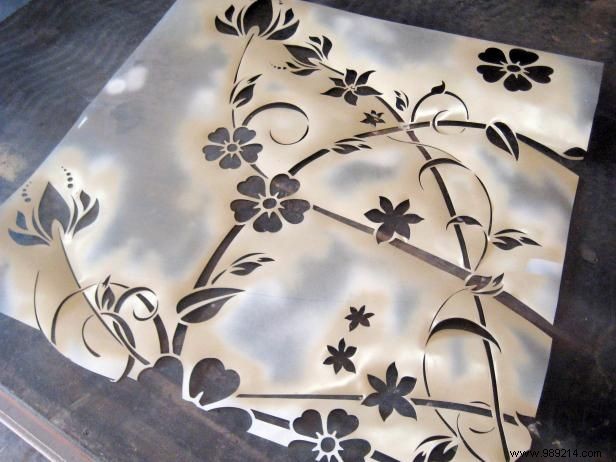
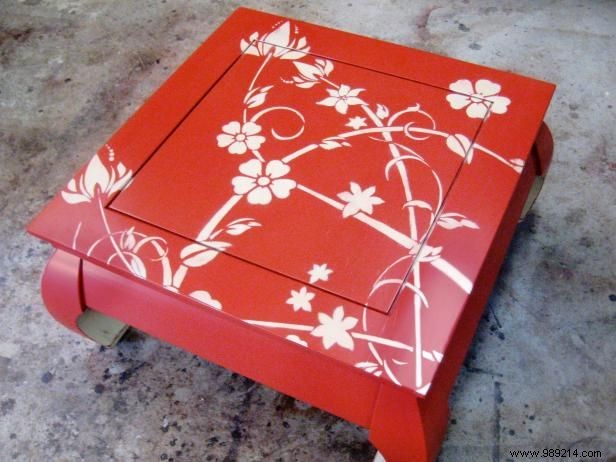
Ensure the base coat is fully dry. Use painter's tape to secure a stencil (organic shapes pair well with angular furniture). Flatten rolled stencils under weight for 24 hours. Spray stencil color in light, even downward coats. Allow 30 minutes, then remove for subtle edge misting, which sands out nicely.
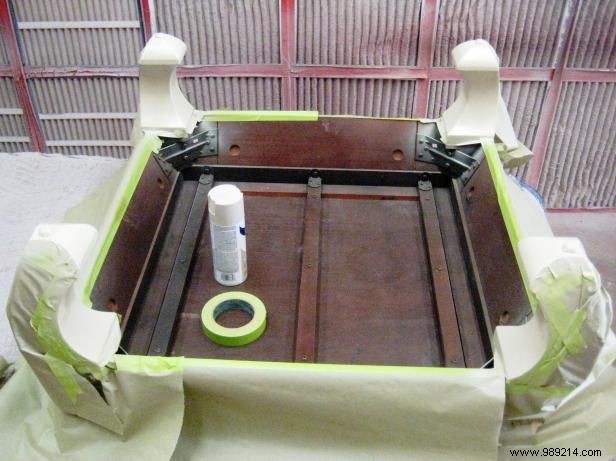
Extend the stencil color subtly to the inner legs. Mask off protected areas, spray, dry, then remove tape and flip the table.
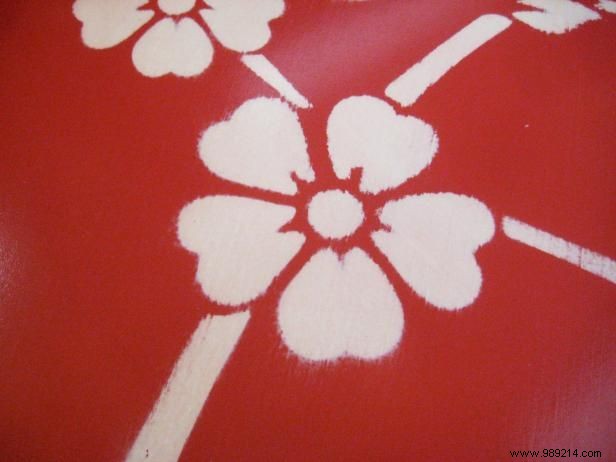
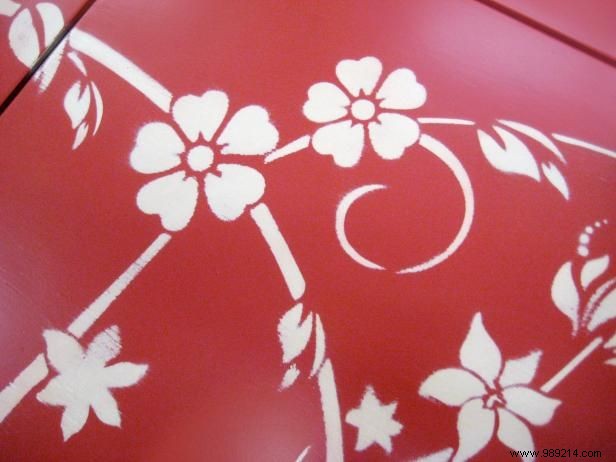
After 8-12 hours, lightly sand stencil areas with 320-grit for a refined worn effect. Apply artistically to legs too, avoiding over-sanding edges.
Protect with sprayable lacquer, brushable lacquer, or polyurethane (for moisture-prone areas). Apply two coats for desired matte sheen.