Sledding is the ultimate winter activity anyone can enjoy—no experience or skill required, just pure fun on the snow.
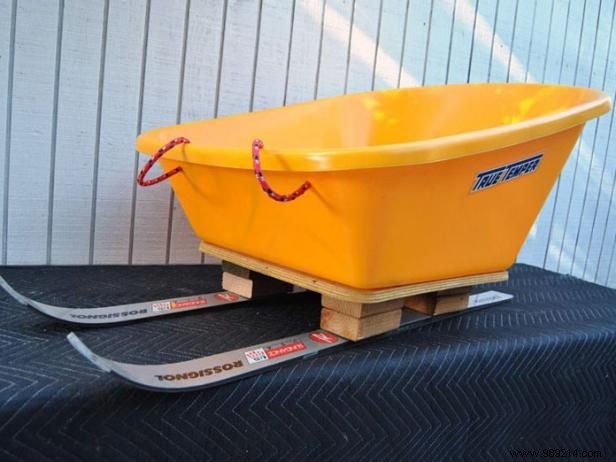
Modern sleds range from classic wooden runners to sleek plastic saucers, but there's nothing like crafting your own. As a DIY enthusiast with years of upcycling projects under my belt, I've turned dusty old skis into a sturdy, customizable sled. Pair them with a wheelbarrow for the perfect base. Adapt this guide with whatever materials you have on hand for a truly personal build.
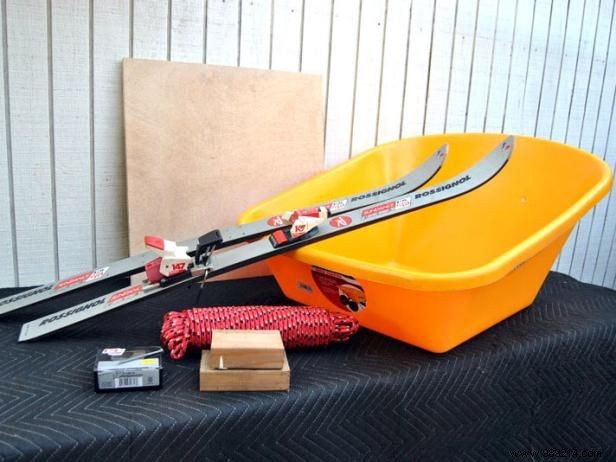
Repurposing old skis and a beat-up wheelbarrow keeps costs low. Check thrift stores or Craigslist—we scored perfect 5-foot kid skis there.
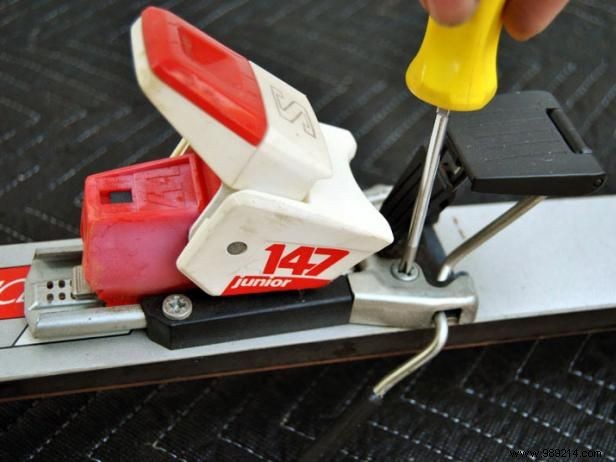
Unscrew the bindings using a screwdriver or cordless drill. Most have four bolts per binding.
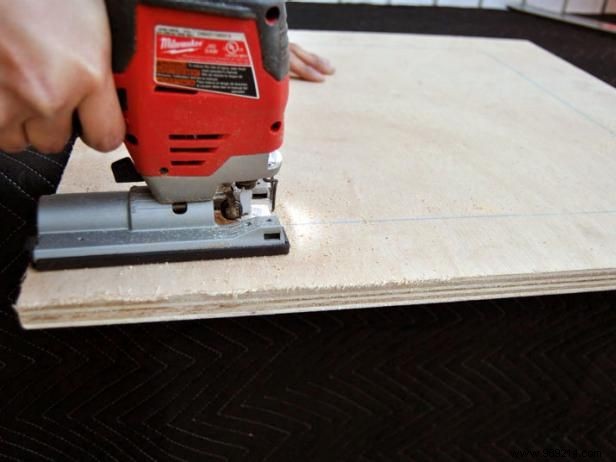
Position the wheelbarrow bucket on the plywood and trace its bottom edge.

Cut out the plywood base with a jigsaw along your traced line. Then, slice eight 5-inch pieces from the 2x4s for risers.
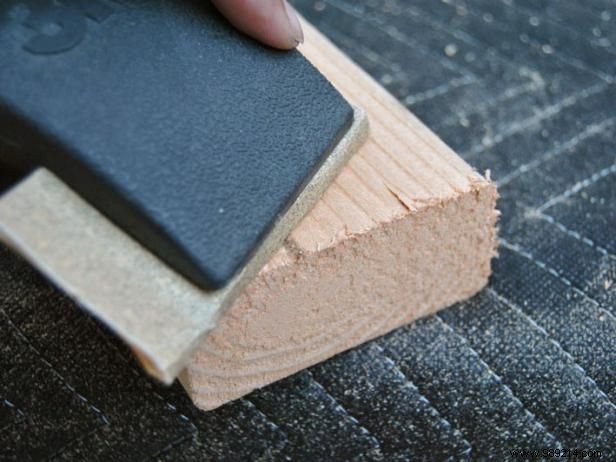
Smooth all edges with sandpaper and a sanding block for safety and a professional finish.
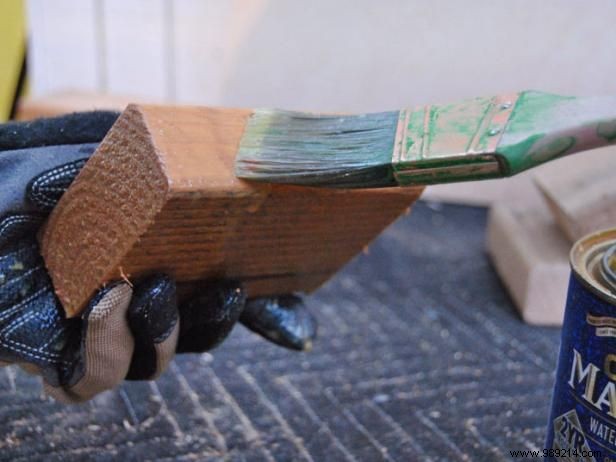
Apply a wood sealer to protect against moisture and rot. Let it dry overnight.
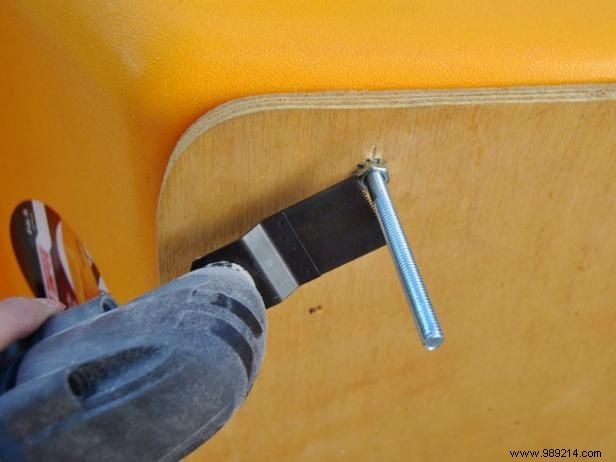
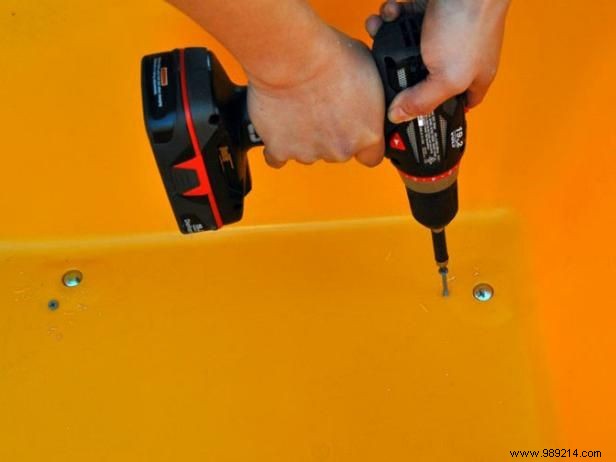
The plywood base anchors everything. Mark and drill through pre-existing holes in the bucket, then secure with original hardware or 5/16-inch bolts.
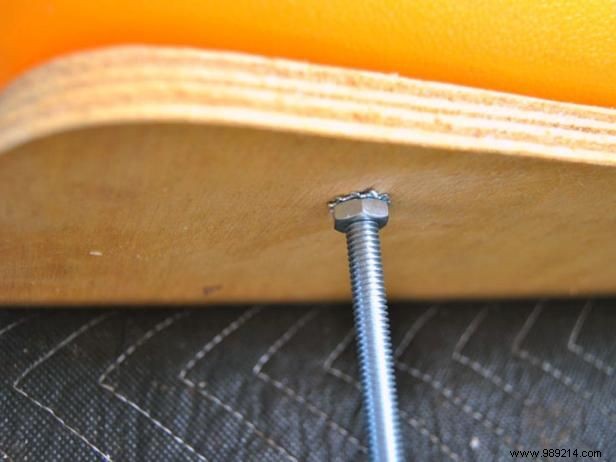
Cut bolts to about 1/2 inch using a hacksaw or oscillating tool with a metal blade.
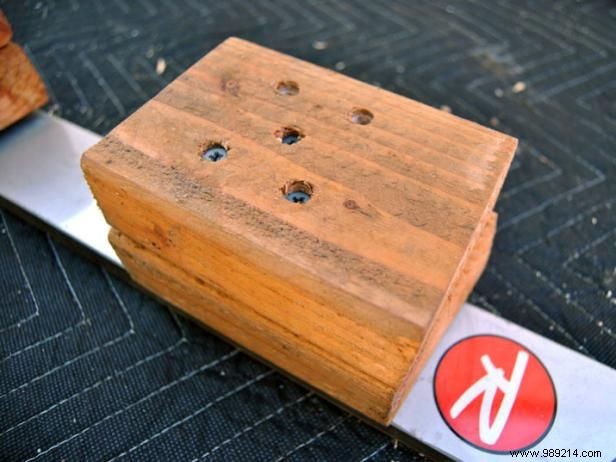
Position two risers where bindings were. Reuse old holes if possible, or drill new ones for strength. Secure each pair with five deck screws.
Place the bucket (your seat) on the ski runners. Align skis evenly front to back. Tip the ski tips up slightly for better speed control.
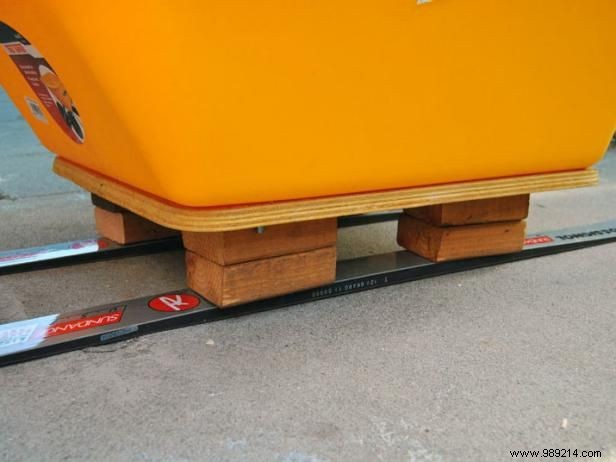
Fasten the bucket to the risers using deck screws.
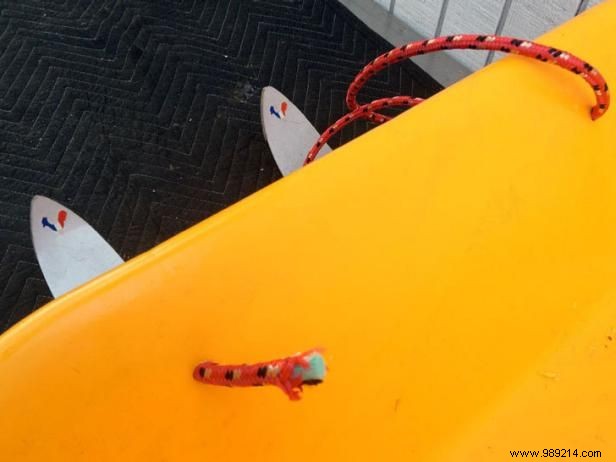
Drill two holes in the bucket's front and thread the rope through for a handle—to grip while riding and pull uphill.
This sled delivers thrilling rides, but sledding has risks—use at your own risk and always wear a helmet. After each use, inspect for wear, cracks, or damage and repair before riding again.