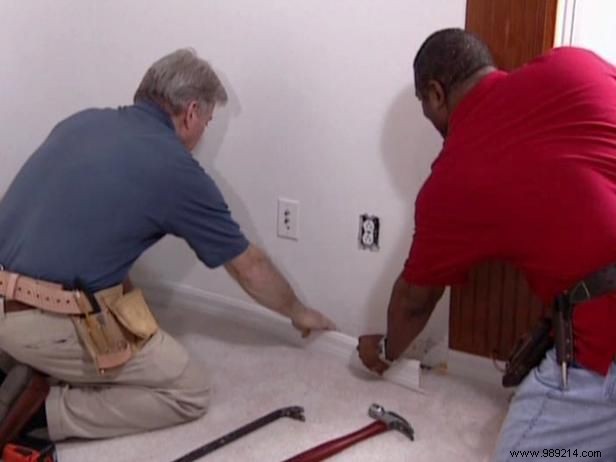
Start your project by carefully removing the baseboard trim (Figure A) from the walls where the wall cleats will attach. This ensures the headboard and side panels sit perfectly flush against the wall. Use a pry bar, handsaw, and chisel for clean, damage-free removal—a technique I've relied on for years in custom furniture builds.
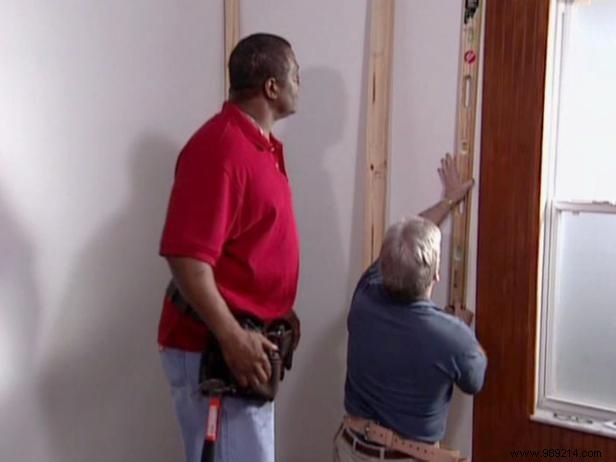
Measure and mark positions on the wall panel for the cleats. Place them to leave a precise 3/4-inch gap from the panel edge, allowing space for decorative trim later. Secure each cleat firmly with construction adhesive and finishing nails. Repeat on the opposite side for balanced support.
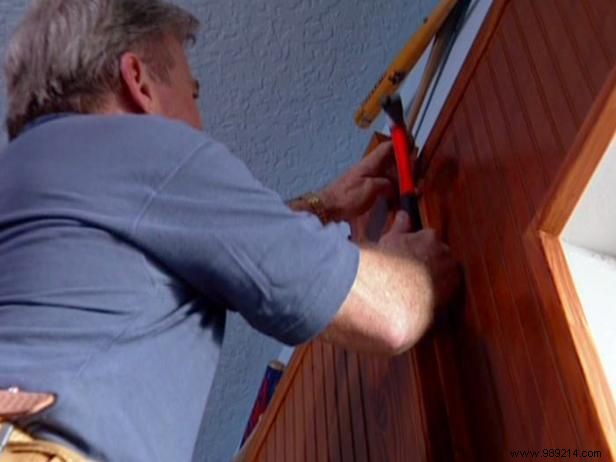
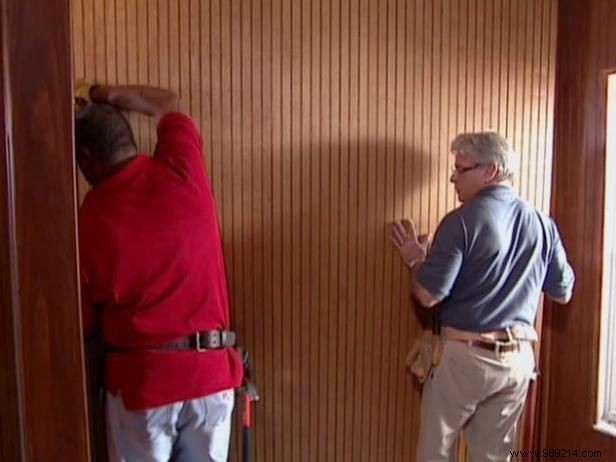

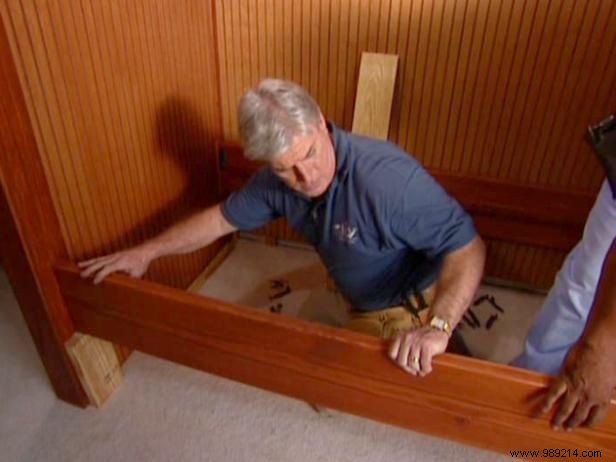
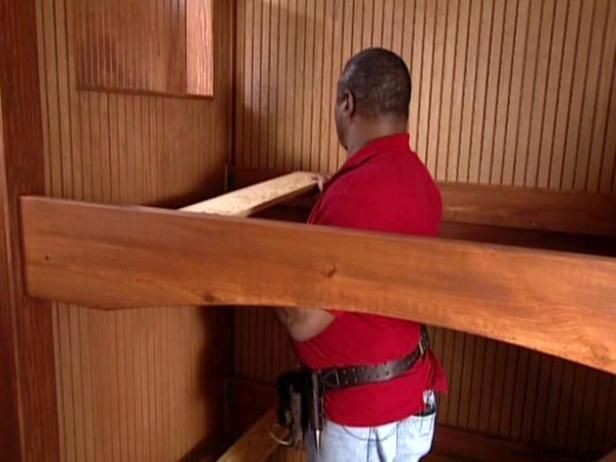
With cleats mounted, position the headboard and secure it to them (Image 1). Add molding in the corners where the bed meets the wall for a seamless, professional finish (Image 2), nailed with finishing nails. Fasten the footboard to the opposite cleats using finishing nails. Then, set the center panel in place (Image 3) and nail it directly to the wall.
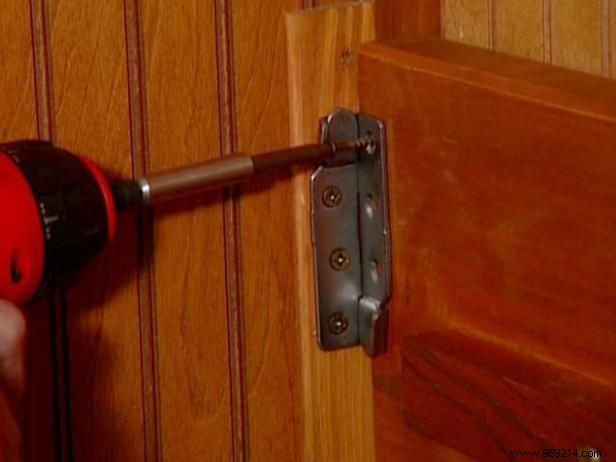
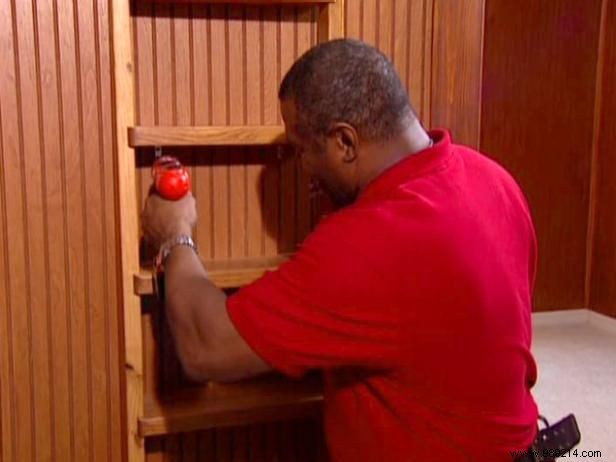
Attach the first lower side rail to the center panel, verifying it's level with a carpenter's level. Use wood shims to hold it steady, then secure to the frame with surface-mount bed rail brackets (Image 1). Fasten brackets using wood screws. Repeat for the outer lower rail, factoring in bed slat width (Image 2). Follow the same proven process for the upper bunk rails (Image 3).
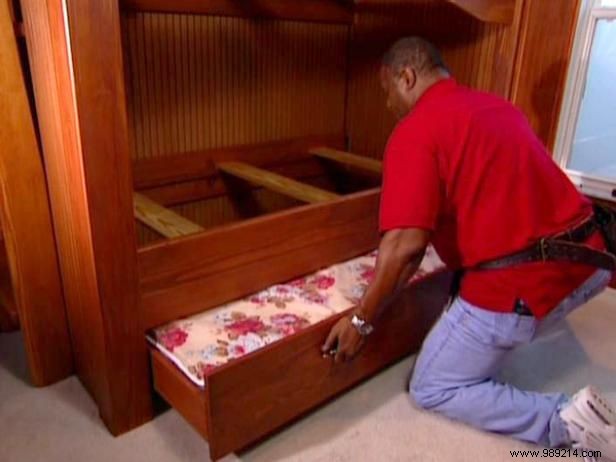
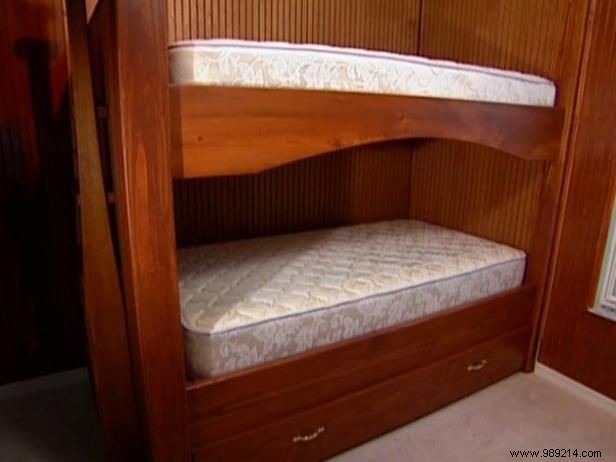
With the main structure complete, install the trundle drawer beneath the lower bunk. Add plywood supports for the slats, then fit mattresses on both the upper and lower bunks for immediate use.
Finally, mount the ladder at the foot end for safe access. These custom bunk beds, complete with a removable trundle, provide versatile sleeping options. Detachable side rails allow easy reconfiguration into twin beds as needs change.