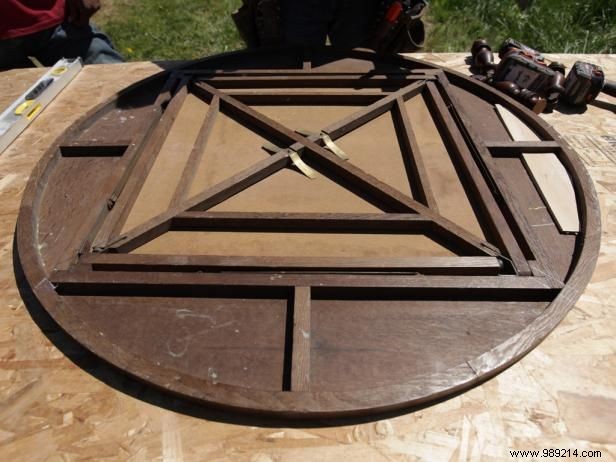

This coffee table features a repurposed old game table top paired with vintage legs on wheels. When working with reclaimed wood, save all scraps and drips for future projects. Thoroughly inspect materials for cracks or structural issues before starting. You'll also need 3/4" plywood and salvaged 1x8 boards to create the skirt for attaching the new base.
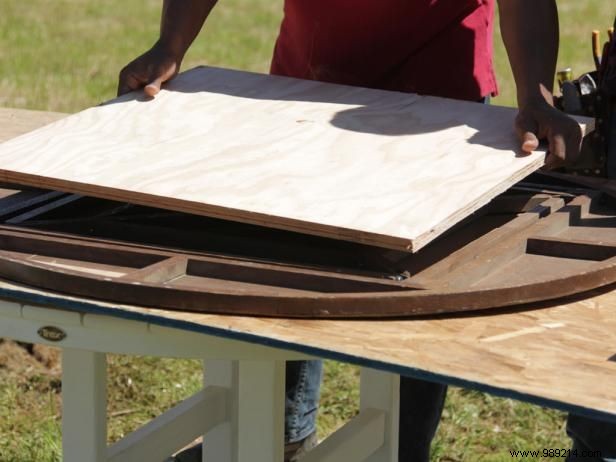
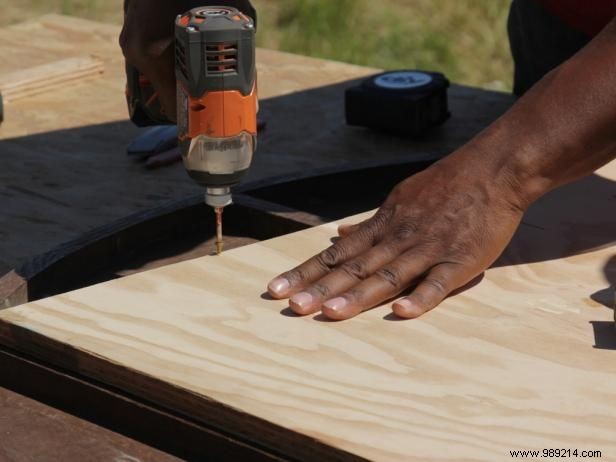
With the old top flipped upside down, locate a sturdy underlying structure for mounting the new base skirt—plenty of solid material for secure wood screws. In this case, the framed square (originally for folding legs) was perfect. Cut the 3/4" plywood 1-1/2" smaller than the skirt but large enough to fit the frame. Secure it with 1-1/2" wood screws spaced at least 12" on center.
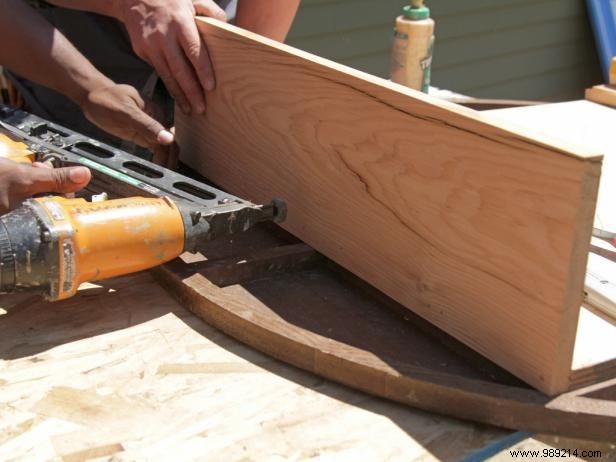
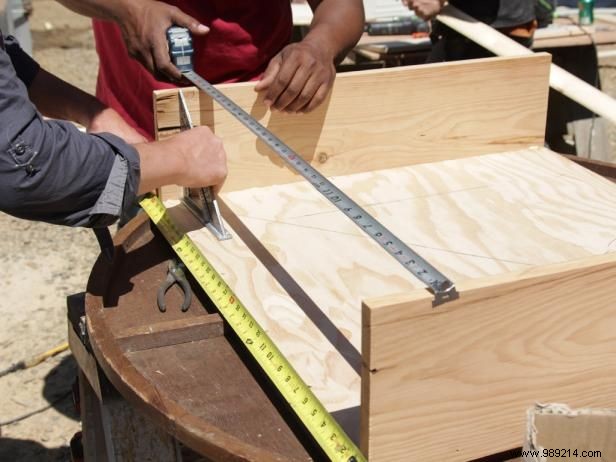
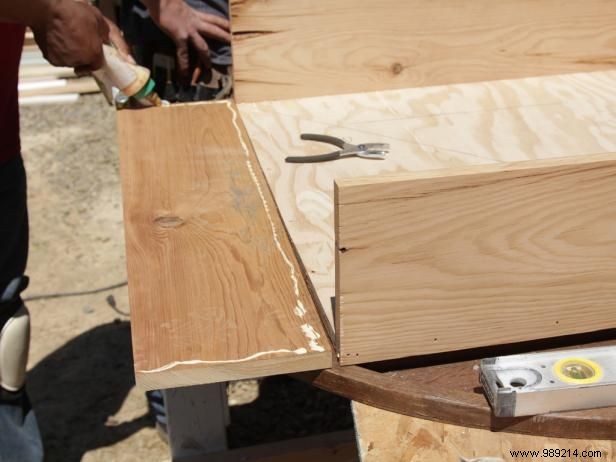
Next, cut two reclaimed 1x8 pieces to match two opposite sides of the plywood. Apply wood glue to the edges and nail them flush with 15-gauge nails. For the remaining two 1x8s, cut to the outer dimensions of the attached sides. Use a tape measure and square to ensure parallel alignment. Gently adjust for squareness before gluing and nailing the edges with finish nails.
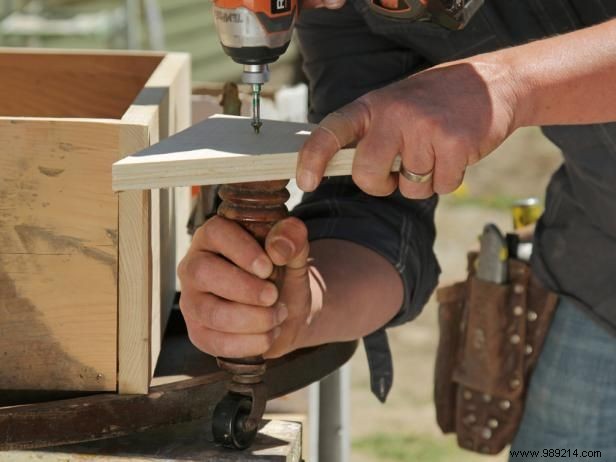
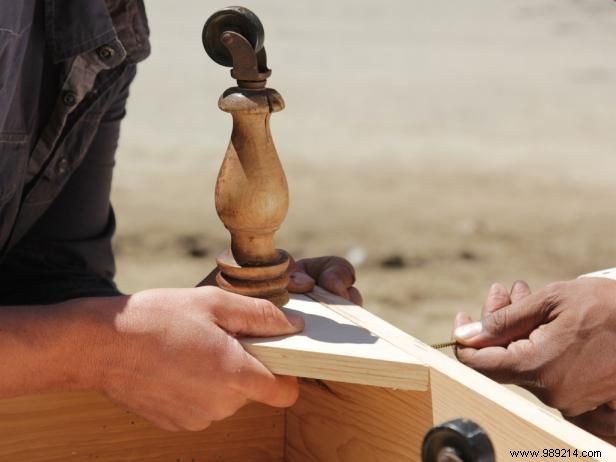
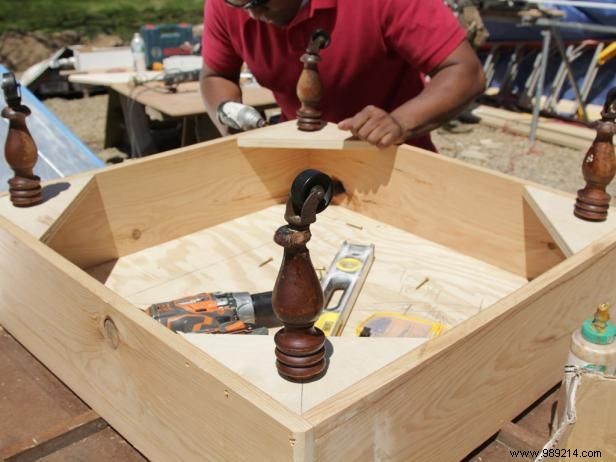
Cut four 6" triangular gussets from leftover 3/4" plywood. Leg style dictates the best mounting: here, wood glue secured the leg tops, reinforced with a 3" #10 wood screw through the brace. Ensure stability to handle rolling without shifting. Threaded rod legs pair well with brackets; use two screws if the top allows.
Attach braces first if needed: glue the two 6" edges and drive two 1-1/2" #8 wood screws through the 1x8 on each side for rock-solid support.
Finishing options include paint, stain, or wax. For this piece, we planed the 1x8s to reveal the wood's natural texture and patina, then applied furniture polish to protect and enhance the base. The legs and top required no further treatment. If sanding or repainting vintage pieces, test for lead paint first—consult the EPA's Renovate Right: Important Lead Safety Information for Families, Child Care Providers, and Schools brochure.