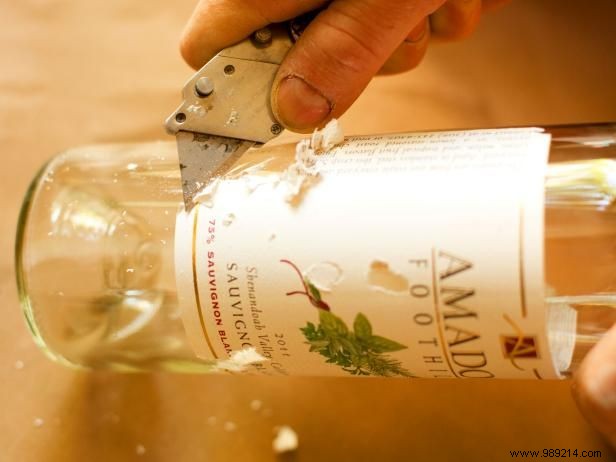
As a DIY craftsman with years of upcycling experience, start by gathering discarded wine bottles in various heights and colors for visual interest. Carefully remove labels using a knife and damp cloth. Rinse thoroughly under running water. Note: Tougher labels may require soaking in water to soften the paper and glue.
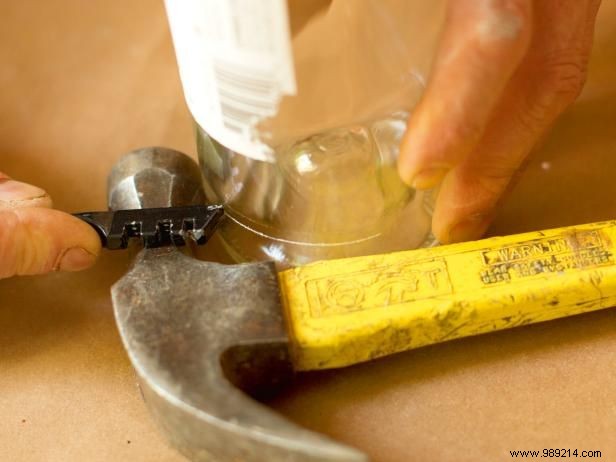
Place each bottle upright on a stable surface. Using a glass cutter, score the perimeter about 1/2" from the bottom. Tap gently with a hammer to break off the base cleanly in one piece. Note: This removes the bottoms to accommodate sockets and bulbs inside.
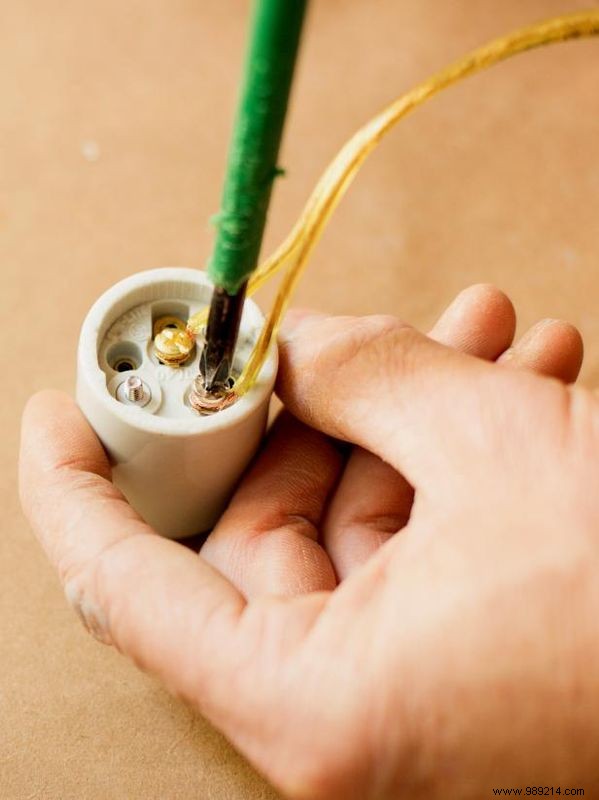
Cut lamp cord into 16" lengths using wire cutters, allowing space to the junction box. Secure each end to the positive and neutral screws inside the sockets with a screwdriver. Repeat for all bottles, ensuring secure connections for safety.
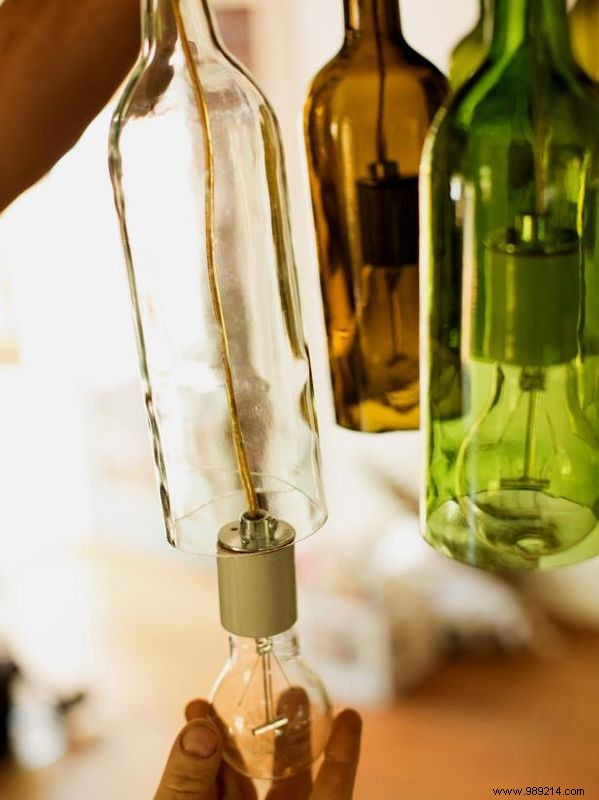
Insert bulbs into sockets and place them inside the bottles to verify a level, snug fit. Adjust as needed for all bottles—this step ensures professional results.
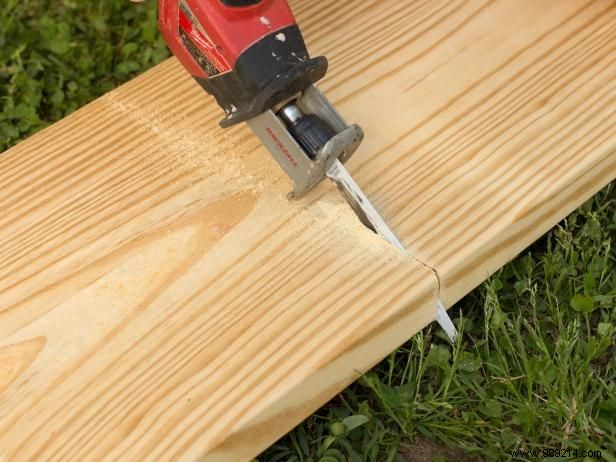
Tailor a 2" x 8' pine board to your chandelier's length using a reciprocating or circular saw. Note: Reserve the remnant—at least 24"—for the canopy. It's sufficient for chandeliers 6 feet or shorter.
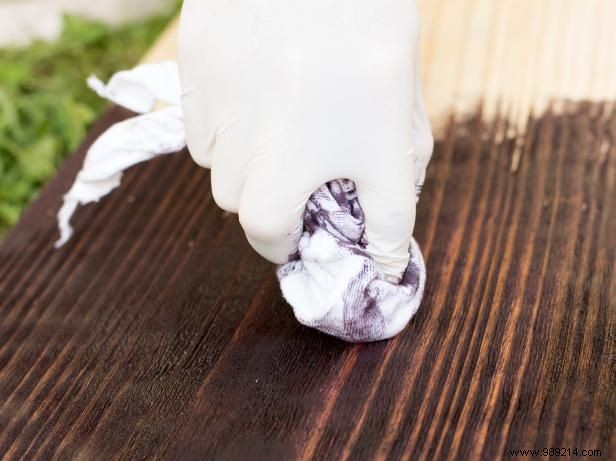
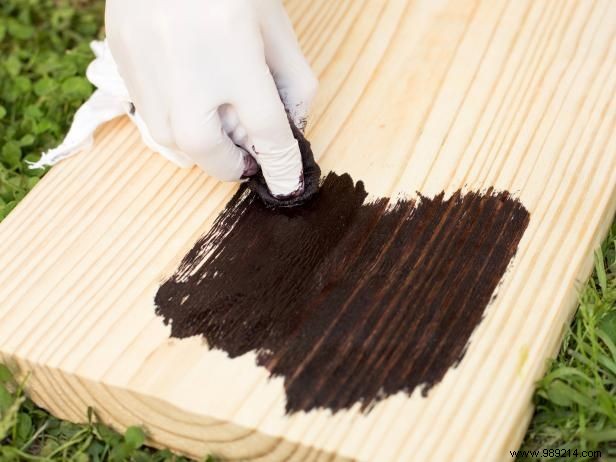
Apply two even coats of self-sealing wood stain with a damp cloth for a durable, polished finish that enhances the wood's natural beauty.
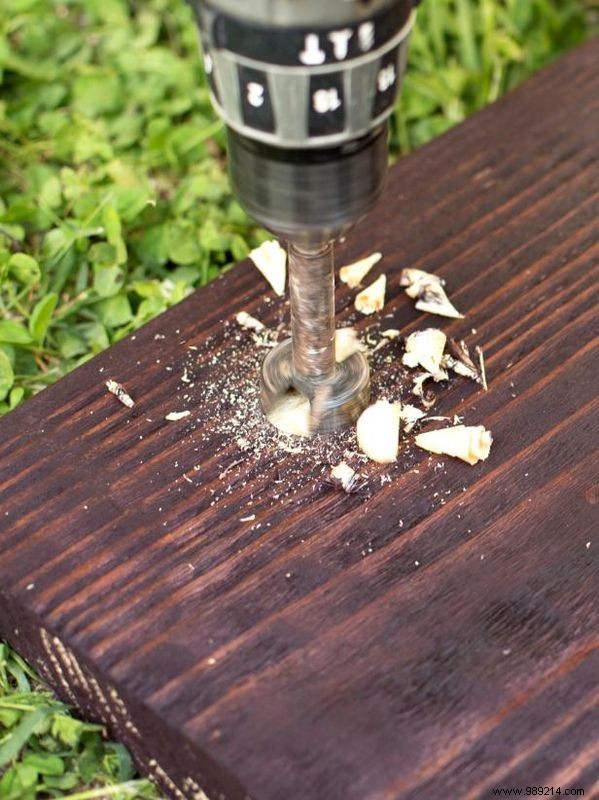
Using a 1" drill bit, bore holes through the pine board, spaced 8 inches apart, to securely hold the bottles.
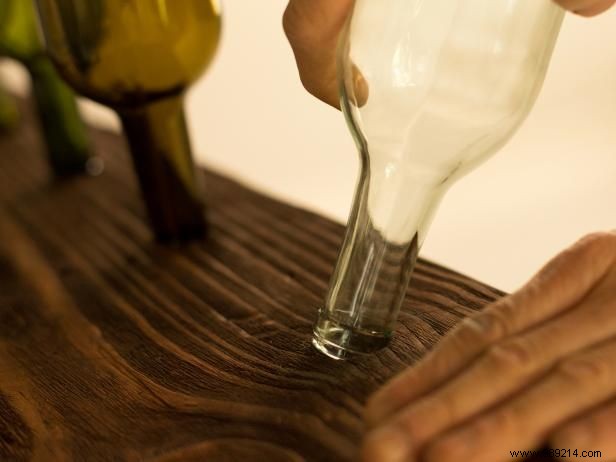
Lay the board flat and insert bottles upside down into the holes to confirm a tight, secure fit before final assembly.

Mount a shallow square plastic junction box centrally on the board's top with a drill. Craft a four-sided fascia frame from 1" x 2" pine trim using a miter saw and wood screws to hide it. Test cable lengths. Note: Wires from all sockets connect here, then route to the ceiling via a central ground wire.
Stain the remaining 2" x 8" pine with two coats. Drill two center holes for ceiling attachment to the junction box, plus a third 1" hole for the light cord.
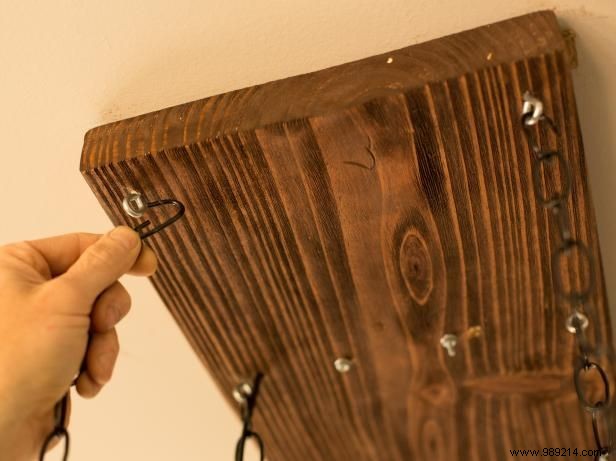
Install six hook eyes on the board for chain strands. Secure the canopy to the ceiling with screws, attach chains to hooks, and trim to length with bolt cutters.
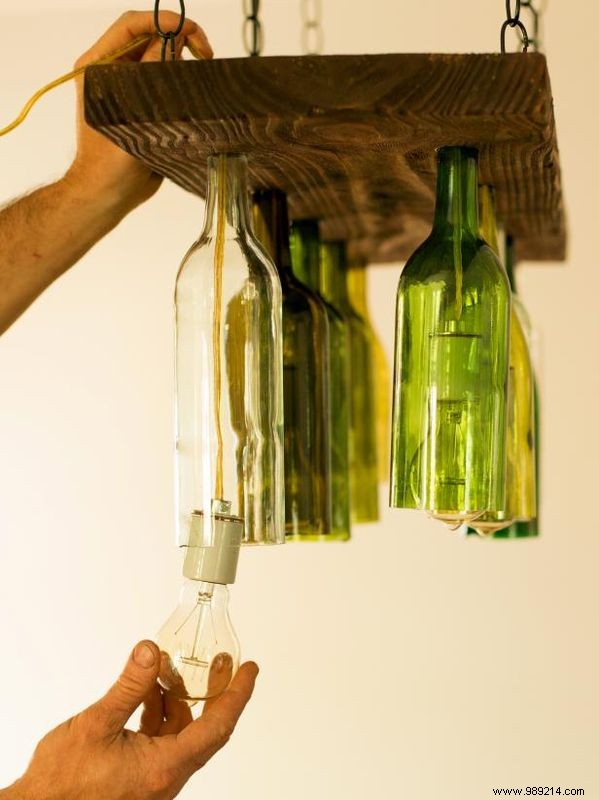
Hang the board from the ceiling via chains. Apply silicone caulk around hole edges. Insert bottles firmly, threading sockets through.
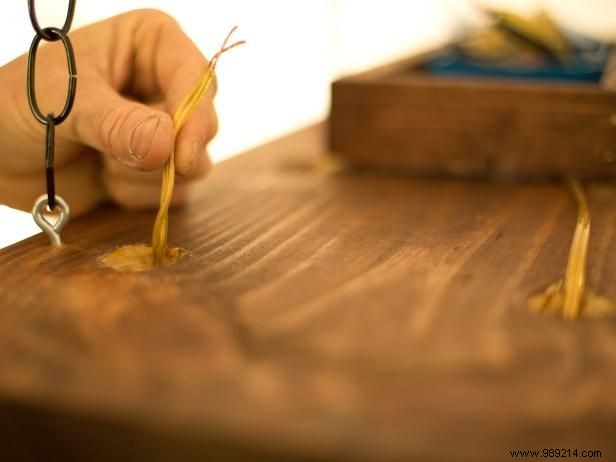
Route socket wires into the junction box. With assistance, detach the canopy, feed the ground wire through its hole to the ceiling box, reattach, and test by switching on the lights.