We've crafted this headboard inspired by a beloved design from a top home decor catalog. As experienced DIY builders, we love how straightforward it is: attach standard-size lumber to a large plywood panel, then finish with crisp white paint for that timeless cottage charm.
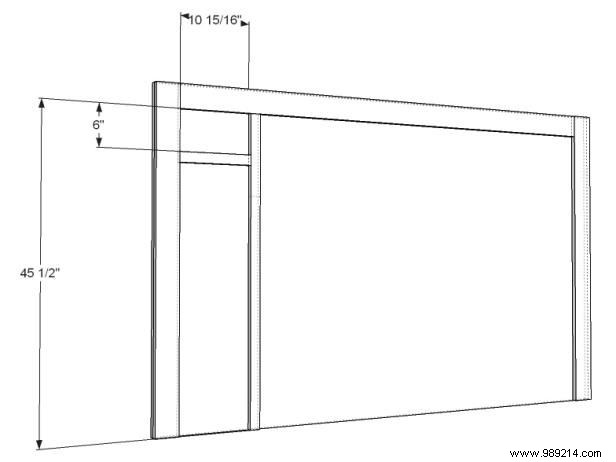
Cut all pieces to size (using king-size dimensions for this project). Lay them out on a flat surface to ensure everything aligns perfectly before assembly.
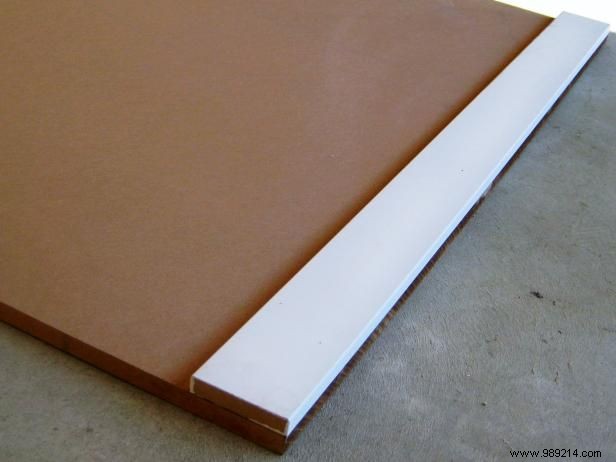
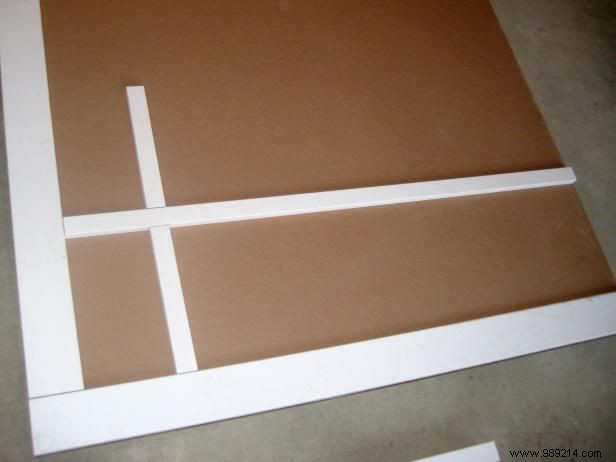
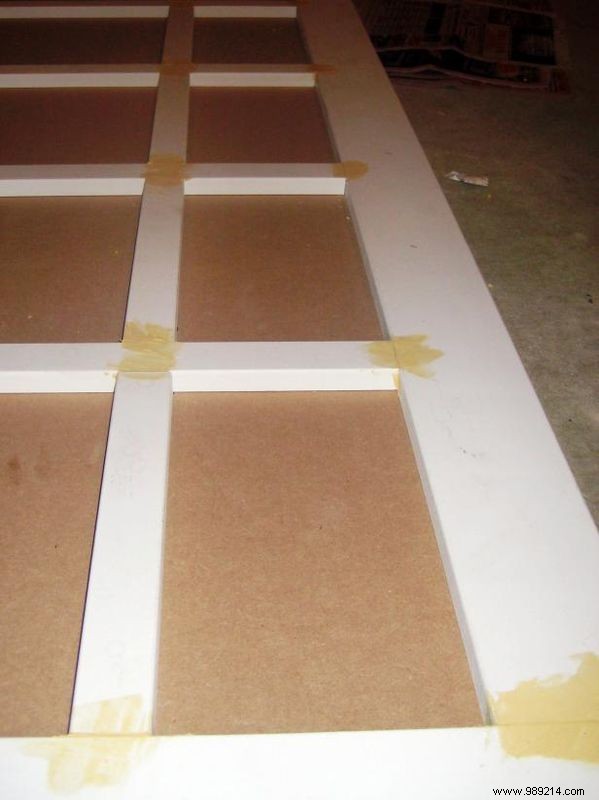
Apply adhesive to the back of a side piece (49" 1x4) and position it on the left edge of the MDF plywood. Repeat for the right side. Next, apply adhesive to the 73" 1x4 and attach it to the top edge, nesting it between the side boards.
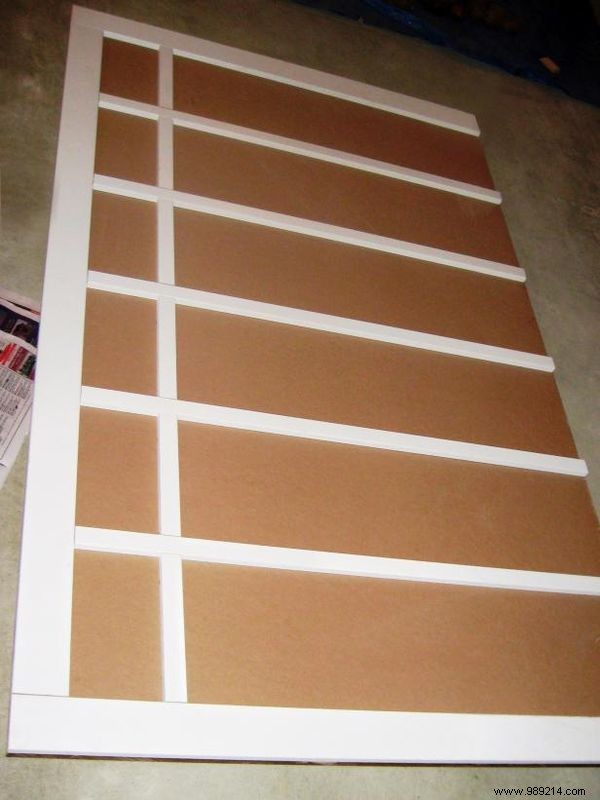
Apply adhesive to the back of an interior horizontal board and position it along your pencil marks on the plywood. Add adhesive to an interior vertical board, place it atop the horizontal one to match the marks, and repeat until all boards are secured.
Allow the adhesive to fully set, then fill gaps with wood filler (follow manufacturer guidelines for drying). Sand smooth, remove all dust, prime, and paint for a professional finish.

Measure from the floor to your bed frame's bolt holes and note the spacing. Drill matching holes in the headboard large enough for the bolts. Secure with bolts, nuts, and washers, tightening firmly for stability.