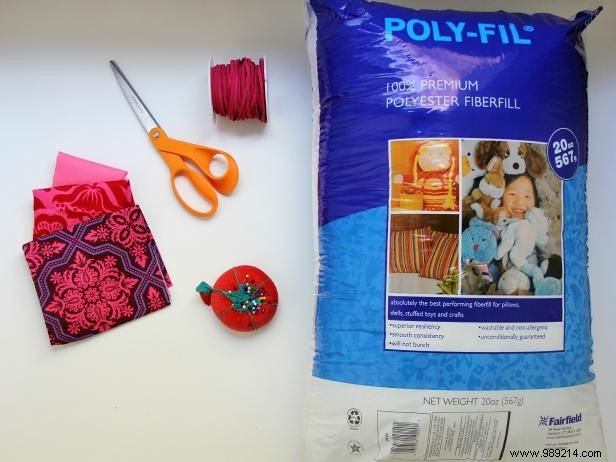
As a seasoned sewing instructor with years of guiding families through fun crafts, I've designed this heart-shaped love bug project to be simple and rewarding. It includes a free pattern and clear steps, making it ideal for kids to sew together. Customize for boys or girls with vibrant fabric choices.
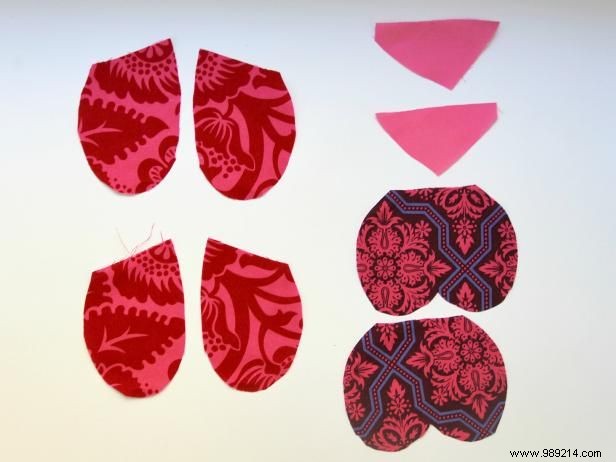
Print and cut out the pattern pages. Using three fat quarters of fabric, cut the pieces as indicated. Transfer the eye and antenna markings from the folded pattern directly onto one top-half fabric piece.
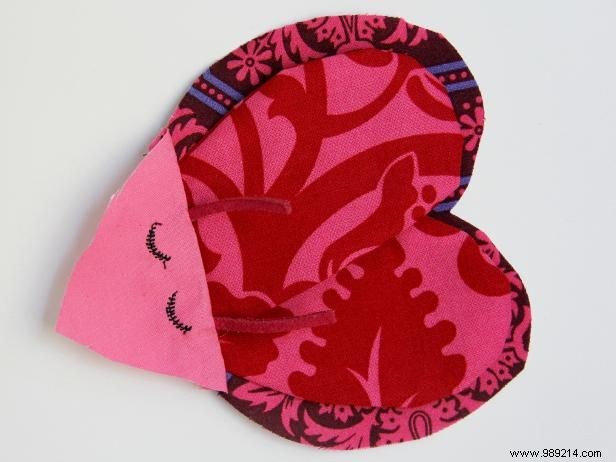
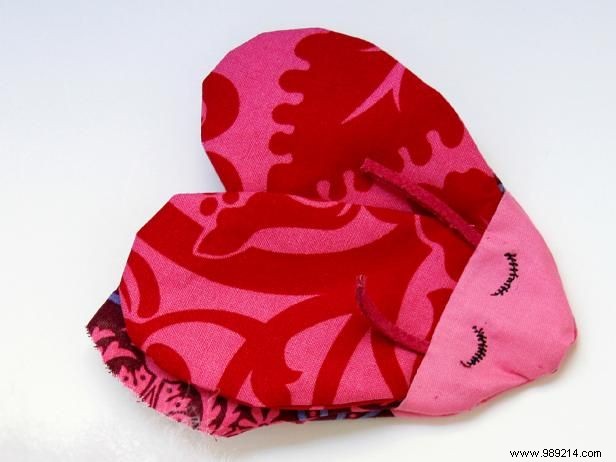
On the right side of one top-half piece, embroider eyes using your sewing machine or hand stitching—try small circles, zigzag stitches, or decorative options for flair. Set aside.
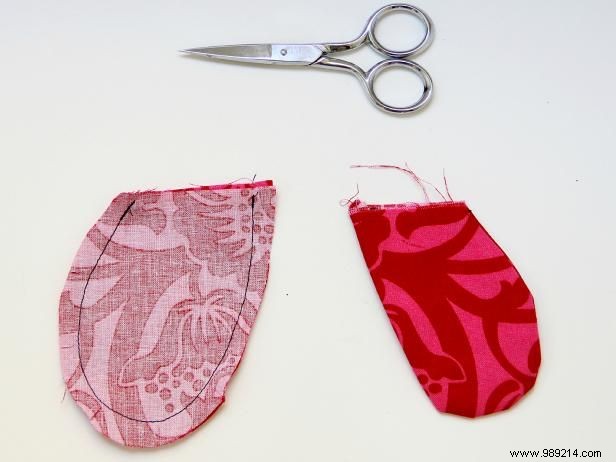
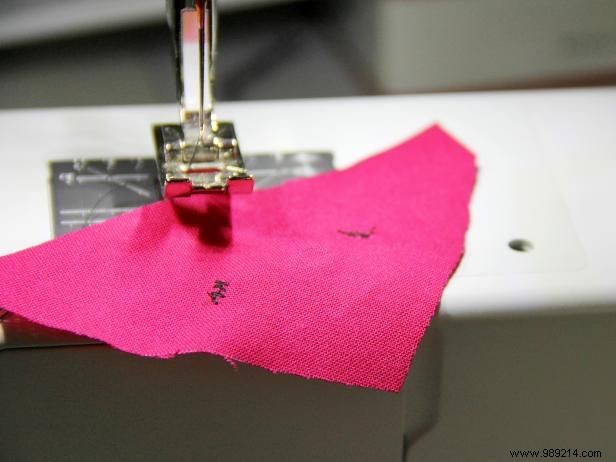
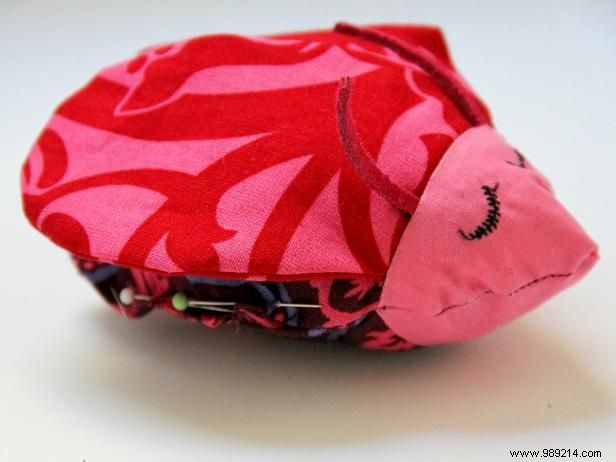
Place two wings right sides together, pin, and sew along the curved outer edge, leaving the straight top open. Clip seams around curves, turn right side out, and press. Repeat for the second pair.
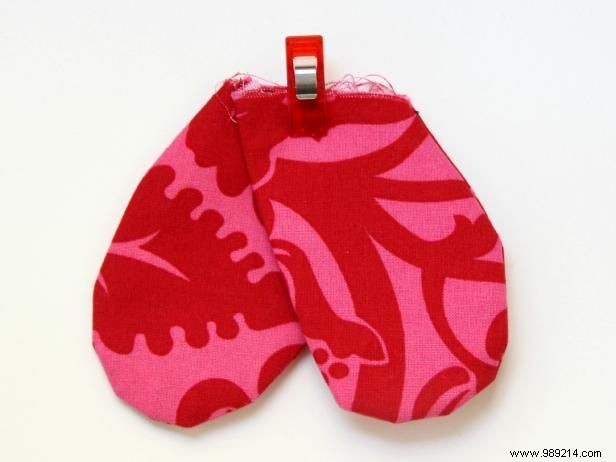
Stack the two wing pairs, aligning raw top edges. Pin and baste 1/4" from the edge.
We'll now attach the wings to one bottom-half piece.
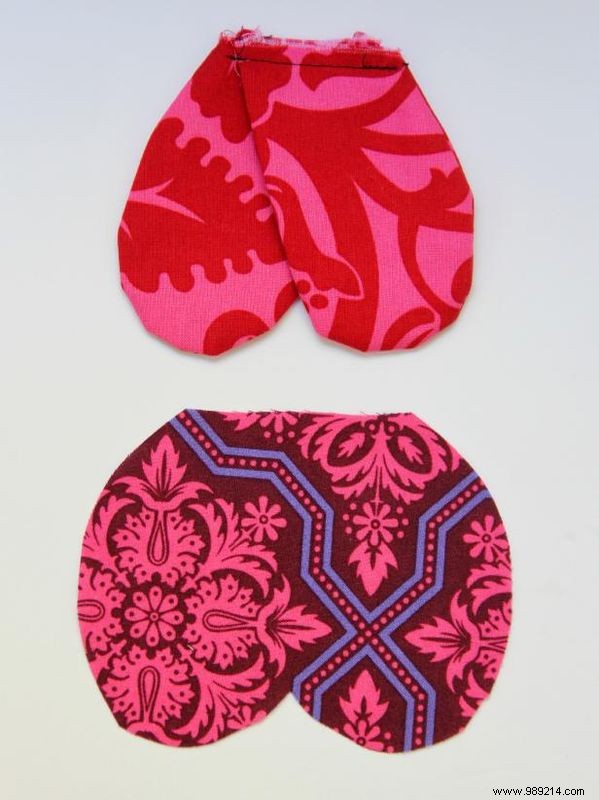
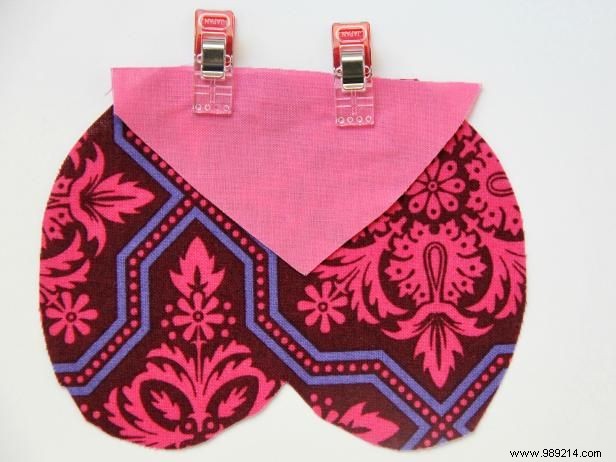
Position the basted wings right side up on one bottom half. Pin and sew 1/4" from the top edge. Set aside.
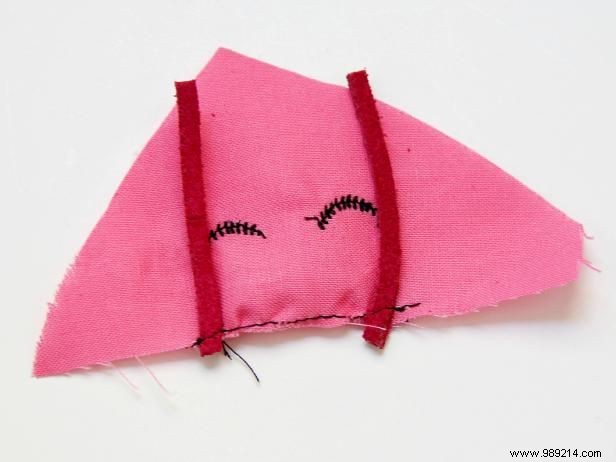
Cut 3" of cord into two 1.5" pieces. Pin one end of each to the eye-embroidered top half at the antenna markings, 1/3" from the edge, to secure.

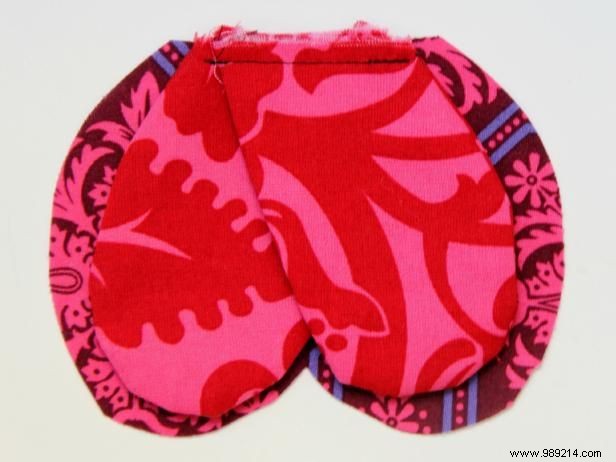
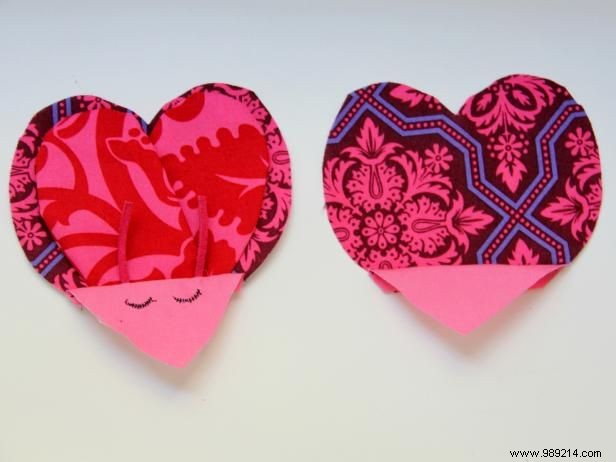
Place the embroidered top half right sides together with the winged bottom half. Align and sew the straight raw edges along the seam line.
Press the seam open.
Place the remaining top half right sides together with the other bottom half. Sew along the seam line and press open.
You now have the top and bottom of your love bug. Time to sew them together and stuff.
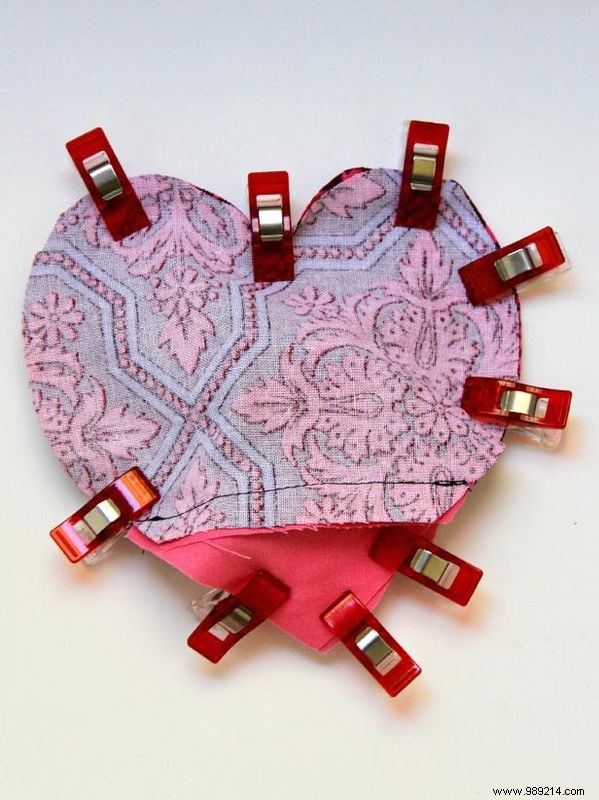
Layer the top and bottom pieces right sides together. Pin around the edges, leaving a 2-3" opening for turning. Sew around.
Turn right side out, pushing out corners with your finger. Stuff firmly with poly-fil to fill all edges.
Pin the opening closed, aligning raw edges. Whipstitch shut with needle and thread. Done!
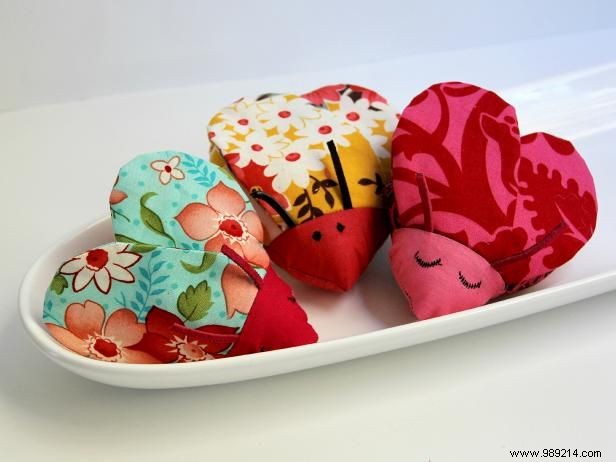
Watch out—love bugs tend to multiply!