As seasoned DIYers with years of upcycling experience, we've sourced free wooden pallets from warehouses, contractors, and shippers—who gladly avoid disposal fees. Always check for untreated, non-toxic wood that's structurally sound, embracing its natural imperfections and patina for authentic character.
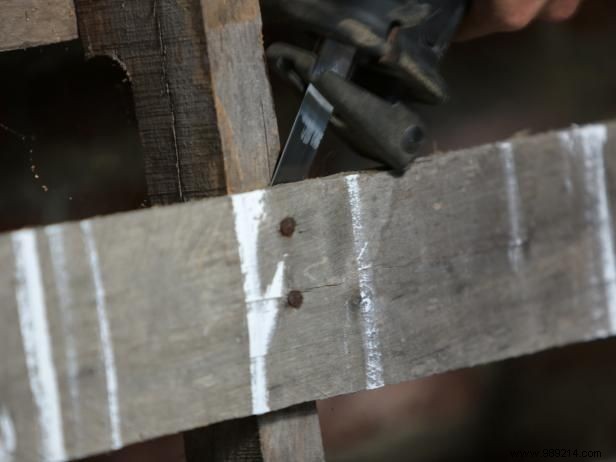
Fit a reciprocating saw with a fresh blade and cut just behind the boards through the nail shanks for fast results. For our queen-size headboard, we selected eight planks of varying widths.
Even one pallet may suffice, but disassemble several to mix boards for a dynamic, varied look.
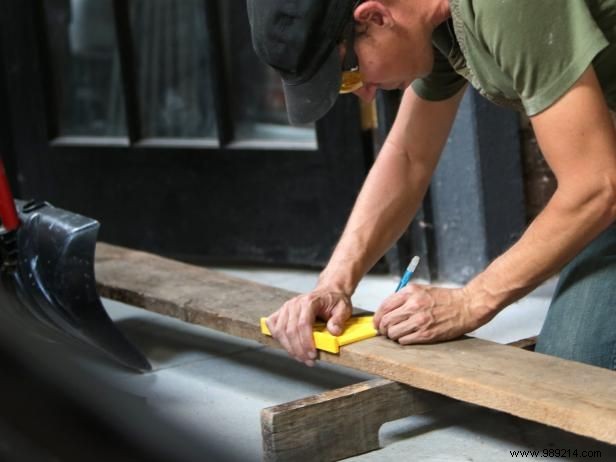
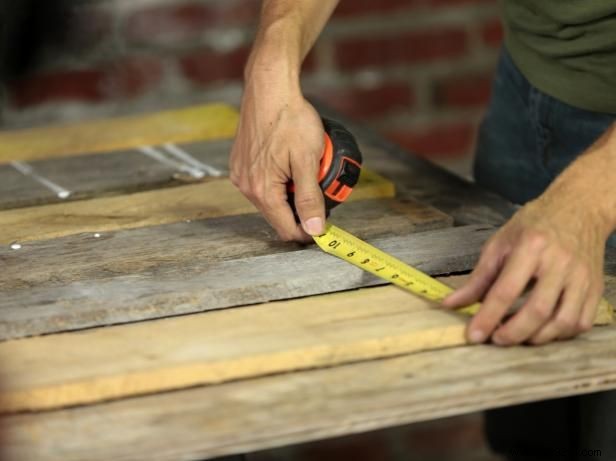
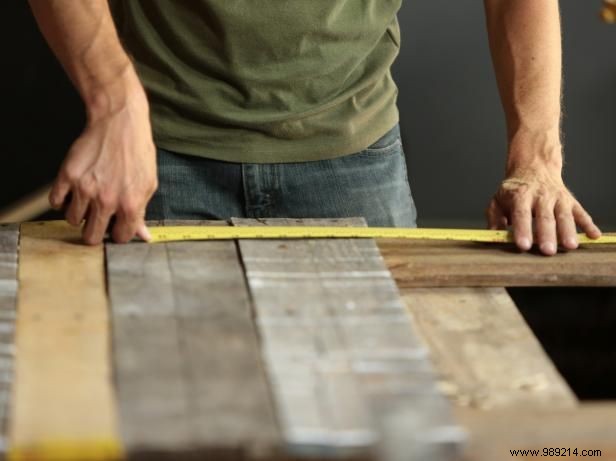
Measure your bed frame, box spring, and mattress combined, then add 32 inches. Ours totaled 24 inches, making the full headboard 56 inches tall.
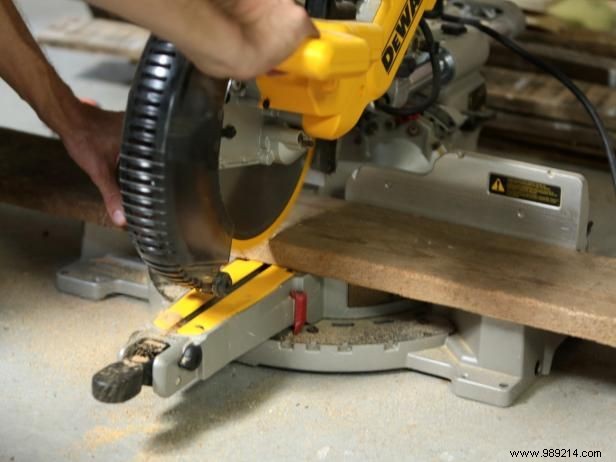
Source reclaimed barn wood and cut two legs to your precise height, plus a 32-inch intermediate support.
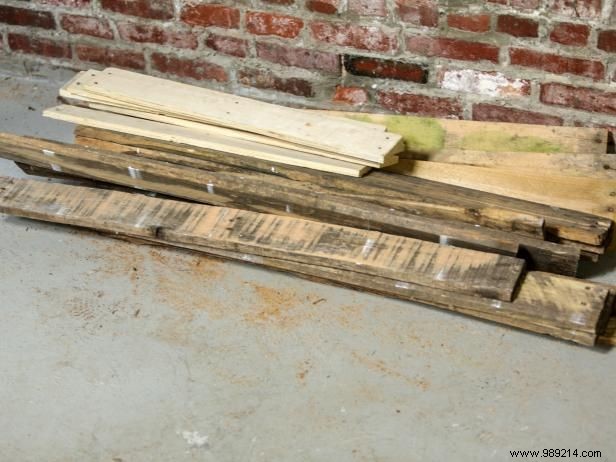
Combine planks from multiple pallets for visual interest and texture variety.
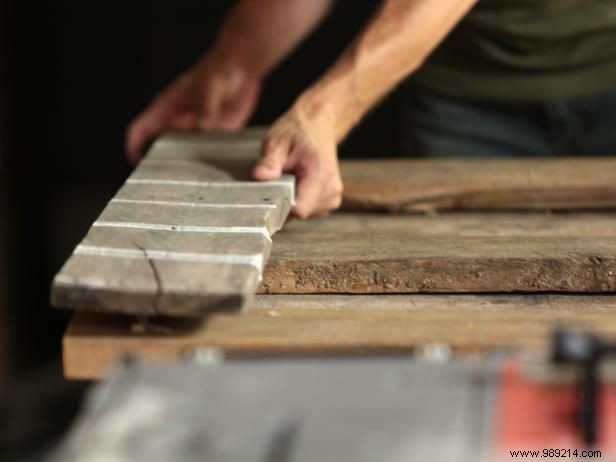
Lay legs flat on your work surface, spaced 2 inches wider than the final headboard width.

Center the support between legs and apply construction adhesive along the top edges.
Position the first plank slightly higher than the leg tops.
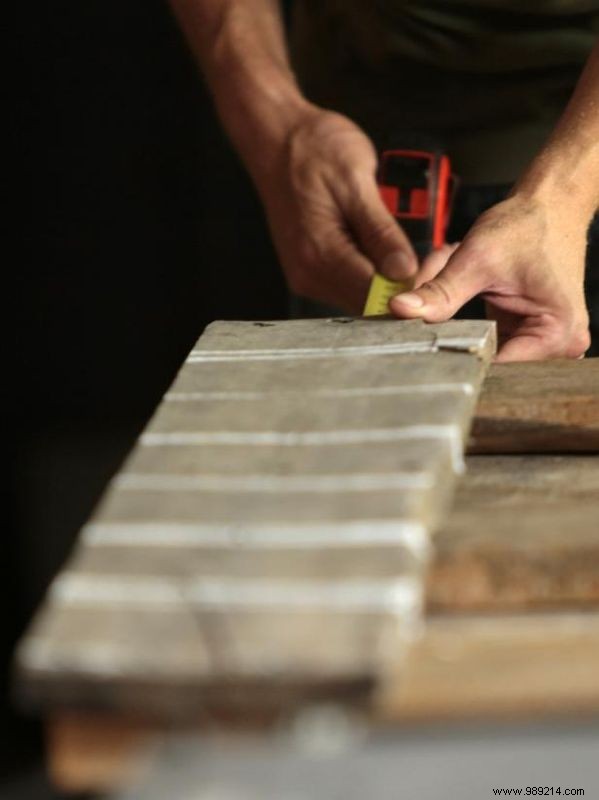
Extend the board 1 inch beyond the legs on each side.

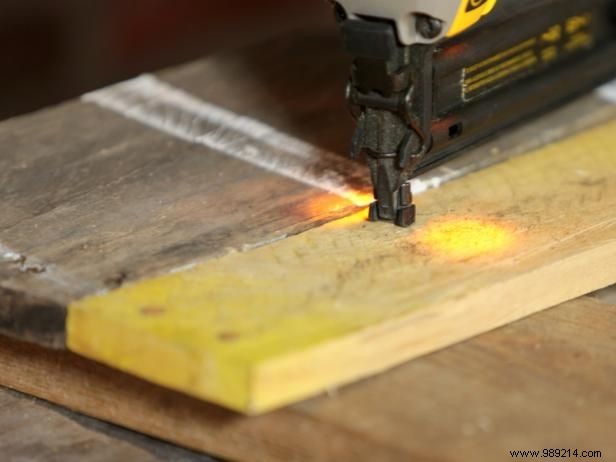
Press firmly and drive two 1-1/4-inch 18-gauge finishing nails into each leg and support.
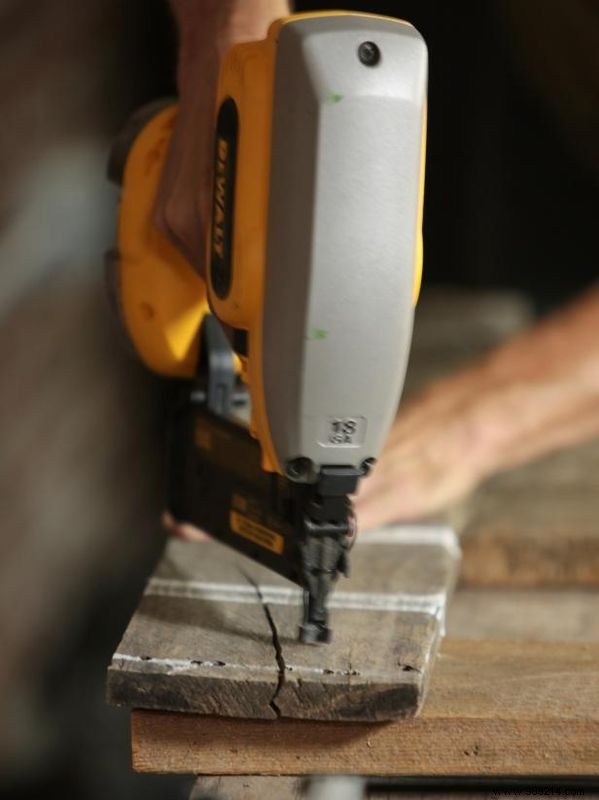
For cracks or splits, nail securely on both sides for stability.
Apply adhesive and nails row by row, butting tightly; discard severely warped boards.
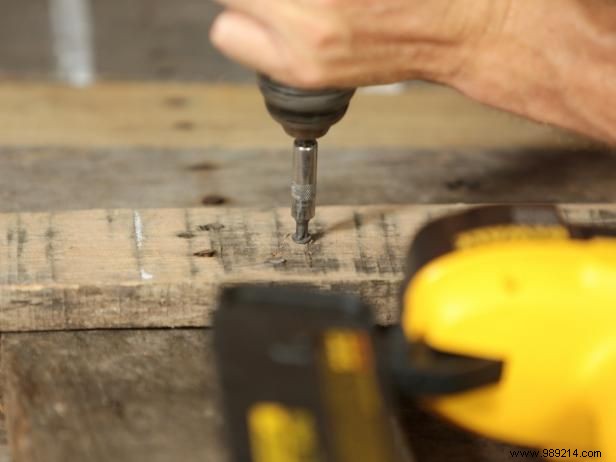
Thin pallet wood warps easily—use drywall screws to pull flat before final nailing.
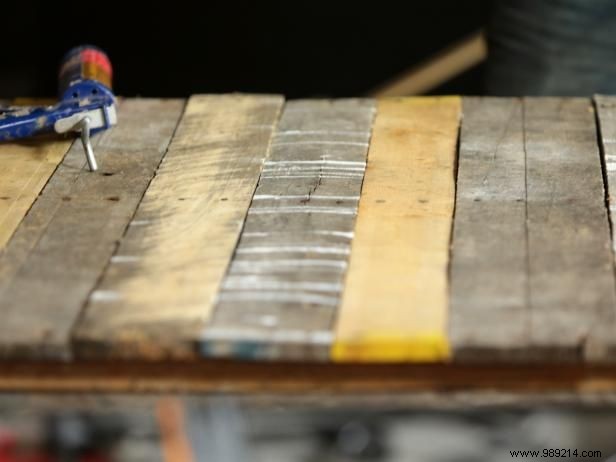
Continue with random patterns for a custom, eclectic finish.
Position so the last board sits just below mattress top.

Orbital sand rough spots with 80-grit, then entire face with 220-grit.
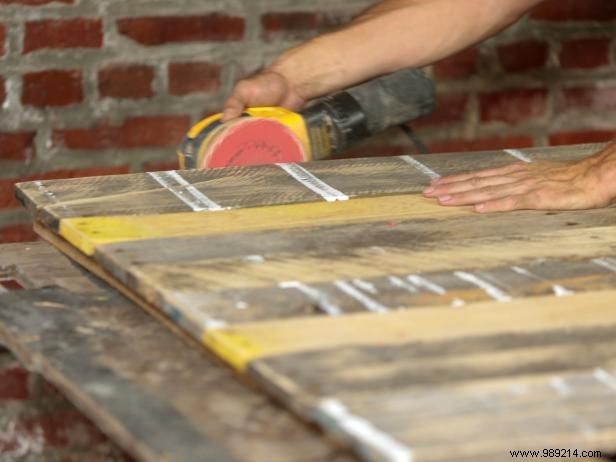
Refine all edges, top, and back for a professional feel.
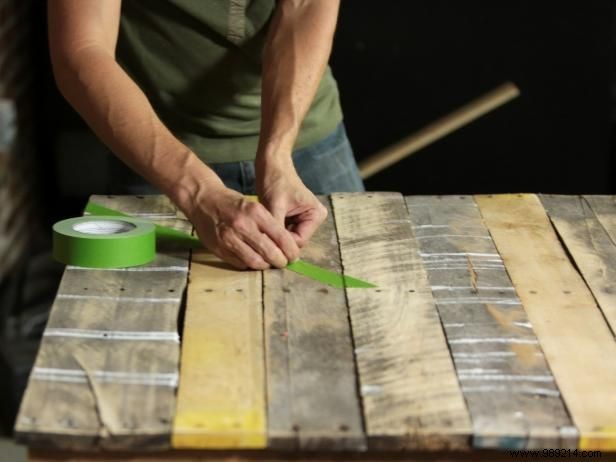
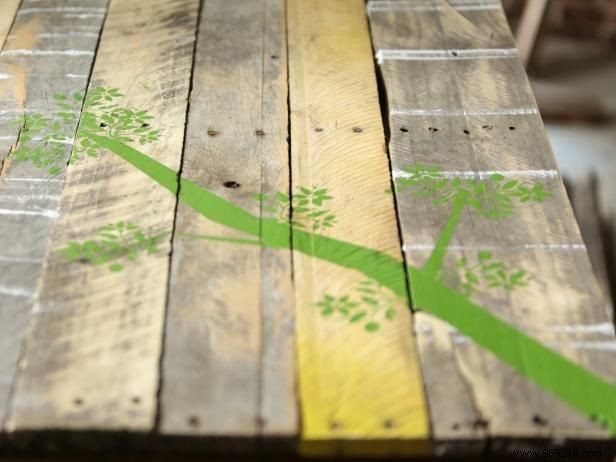
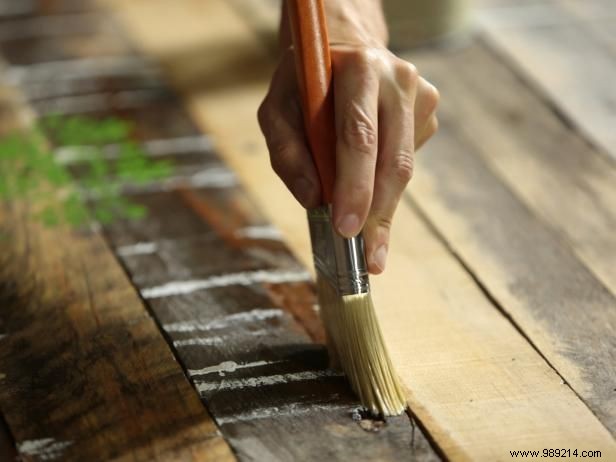
Elevate the rustic charm with hand-painted details. We freehanded a green tree branch—pencil sketch or tape off first.
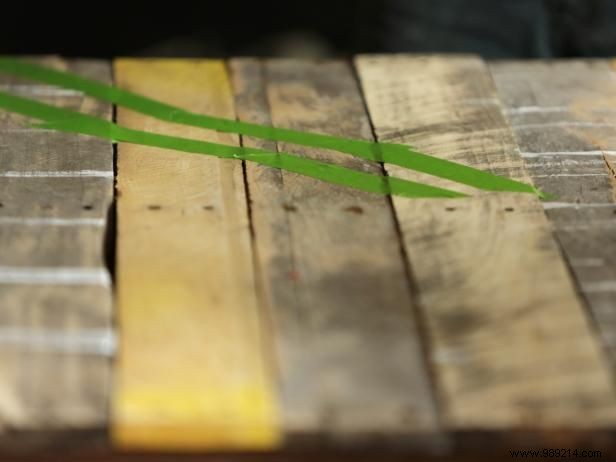
Press firmly to prevent paint bleed under edges.
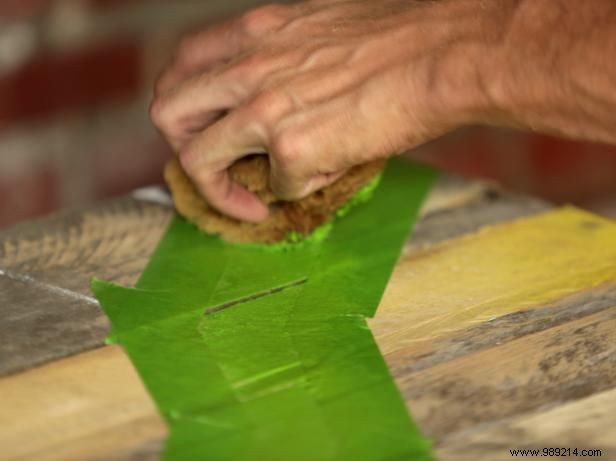
Dab with a sponge for authentic, imperfect texture.
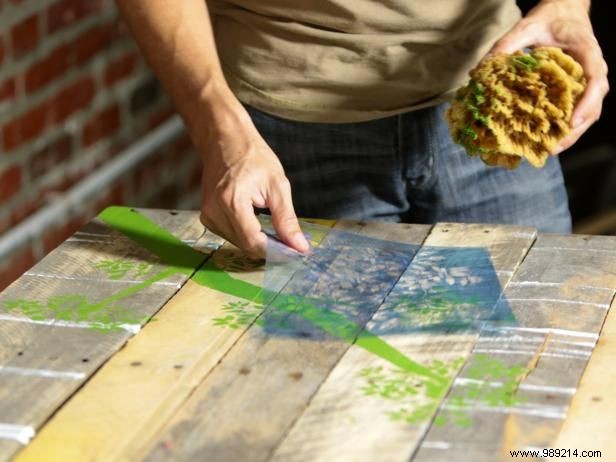
Use a template for precise foliage accents.
Allow paint to fully cure.
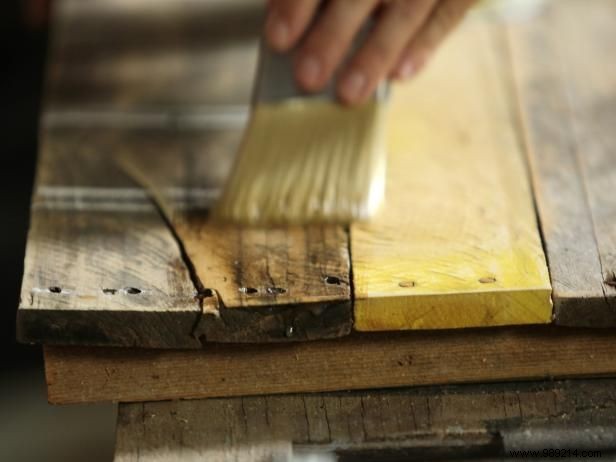
Shellac excels—natural, fast-drying, and simple to touch up with minimal wait times.
Lightly sand dried first coat to smooth raised grain. Apply heavier layer into cracks; it enhances plank textures, mill marks, and original paint.
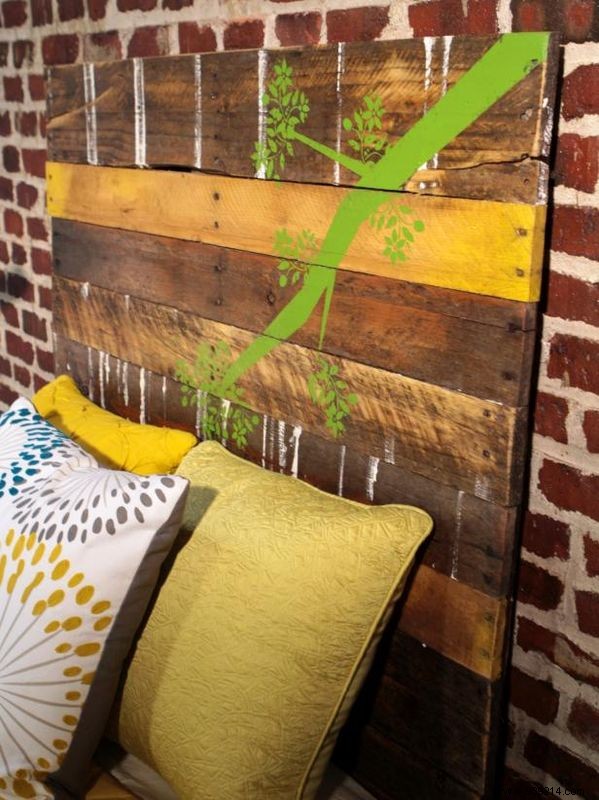
Secure to frame with small lag bolts or hang directly via wall toggles.