Jason Kisner
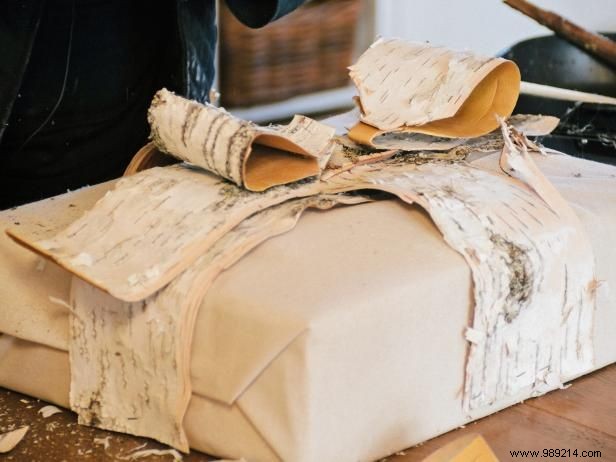
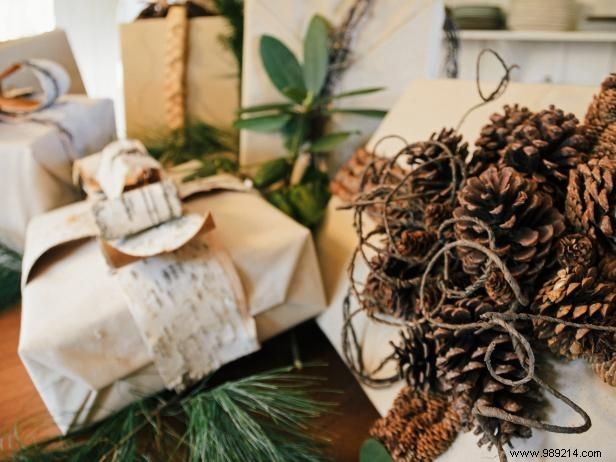
These packages are too pretty to open on Christmas morning; They are for decorative purposes only. The birch bark bow bundle will last for years if properly cared for.
Jason Kisner
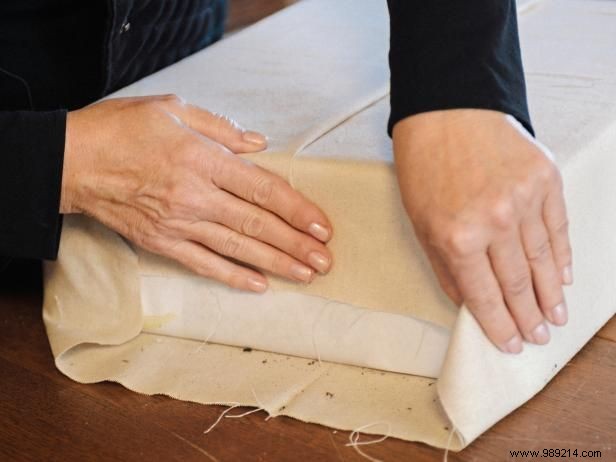
Wrap the box in butcher paper. There are two reasons to wrap it in butcher paper. First, it will give you a palette of solid colors under the fabric; Second, the glue and fabric will stick better to butcher paper than to cardboard. Wrap the box like a gift package and use tape to secure it. Then wrap the box in the burlap or muslin cloth. Wrap it like a gift package and use hot glue to secure.
Jason Kisner
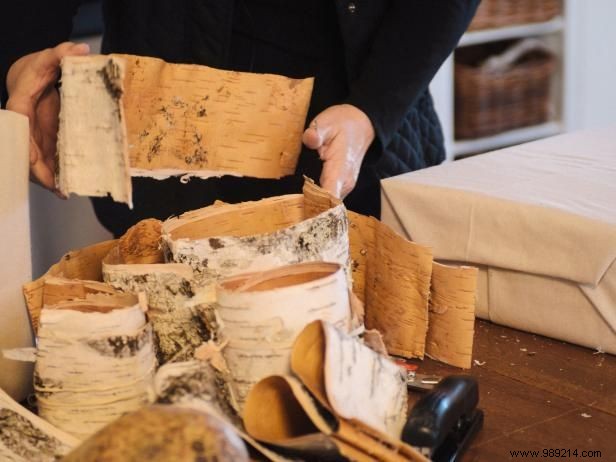
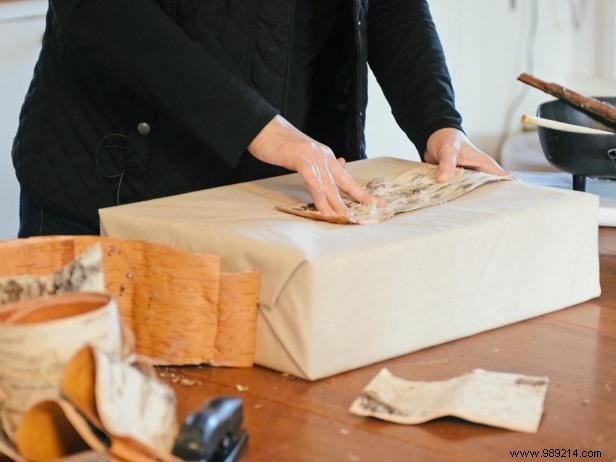
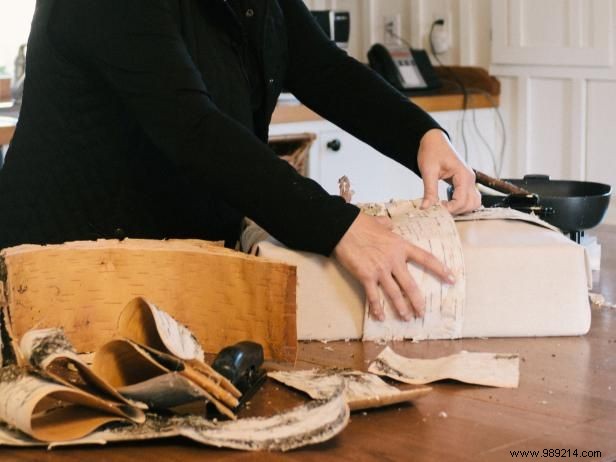
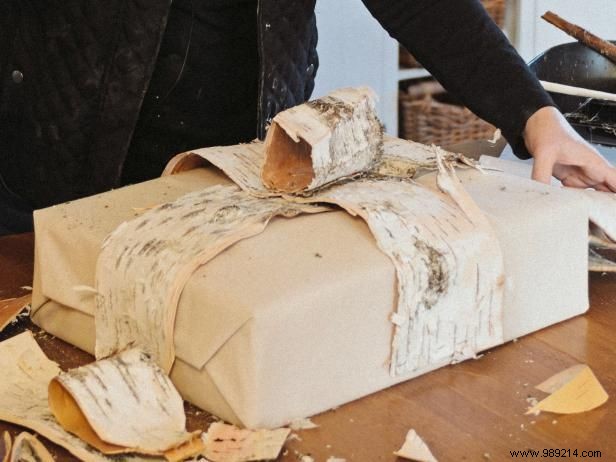
Measure from the top center of the box, halfway down each side to the bottom of the box. Cut the birch bark into four rectangular strips for those two sizes (one for the long side and one for the short side). Make the four pieces slightly overlap in the center of the box. Don't cover the bottom of the box, just roll the crust down the sides.
Jason Kisner
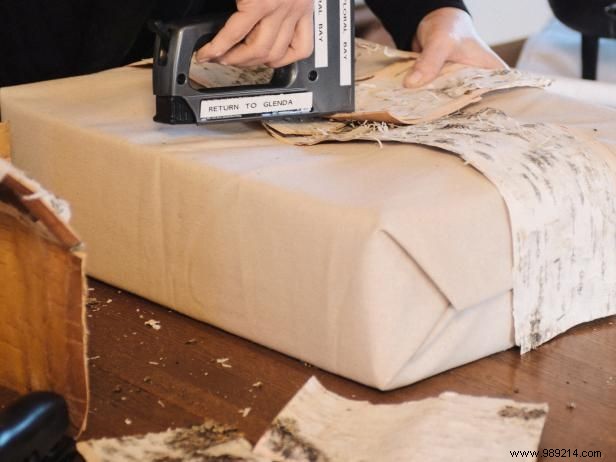
Add a few staples to hold each piece of bark together. The staples will be covered by the arch, so don't worry about showing them.
Jason Kisner
Use hot glue to attach all four sides to the box. You may have to hold down the crust for a couple of minutes until it sets.
Jason Kisner
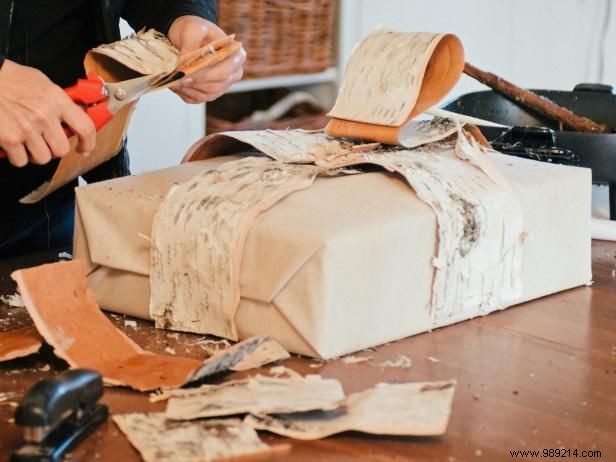
If you can, the night before you start this project, make the loops for the bow. Cut two pieces of bark the same size. Twist one end of each piece onto itself and secure with a paper clip. If you let the ties stay overnight, they will hold their shape better.
Jason Kisner
Put the two bow pieces in place. Don't fasten them at this point, it's best to tie the bow knot first.
Jason Kisner
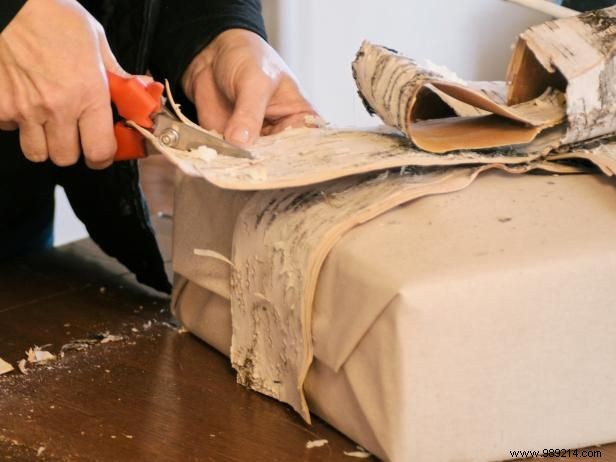
Cut the inside corners of the loops so they can slide into the bow knot.
Jason Kisner
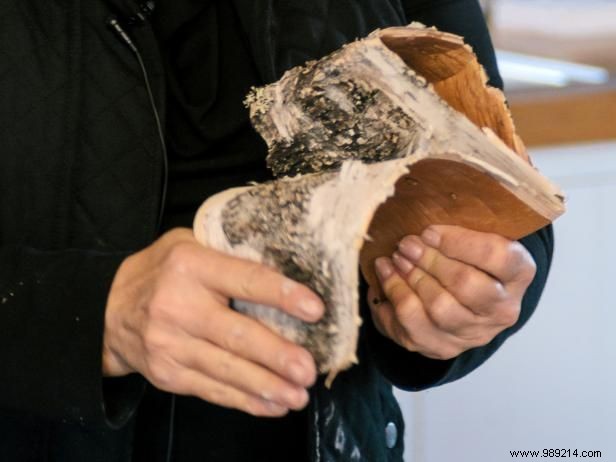
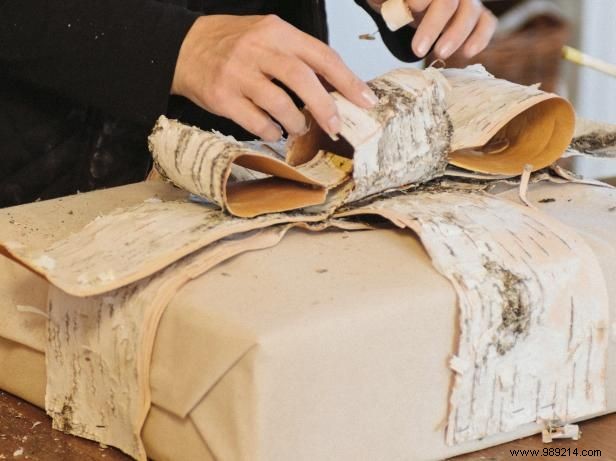
Remove the two bows from the box. Curl a piece of bark (about the same width as the bows) to make a cylindrical shape for the knot.

Jason Kisner
Secure the knot to the bundle with staples.
Jason Kisner
Slide the ties into the knot and secure with staples and hot glue.
Jason Kisner
Trim triangles on the tails of each loop as you would on a ribbon.
Jason Kisner
If necessary, clean the fabric with a lint brush or pipe cleaner. Add greens and pineapples for extra color and texture.