By Susan Teare and Joanne Palmisano, authors and salvage experts.
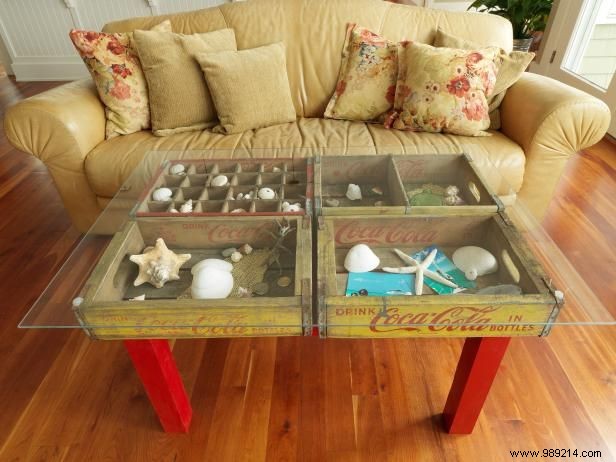
Discover four wooden soda crates from a resale shop, join them together, and mount on a sturdy table base. Fill with cherished trinkets and keepsakes, then top with tempered glass for a protected, elegant display.
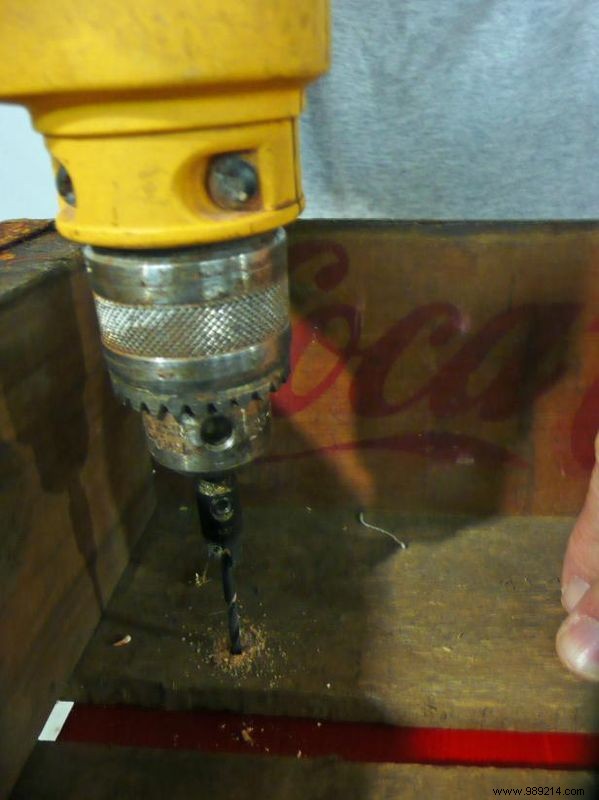
drill with 1/8" bit for countersinking and Phillips bit
chop saw
jigsaw or circular saw
measuring tape
tweezers (small and large)
level
square
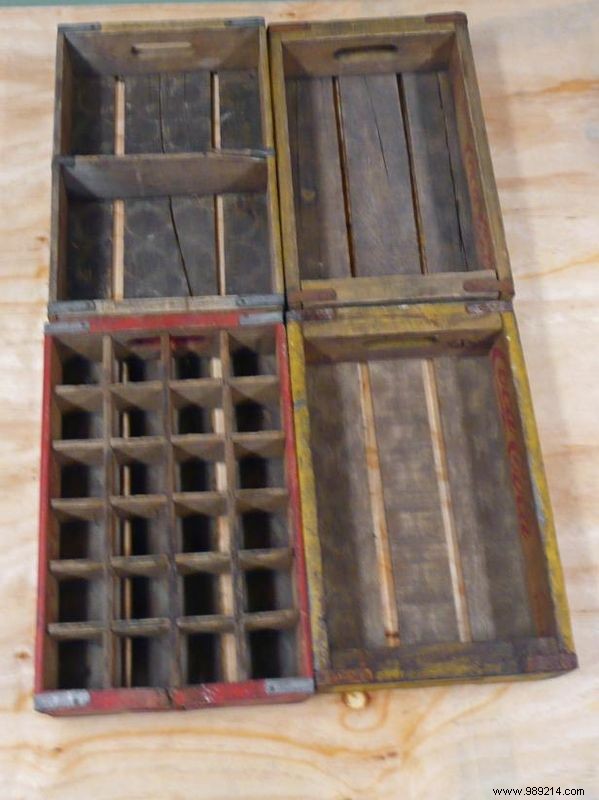
(4) vintage wooden soda crates (same height, width, and length)
piece of plywood
(4) 2x2s for legs (hardwood)
(4) 2x4s for skirt
wood screws (2", 1", and 1/2")
red paint and brush
tempered glass top
transparent pads for between glass and crates
scrap wood for fastening
Arrange the wooden crates side by side and measure the overall table dimensions. Cut plywood 1 inch shorter on all sides to fit beneath.
Secure the plywood to the bottom of the crates using 1/2" screws. Screws may protrude inside the crates—cover later with fillers. Avoid screwing into corners where legs and skirt will attach.
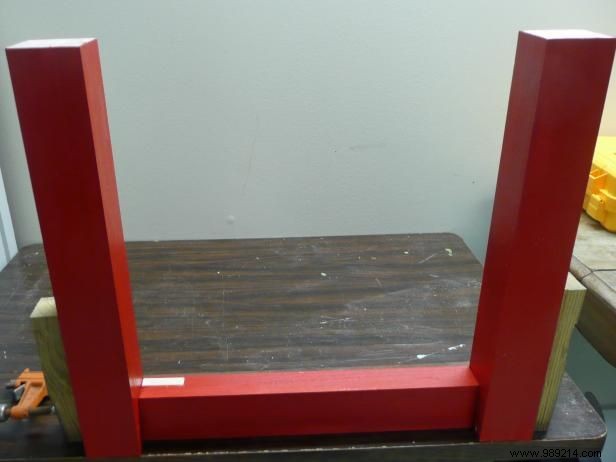
Cut 2x2s to your desired leg height. Position at plywood corners to measure skirt lengths (2x4s between legs). Cut skirt pieces, then sand, prime, and paint all components for a professional finish.
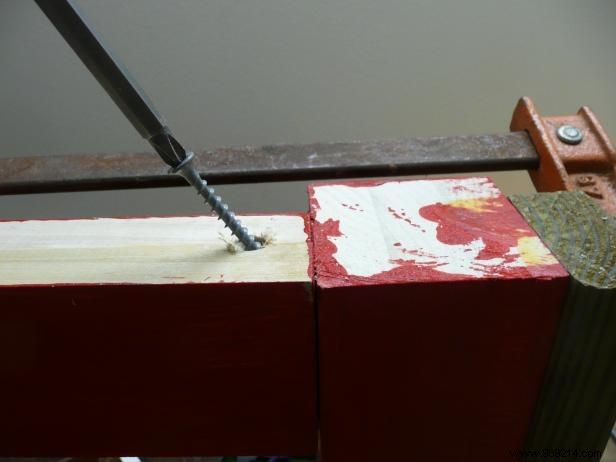
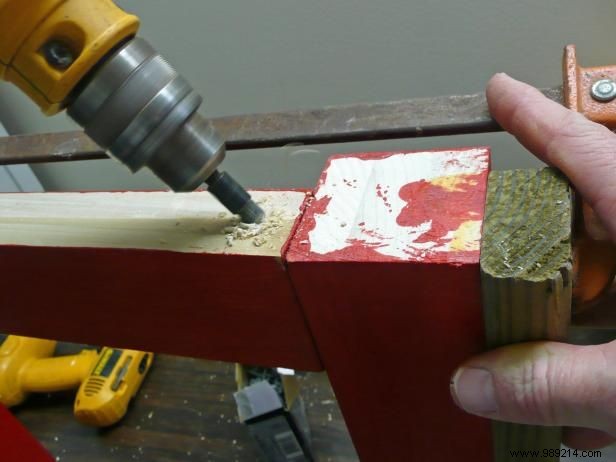
Position legs to extend 1/4" to 1/2" beyond the skirt (Image 1). Pre-drill angled holes from skirt top and bottom into legs: two at bottom, one at top, offset to avoid interference (Images 2-3). Apply glue and secure with screws.
Fill nail holes with wood filler, sand smooth, and touch up paint as needed.
Place crate assembly on the frame and screw from inside crates into skirt. Add your mementos, then cover with tempered glass secured by transparent pads.
Joanne Palmisano is the author of Salvage Secrets (W.W. Norton, September 2011). Visit her blog, Salvage Secrets.