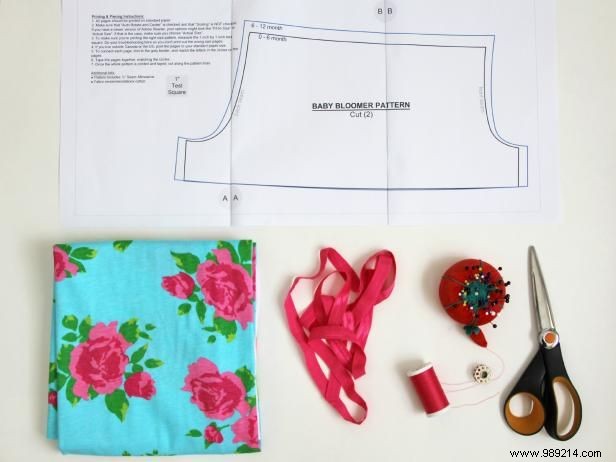
As an experienced seamstress specializing in baby garments, I've crafted countless pairs of bloomers. These versatile pieces double as practical diaper covers and add an irresistibly cute puff to little bottoms—perfect for baby showers or everyday wear.
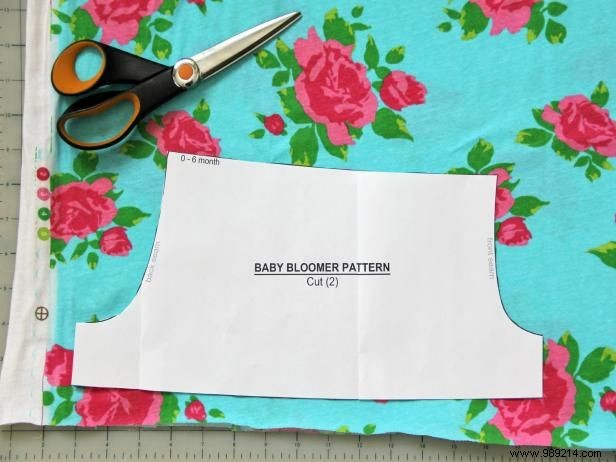
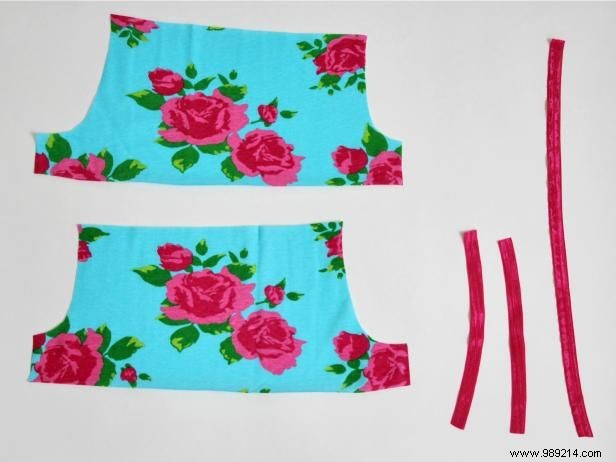
Print the paper pattern, tape it together as directed, and cut along the black lines for your desired size. Fold your fabric in half to cut two bloomer pieces at once. You'll now have two main bloomer pieces.
For elastic, cut the following based on size:
Size 0-6 months: One 16" x 3/4" piece (waist) and two 8-1/2" pieces (leg bands).
Size 6-12 months: One 17" x 1/4" piece (waist) and two 9-1/4" pieces (leg bands).
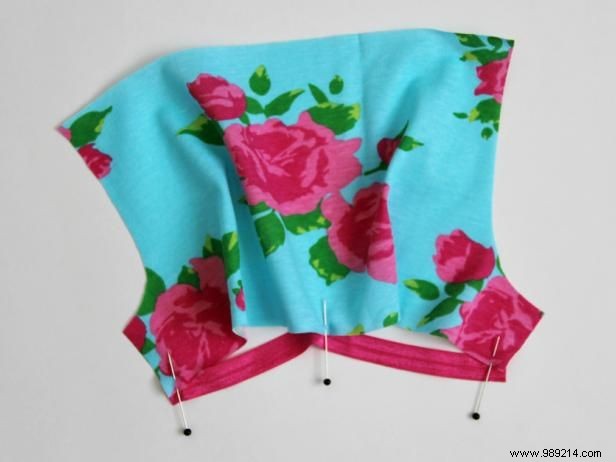
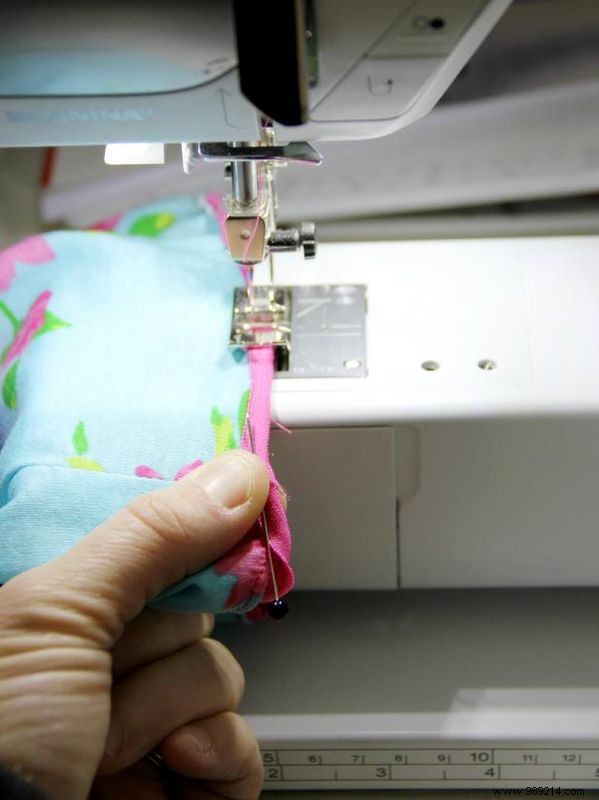
Attach a leg band elastic to the bottom of one bloomer piece. On the wrong side of the fabric, pin the elastic's top edge to the bloomer's bottom edge. Center half the elastic at the bottom middle, and pin the sides to match the bloomer edges. Note how the elastic is shorter than the fabric edge.

Starting at one end, straight-stitch the elastic to the fabric, stretching the elastic to match the fabric length. Align the fabric edge to the elastic's middle. Sew to the other end, removing pins as you go.
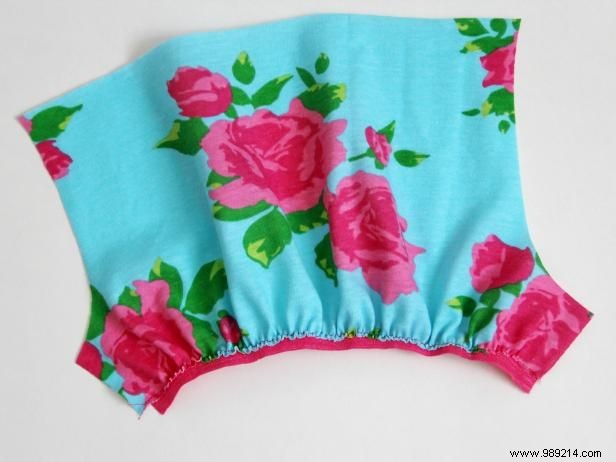
You should now have a neatly attached elastic edge like this.
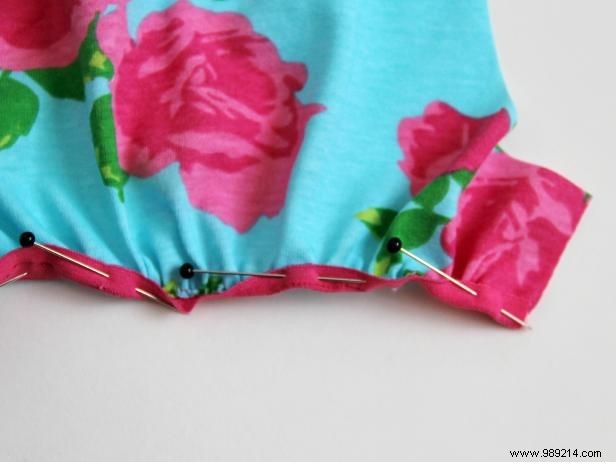
Fold the elastic over to the right side, covering the seam. Pin securely in several places.
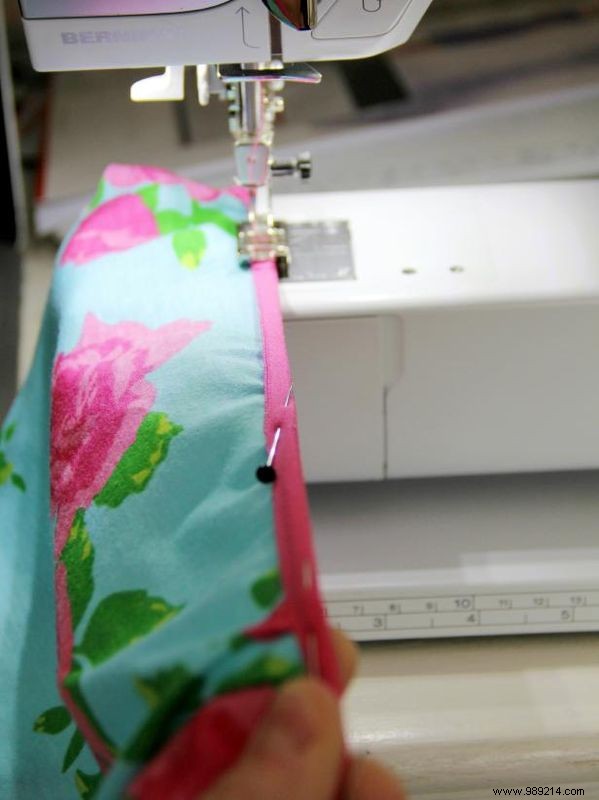
Zigzag-stitch to secure, stretching the elastic to match the fabric as you sew.

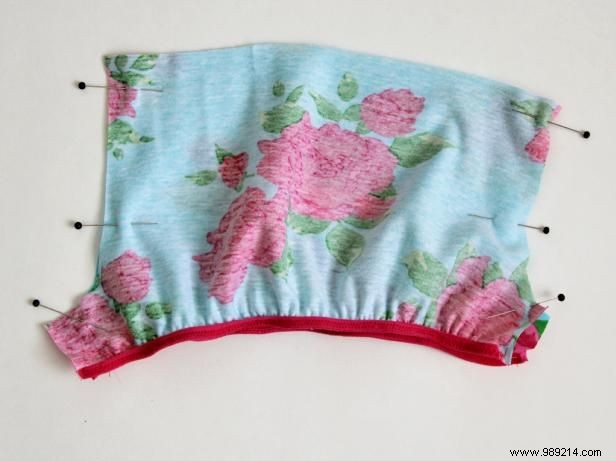
Repeat Steps 2-6 on the second bloomer piece with the remaining leg elastic.
Place pieces right sides together, aligning all edges. Pin and sew curved front and back seams with 1/2-inch allowance. Finish seams with serger, zigzag, or pinking shears if desired.
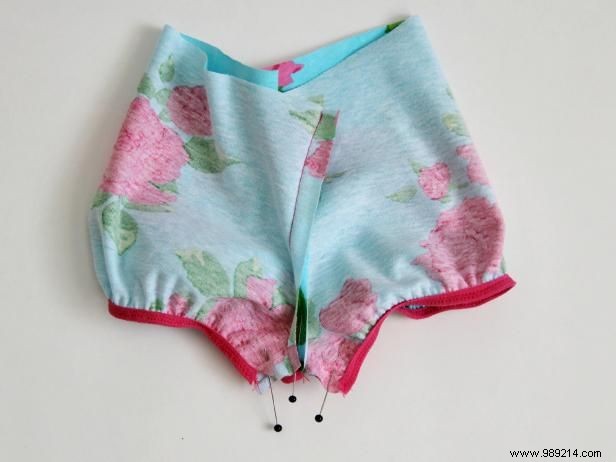
Position so front/back seams are at center top and bottom, then press. Pin bottom leg seams right sides together and sew with 1/2-inch allowance. Finish as before.
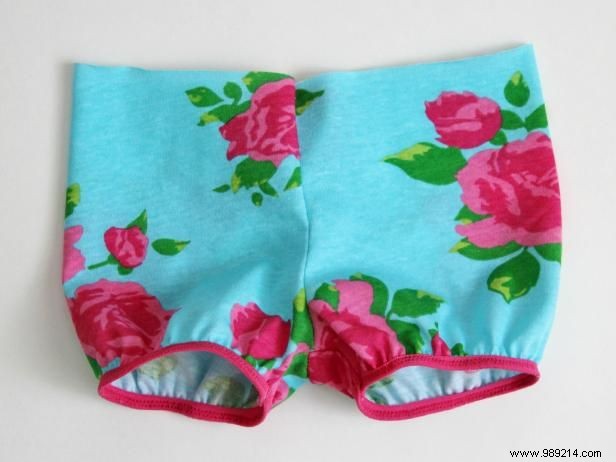
Turn right side out—your bloomers are taking shape! Now add the waistband.
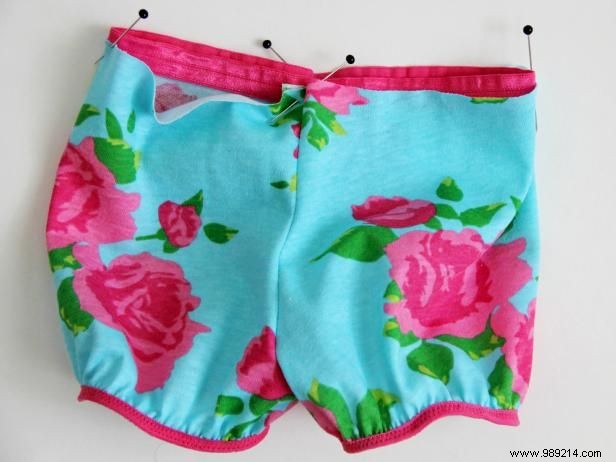
Overlap waist elastic ends by 1/2 inch. Pin to top edge at back seam (wrong side). Pin elastic at front seam and sides for even distribution.
Straight-stitch from overlapped back, stretching elastic to match fabric. Continue around to complete.
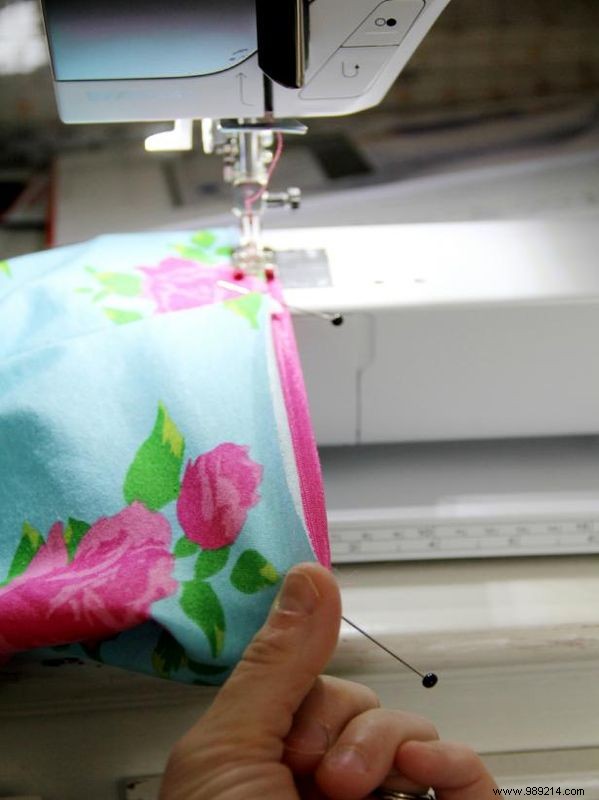
Fold elastic to front, covering seam. Pin and zigzag-stitch, stretching to match fabric.

Perfect! Air-dry on a line for a charming baby shower gift, or pair with a dress. These handmade bloomers delight every new parent with their quality and cuteness.