As a seasoned crafter with years of sewing holiday projects, I've perfected this ombre Christmas stocking tutorial. Craft an affordable, on-trend gift your family will cherish using shades of your favorite color.
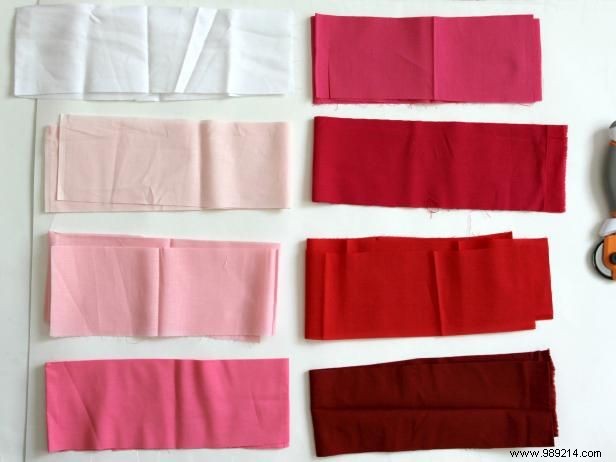
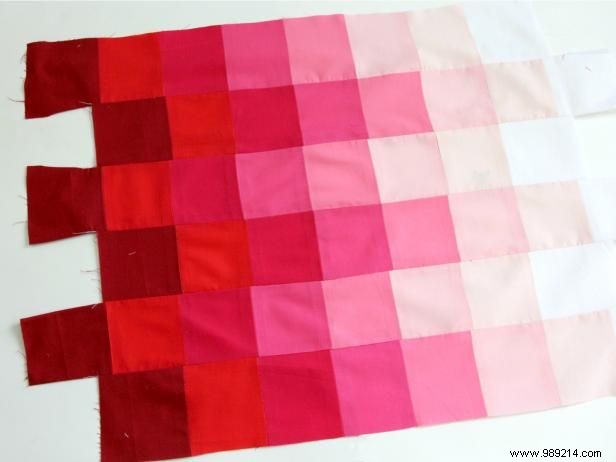
Lay out the 4-inch fabric strips in order, from lightest to darkest shade.
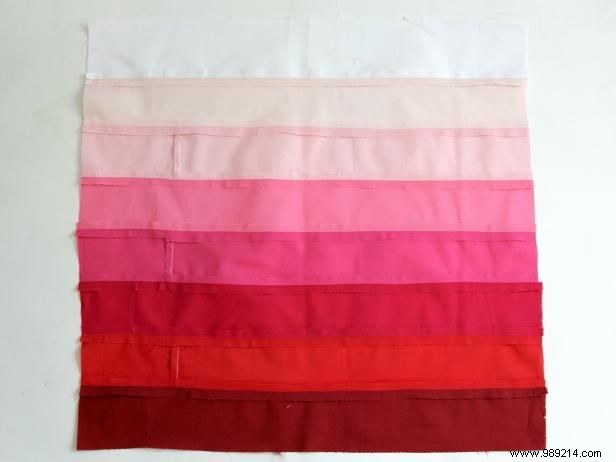
Place the first (lightest) strip and the second strip right sides together, and sew along one long edge. Press the seam open. Repeat with all strips, progressing to darker shades, until you have one large ombre panel.
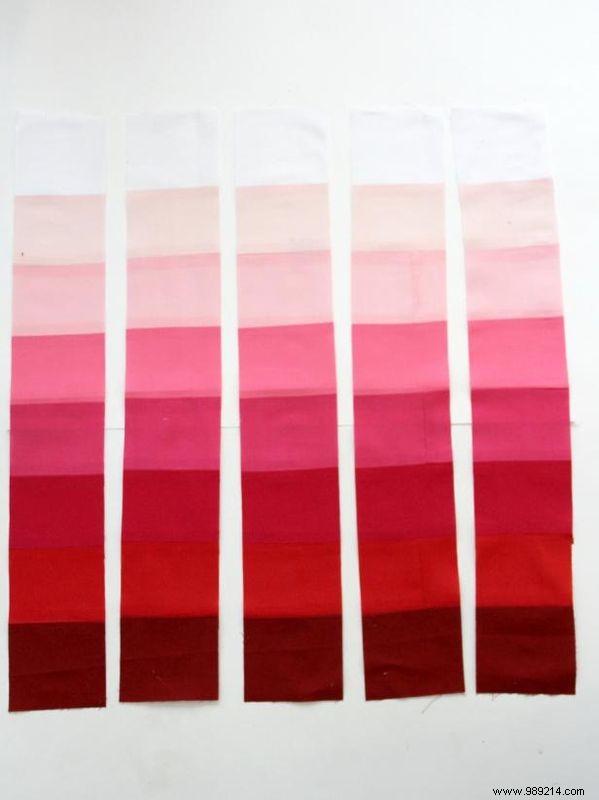
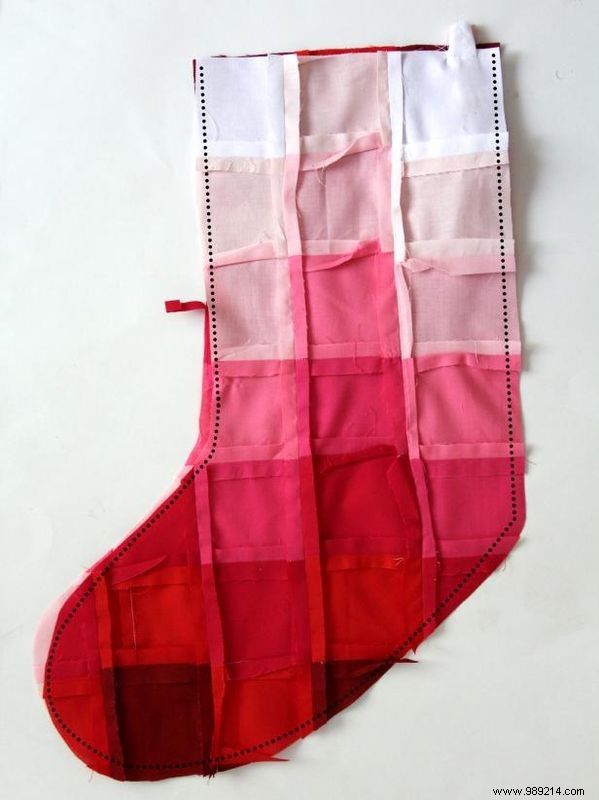
Turn the panel right side up and cut into 4-inch strips from top to bottom, ensuring each strip features the full color gradient.
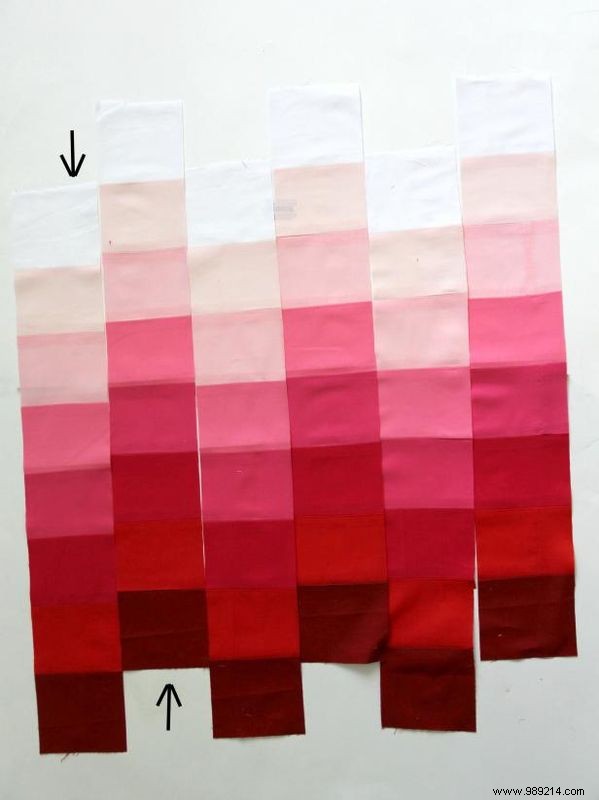
Stagger the new strips so every other one is shifted by one square for a complementary, dynamic pattern. See arrows in the photo for guidance.
Sew the long edges of the alternating strips right sides together. Press seams open.
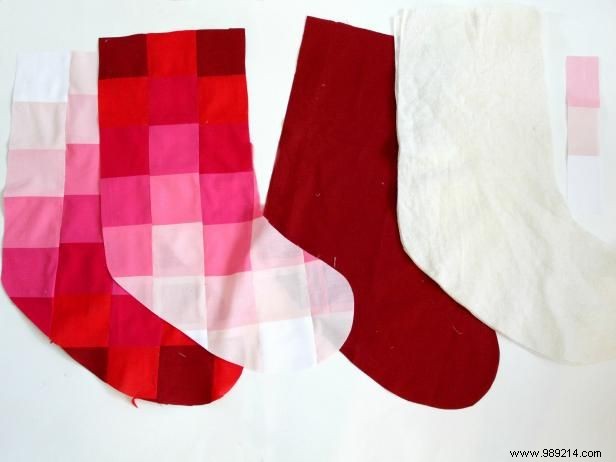
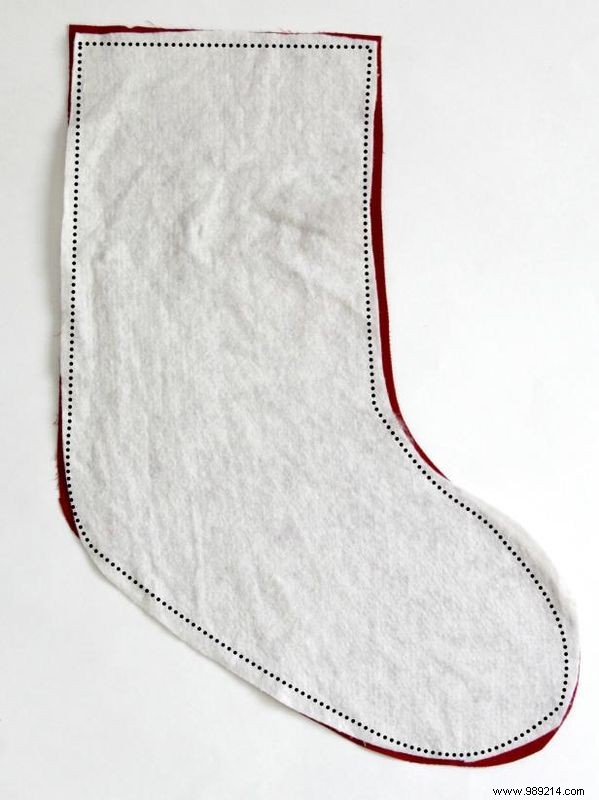
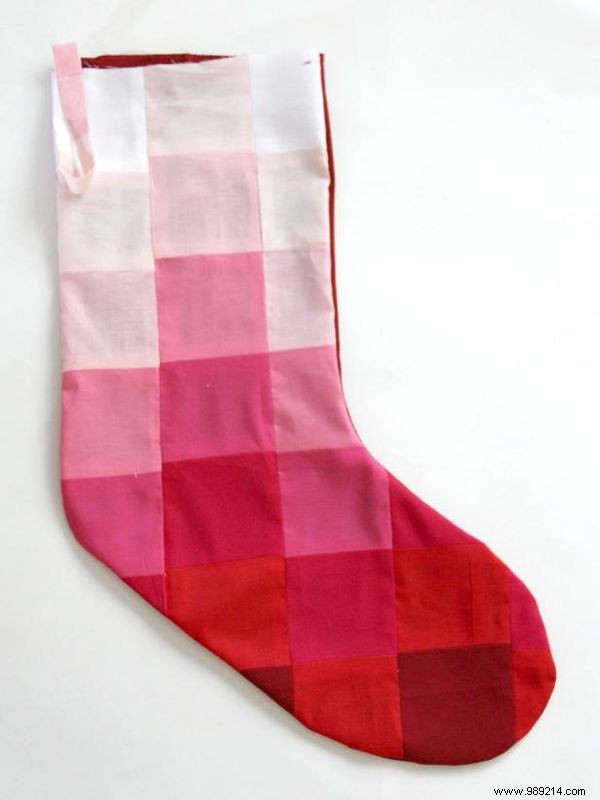
Using your ombre stocking pattern, cut two outer stocking pieces from the ombre fabric, two lining pieces, two interfacing or cotton batting pieces, and one hanging loop.
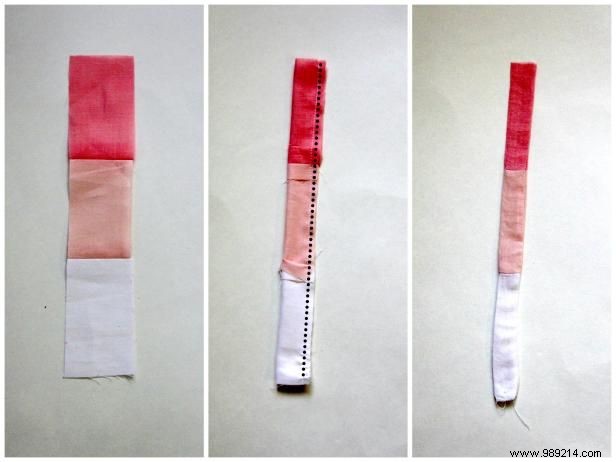
Fold the loop fabric right sides together along the long raw edges and sew the outer long edge. Use a safety pin to turn the tube right side out, positioning the seam inside. Press flat.
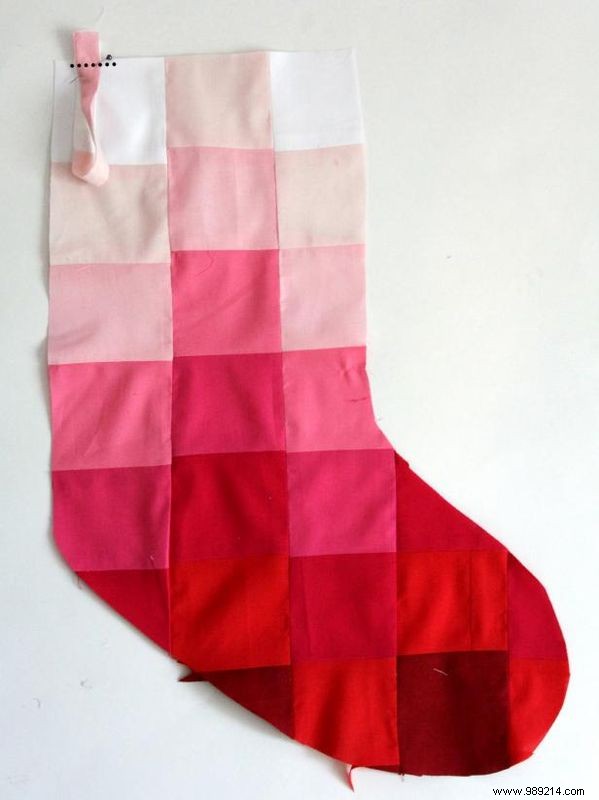
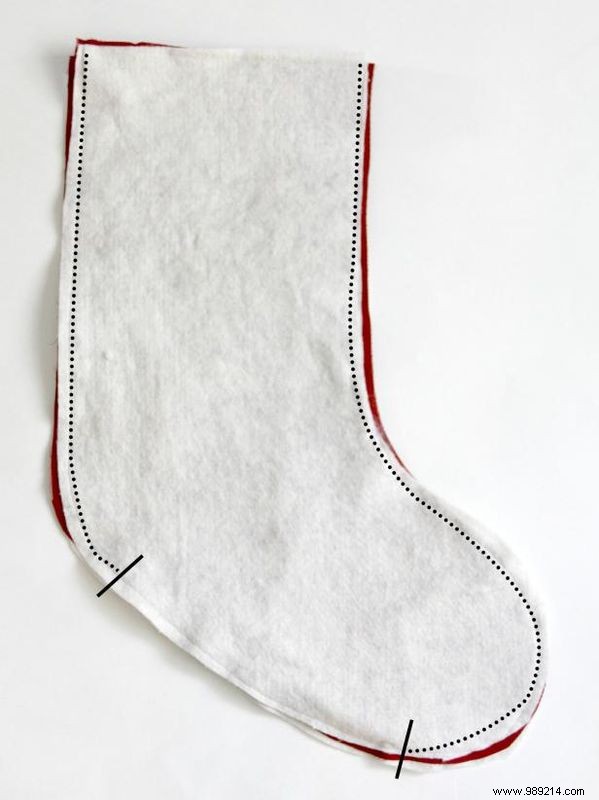
Fold the loop in half with raw ends aligned. Position the raw edges on the top edge of one ombre stocking piece, about 1 inch from the back seam. Baste the loop edges to the stocking top to secure.
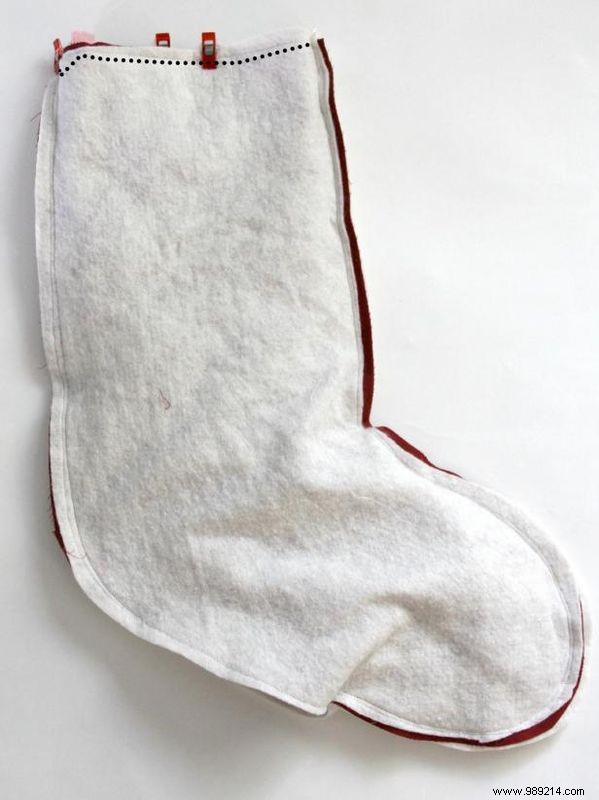
Place the front and back ombre pieces right sides together and sew around the outer edges, leaving the top open.
Turn the stocking right side out and gently press all edges with your hand.
Apply interfacing or cotton batting to the wrong side of each lining piece. Baste or fuse along the outer edges per product instructions.
Sew the lining pieces right sides together around the outer edges, leaving the foot bottom open. Slide the lining over the outer stocking right sides together, match side seams at the top, pin, and sew around the top edge.
Turn the stocking right side out through the lining's foot opening. Sew the opening closed, tuck the lining inside, push out all edges with your hand, press, and your ombre stocking is complete!