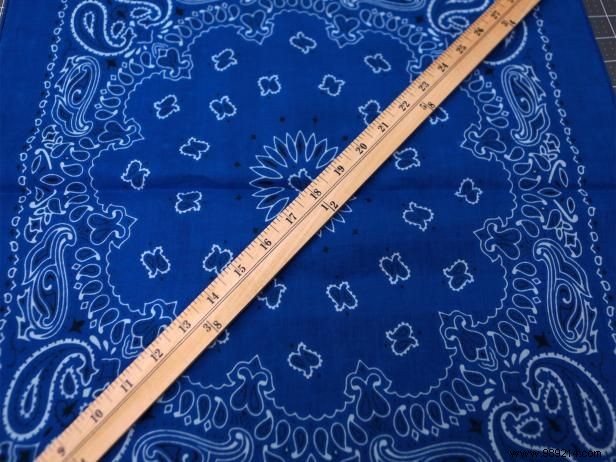
As an experienced crafter who's made countless DIY decorations, start by laying the bandana flat on your work surface. Position a yardstick or straight edge diagonally across it to guide your cuts.
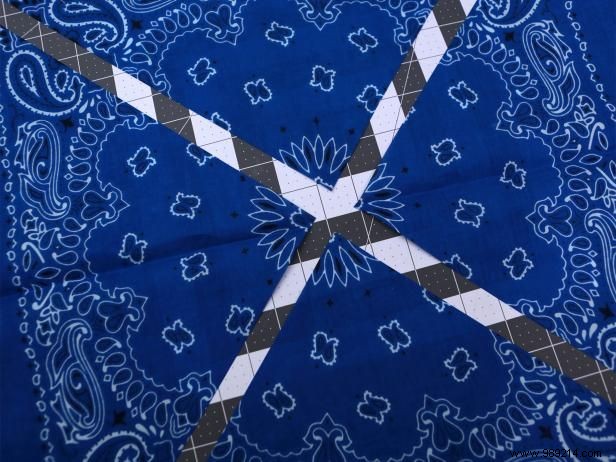
Carefully cut the bandana along the diagonal into four equal triangles. This creates the perfect pennant shapes for your bunting.
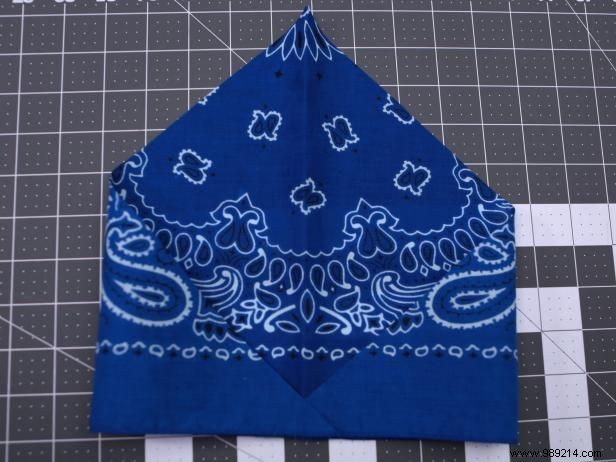
Place one triangle pattern-side up on your surface. Fold the two bottom corners toward the center, allowing them to just barely overlap for a neat pleat.
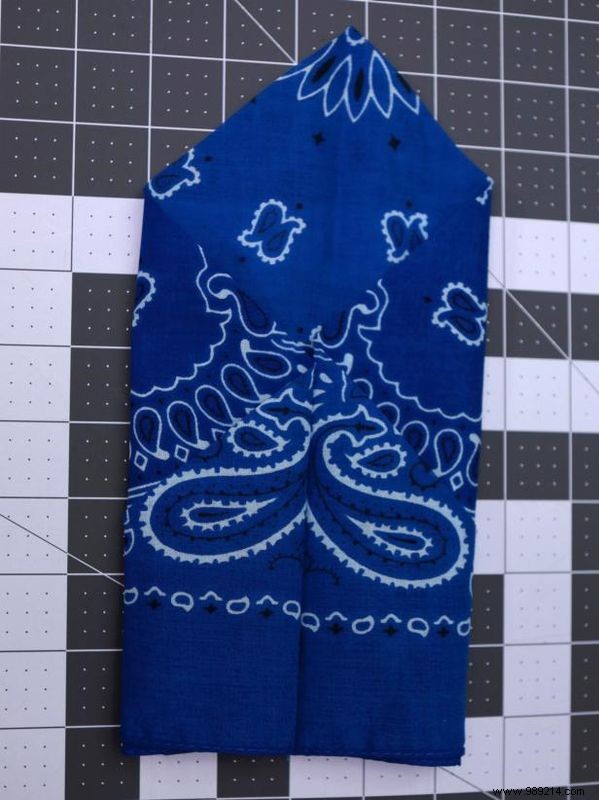
Flip the triangle over, then fold the new outer edges toward the center until they meet. Pin the pleats securely to hold the shape.
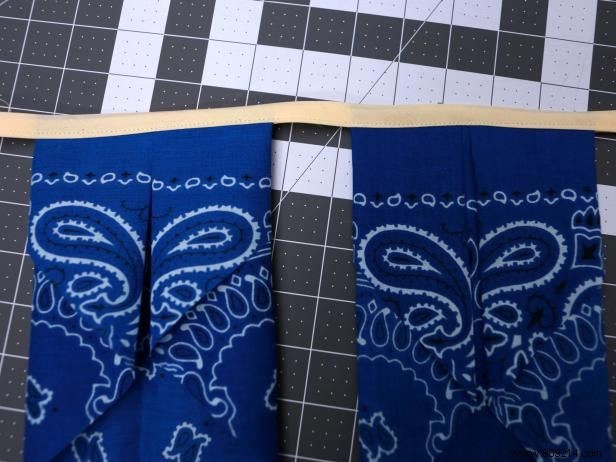
For ribbon, drape each folded triangle over half its width, fold the ribbon over, and pin through both layers. For bias tape or duct tape, nestle the triangle into the fold and pin. Arrange your triangles in a pleasing pattern along the ribbon.
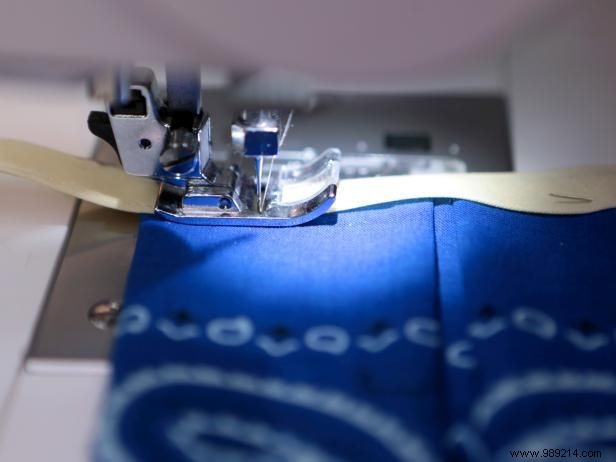
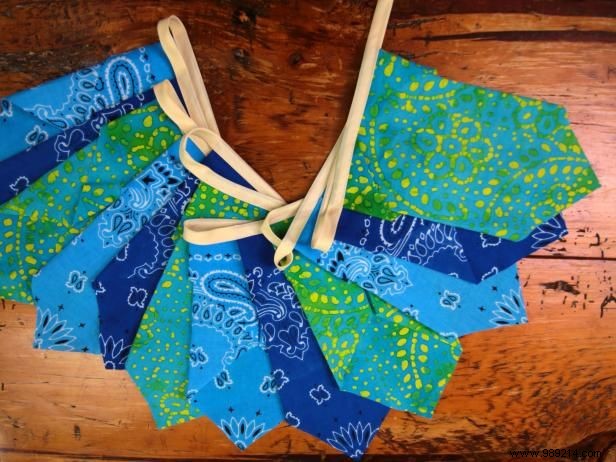
Stitch along the entire length of the ribbon, including between triangles, for a straight, professional finish (Image 1). This versatile bunting adds a festive, rustic charm to parties or home decor (Image 2).