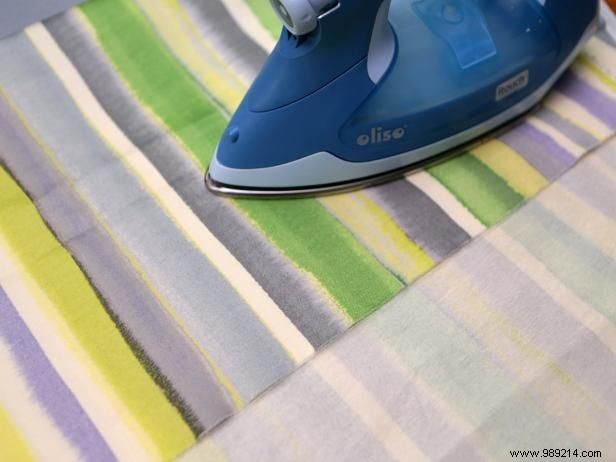
Start by laying your fabric flat on a clean work surface. Fold it in half with the right sides facing out, then slide double-sided fusible bonding tape between the layers. Press firmly with a hot iron following the tape instructions to create a strong, double-sided fabric panel—a trick I've used for years in my crafting projects for lasting durability.
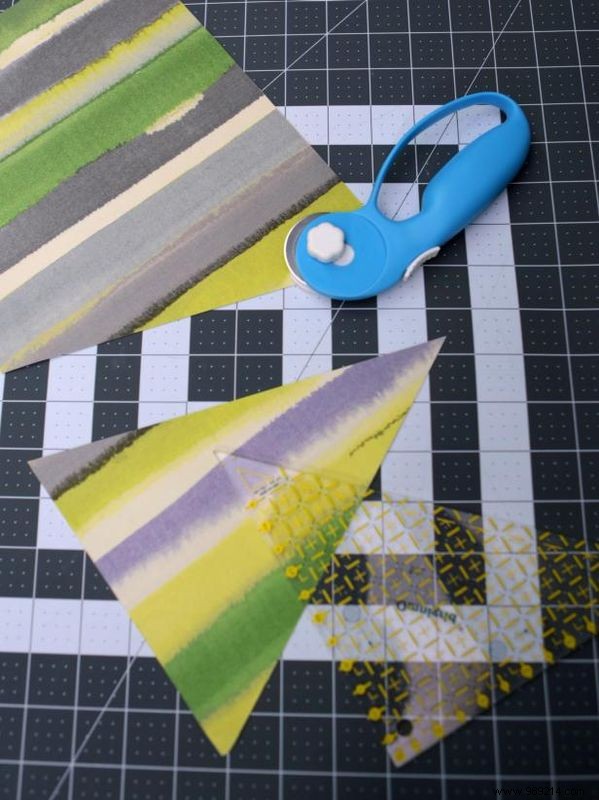
Using a plastic triangle as a guide and a rotary cutter for precision, cut out your flag shapes. No rotary cutter? Simply trace the template with a fabric marker or pencil and cut with sharp scissors. For a decorative scalloped edge, opt for pinking shears—they add a professional finish effortlessly.
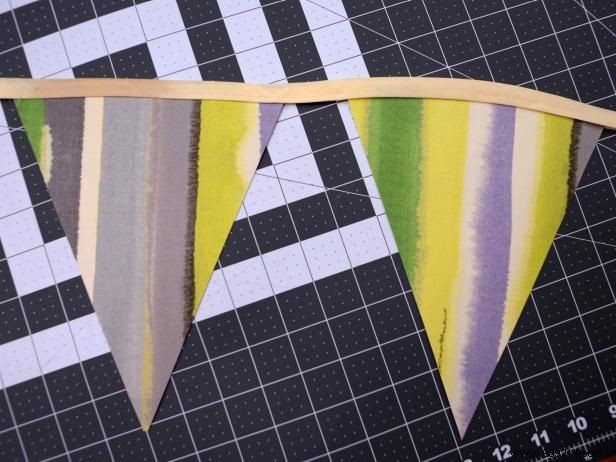
Once all flags are cut, place your bias tape or ribbon right side down. Align the flags along one edge, overlapping them by ½ inch for security. Fold the tape lengthwise to encase just the top tips of the flags, then pin securely in place to prevent shifting during sewing.
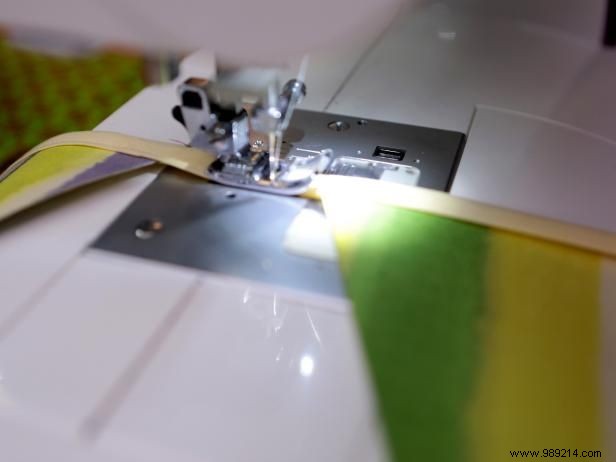

Stitch along the entire length of the tape, sewing through all layers including between flags for a taut, straight line (Image 1). Your gorgeous double-sided fabric bunting is ready to hang and impress (Image 2)—perfect for parties or everyday charm.